Big Walk: How to Find the Map and Compass
The full route to get the map in Big Walk: clear the starting area, collect five red blobs for the Red Tower key, cut the key at all five key-cutters, then enter the Map Room to grab the map and compass.
 Big Walk Atlas
The map in Big Walk is both a physical place and a physical item, and neither one has a quest marker. This guide walks the whole route in order so you can follow it in-game without pausing the video. The short version: clear the puzzles in the starting area, collect five red blobs from the red-area puzzles to earn the Red Tower key, take that key around the loop and cut it at the five key-cutters, then head back to the start and enter the blue tunnel — that is the Map Room, where you pick up the map and the compass. The source titles this the "Big Views" map-location achievement.
The unlock at a glance
- Clear the starting area. Finish the beginning puzzles so the wider map opens up.
- Head to the Red Tower. It is the big red structure you cannot miss when you come up from the start.
- Collect five red blobs. Each red-area puzzle hands over a red blob; five of them open the Red Tower key.
- Take the key and cut it. Walk the loop and cut the key at each of the five key-cutters, numbered one through five.
- Return to the starting area. The loop brings you back to where you began.
- Enter the blue tunnel. That is the Map Room — the map as a physical place.
- Pick up the map and compass. The physical items let you read coordinates and plan the route.
Before you start
You do not need the train or the chairlift for this — the source walks the entire route from a fresh session. The one real requirement is finishing the starting-area puzzles, because those unlock the wider island and let you reach the red-area puzzles that hand out the five blobs. The Red Tower route is also how you get the map in the first place, so treat the red blobs as the entry ticket rather than a side objective. Bring a light source; parts of this route happen as the island turns dark.
Step 1 — Clear the starting area and reach the Red Tower
Finish the puzzles at the very beginning — the source shows the starting area where those first puzzles sit, and notes that you have to clear them before the wider map opens. Once you can walk out, the Red Tower is the big red structure straight ahead; the source says you cannot miss it when you come up from the start. Aim for it. The source also points out that you can choose to chase the map or the train first depending on what you are after, but the map route starts at this tower.
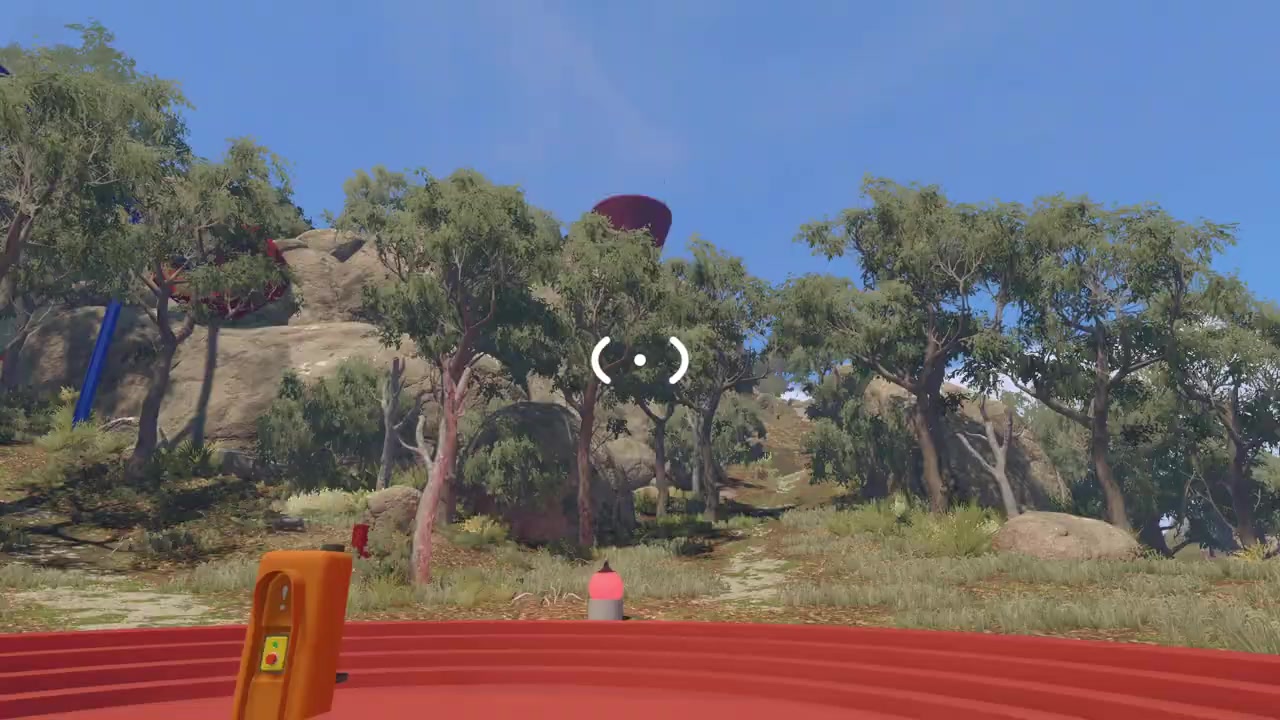
00:31 — from the starting area, the big red tower is straight ahead and hard to miss.
Success check: you can see the Red Tower and are walking toward it with the starting puzzles cleared.
Step 2 — Collect five red blobs to open the Red Tower key
The source calls them "red totems or items"; they are the red collectible rewards from the puzzles scattered around the red area after the start. You need five of them. Once all five are delivered, a key opens at the very top of the Red Tower — the source climbs up to show the spot. Each blob comes from its own puzzle, and this site's Red Tower puzzle guides cover each one individually; here the important part is that five blobs is what turns them into the key.
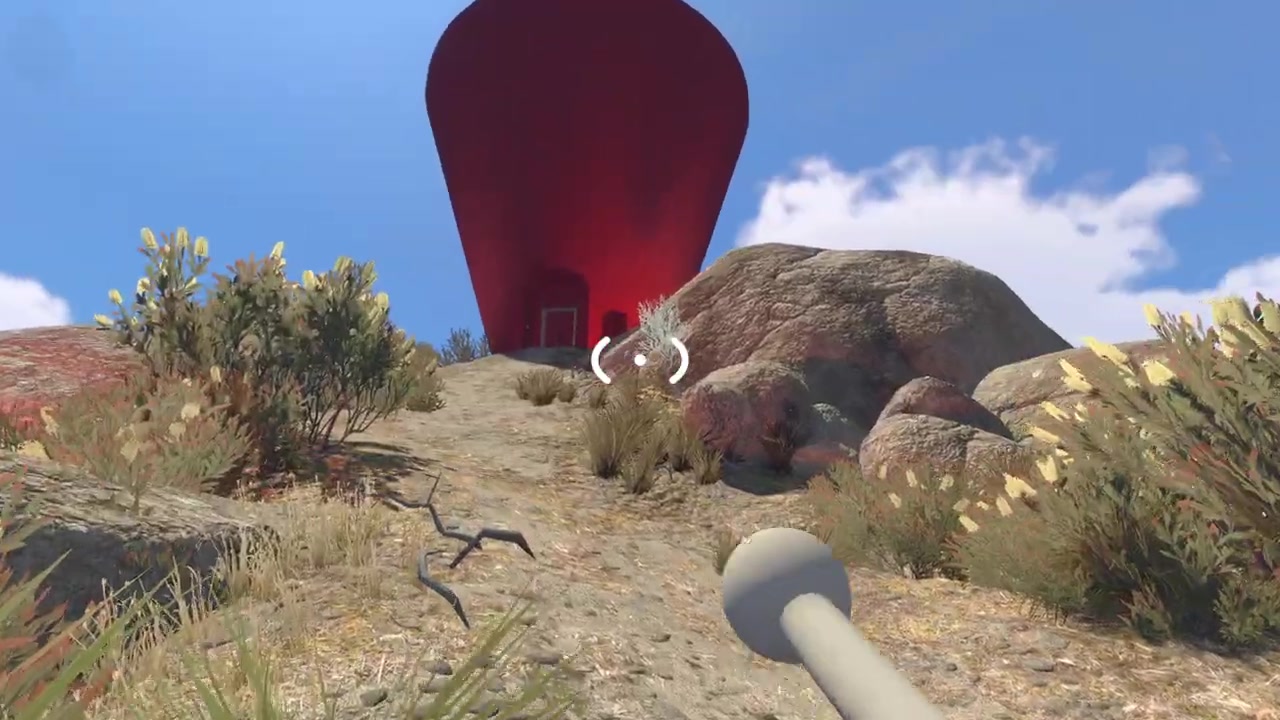
01:24 — at the very top of the Red Tower, the key opens once the five red blobs are delivered.
Success check: the key is in hand at the top of the Red Tower.
Step 3 — Cut the key at the five key-cutters
Take the key to the five key-cutters the source points out around the route. You keep walking around the loop and use each key-cutter to cut the key, then keep going until you circle all the way back to the starting area. The source calls out the numbered ones as you pass them — key-cutter four is down the path, and key-cutter five sits farther up in the distance. Do not skip one and double back later; the loop is meant to be walked in order.
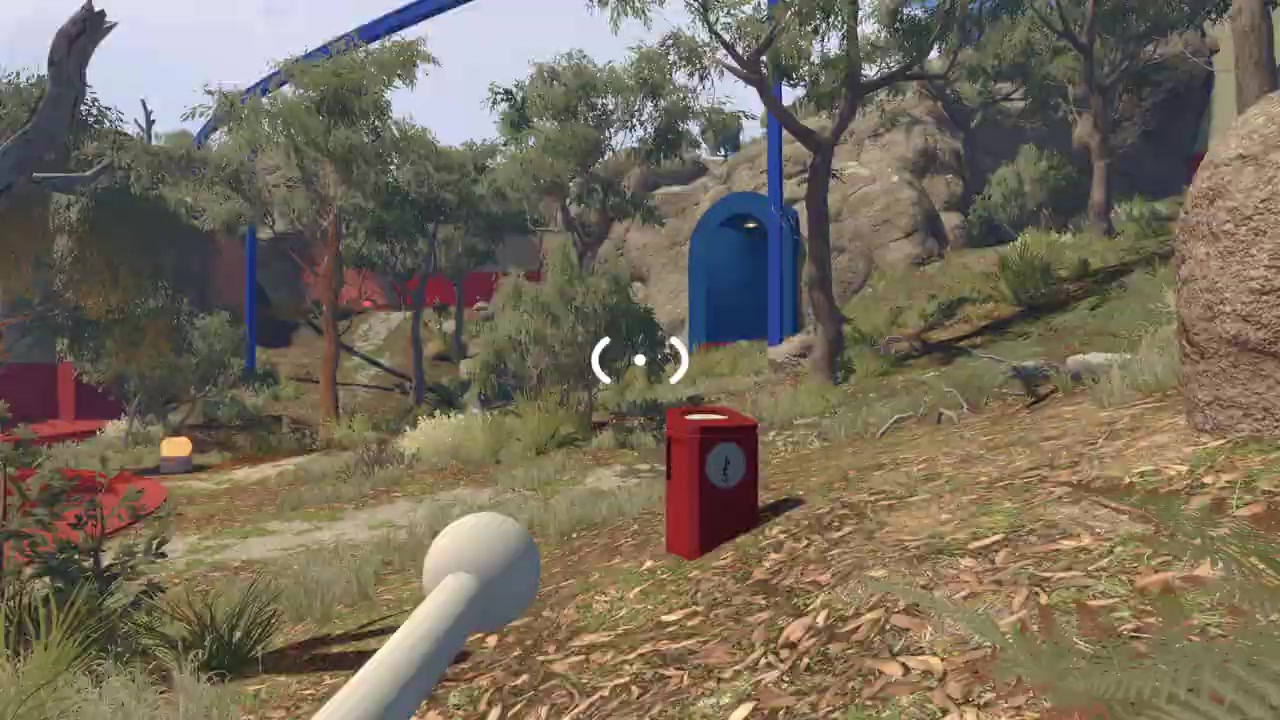
02:05 — the key-cutters sit along the route; the source calls out key-cutter four here and five farther on.
Success check: the key has been cut at all five stations and you are back near the starting area.
Step 4 — Enter the Map Room through the blue tunnel
After the fifth key-cutter, the source points to a blue tunnel nearby — that is the way into the map as a physical location. Go up into the room and place the key you just cut; the room opens and reveals the map. This is the "map is also a place" half of the trick the source opens with.
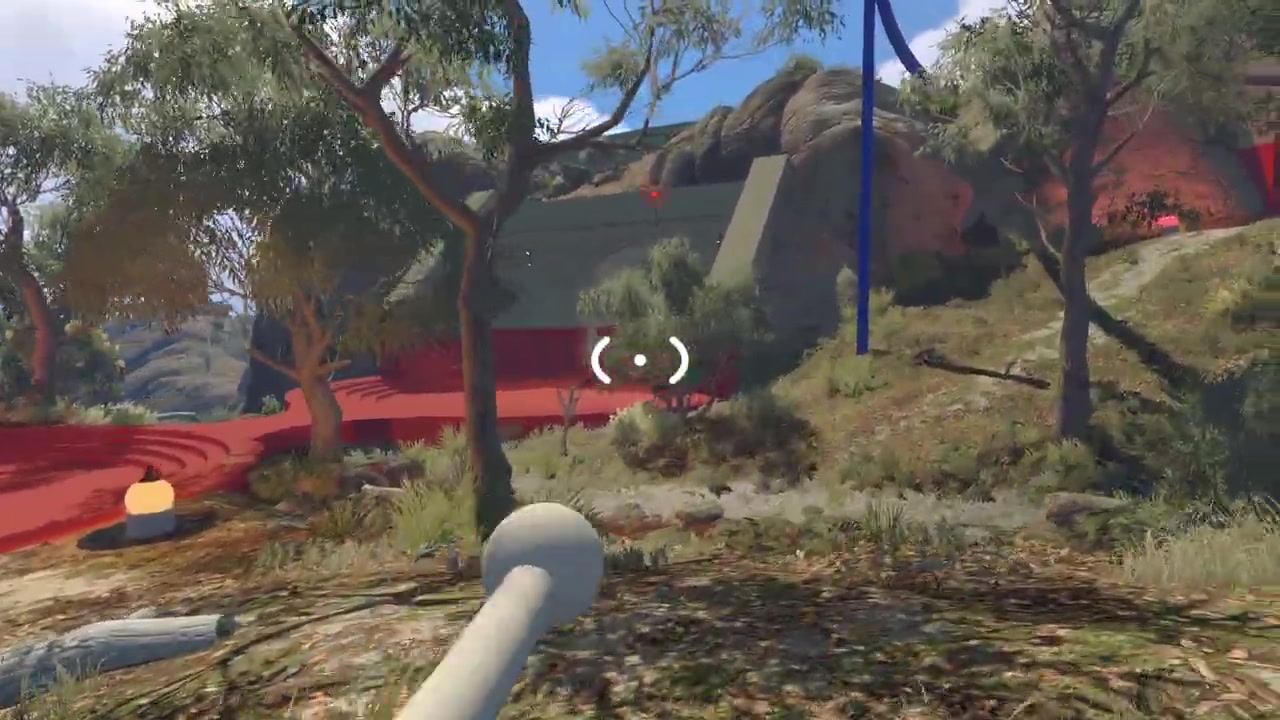
02:12 — after the key-cutters, the blue tunnel is the entrance to the Map Room.
Success check: the key is placed and the room has opened to show the map.
Step 5 — Read the scale-model map
Inside, the map is a large scale model of the whole island. It shows little flags above the places you have already completed, and a flagpole with no flag marks a spot that is still incomplete — the source uses that to tell finished from unfinished at a glance. It also shows where the radio stations, backpacks, and collectible tokens sit, so you can plan with friends where to go next and spot anything you have missed.
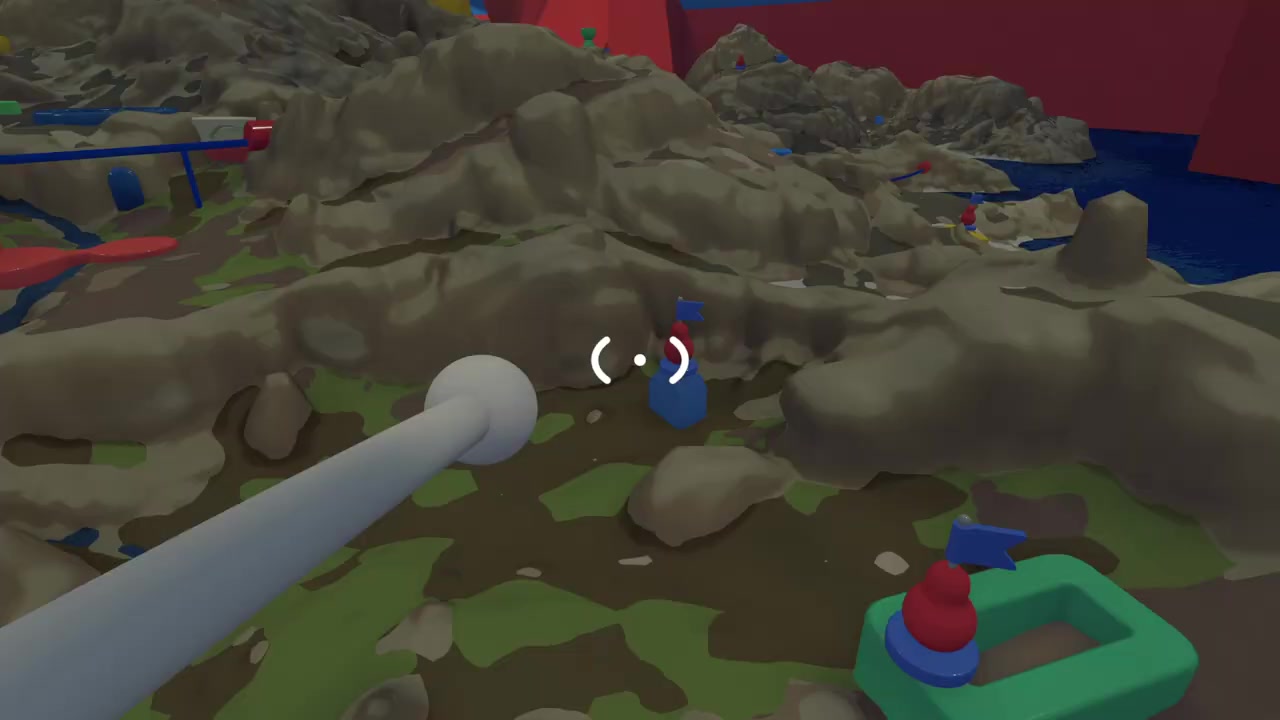
02:55 — the scale model shows flags over completed places and empty flagpoles over the ones still missing.
Success check: you can read which places are done and which still have an item to collect.
Step 6 — Pick up the compass and the physical map
Walk over to the side of the room to collect the two physical items: a compass and an actual handheld map. The physical map is what you use for the coordinate puzzles — the source says a lot of puzzles require north, south, east, and west, and this map is how you handle them. When you open it, it zooms in on the area you want to visit, and the top-right corner shows which subsection of the map you are in. One honest warning from the source: the handheld map does not show your own position on it, so use the subsection label plus the scale model to stay oriented.
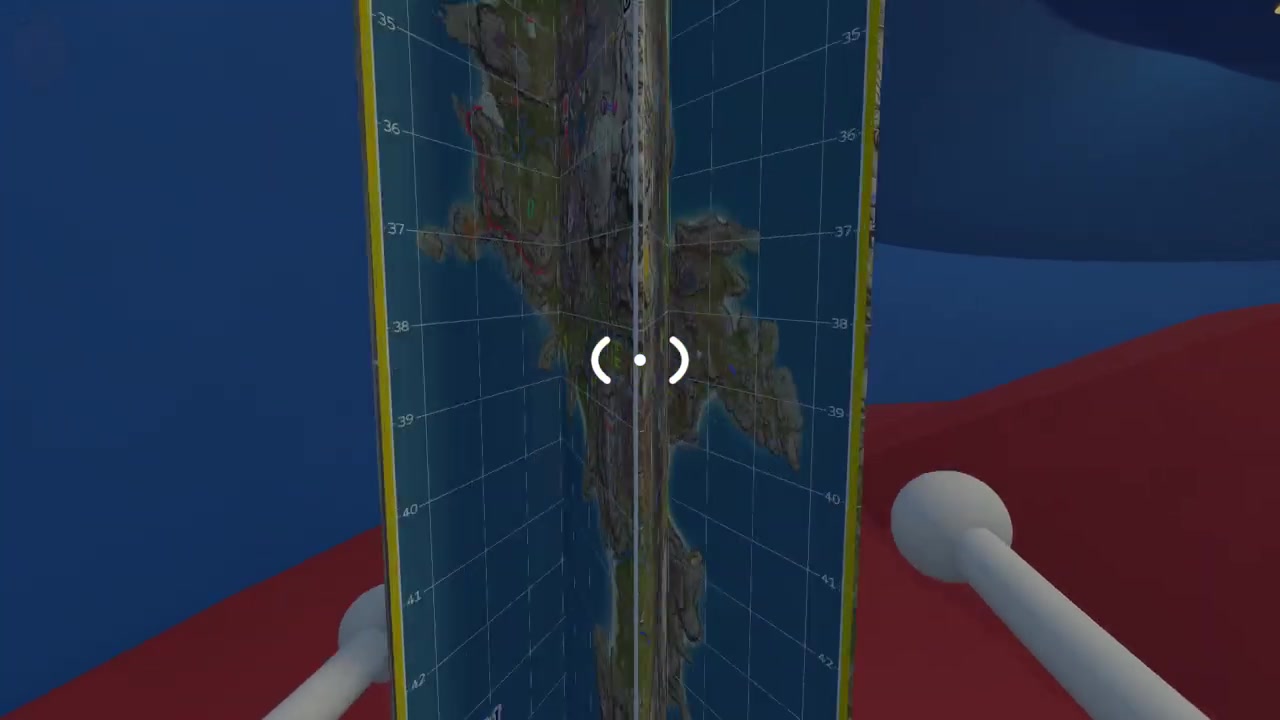
03:55 — the compass and the handheld map sit at the side of the Map Room.
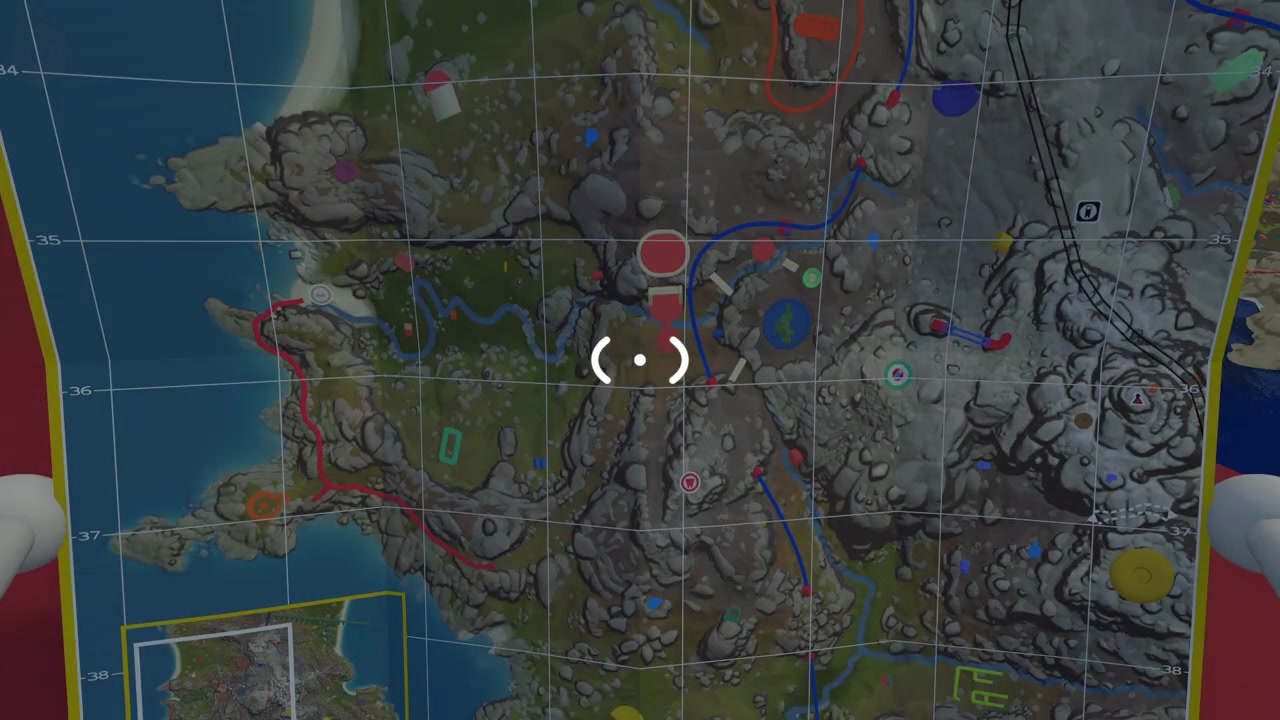
04:15 — the physical map zooms into areas and shows which subsection you are in at the top right.
Success check: you hold the compass and the map, and the map opens to a readable view.
Success check
You have the map and compass, and you can use them to plan the route. If the map is not there, the missing piece is almost always the key — go back and confirm all five red blobs are delivered and the key has been cut at every one of the five key-cutters before returning to the blue tunnel.
Common mistakes and recovery
- Skipping a key-cutter and looping back late. Walk the cutters in order, one through five, and do not leave one for later.
- Expecting the handheld map to show your position. It does not. Use the scale model in the Map Room for the big picture and the subsection label on the handheld map for where you are.
- Treating the map as only a place or only an item. Both exist: the Map Room is the place, and the compass plus handheld map are the items you carry out.
- Running off to find the map before the starting puzzles are cleared. The wider island only opens after those first puzzles, so the red-area blobs stay out of reach until then.
Player-count and version notes
- The source is a solo walkthrough of the route, and the map, compass, and Map Room are fixed world items — finding them does not depend on player count. The individual red-area puzzles that yield the five blobs do scale with the group, and this site covers them as separate Red Tower puzzle guides.
- The map's value is the same for any group size: the scale model flags what is done and missing, and the handheld map handles coordinate puzzles, which is useful whether you play alone or with a full party.
Source
This article is a single-source guide synthesized from one public video: How to find the Map in Big Walk | Map Location Big Views Achievement by MonkeyKingHero (youtube.com/watch?v=OKQLhvAghKM). Every section maps to a timestamped moment in that video, and the frames are temporary extracts used only to illustrate the steps, not final artwork. Facts were taken from the video's own captions and footage; this article does not claim cross-verification against other sources.