Big Walk: How to Host & Join a Game (Play with Friends)
Step-by-step multiplayer setup in Big Walk: open the host menu, share the join code, invite a Steam friend to join with the login code, meet up at the spawn tunnels, and recover held items from the lost-and-found.
 Big Walk Atlas
Big Walk is a co-op game, but it never hands you a tutorial for its multiplayer menu, and the wording around "host" and "join" trips a lot of new groups up. The short version: one player presses Host Game to open a lobby, then reads the join code that appears in the bottom-left corner and hands it to a friend. That friend presses Join Game, chooses Login via code, types in the code, and presses play — and you are both in the same world. Every friend needs their own Steam account with their own copy of the game, and anything you are holding or wearing when the host ends the session is returned at the lost-and-found near spawn, not lost forever.
The setup at a glance
- Host a lobby. One player clicks Host Game and reads the join code in the bottom-left corner.
- Create the game. The host starts a new game, sets a name, and optionally adds a password.
- Set the player count. The host picks the world size (two players in the source) and, if wanted, enables challenge skipping under accessibility.
- Join with the code. A friend clicks Join Game, chooses Login via code, and types in the code the host read out.
- Meet at spawn. Both players exit their own spawn tunnel and meet up in the same world.
- Recover dropped items later. Items held or worn when the host ends the session wait at the lost-and-found section.
Before you start
Everyone who joins needs their own separate Steam account with their own license — the source is explicit that each friend must have bought the game on their own account. Sharing one account will not work. The host is the person who should open the lobby first and keep the save, because the game's world is tied to that session. You do not need any in-game progress to host or join; this all happens from the main menu before you enter the world, so a brand-new group can do it right away. The source runs the whole thing as a two-player session (the host on their main PC, the friend on a separate MacBook Air), and the flow is the same for larger groups — each extra person just repeats the join step with the same code.
Step 1 — Open the host menu and read the join code
From the main menu, find the Host Game section and click it. A screen opens and the join code appears in the bottom-left corner. This code is what everyone else will type in to enter your lobby, so read it out or share it before you go any further. Do not start a new game and then hunt for the code afterwards — it is shown right here on the host screen.
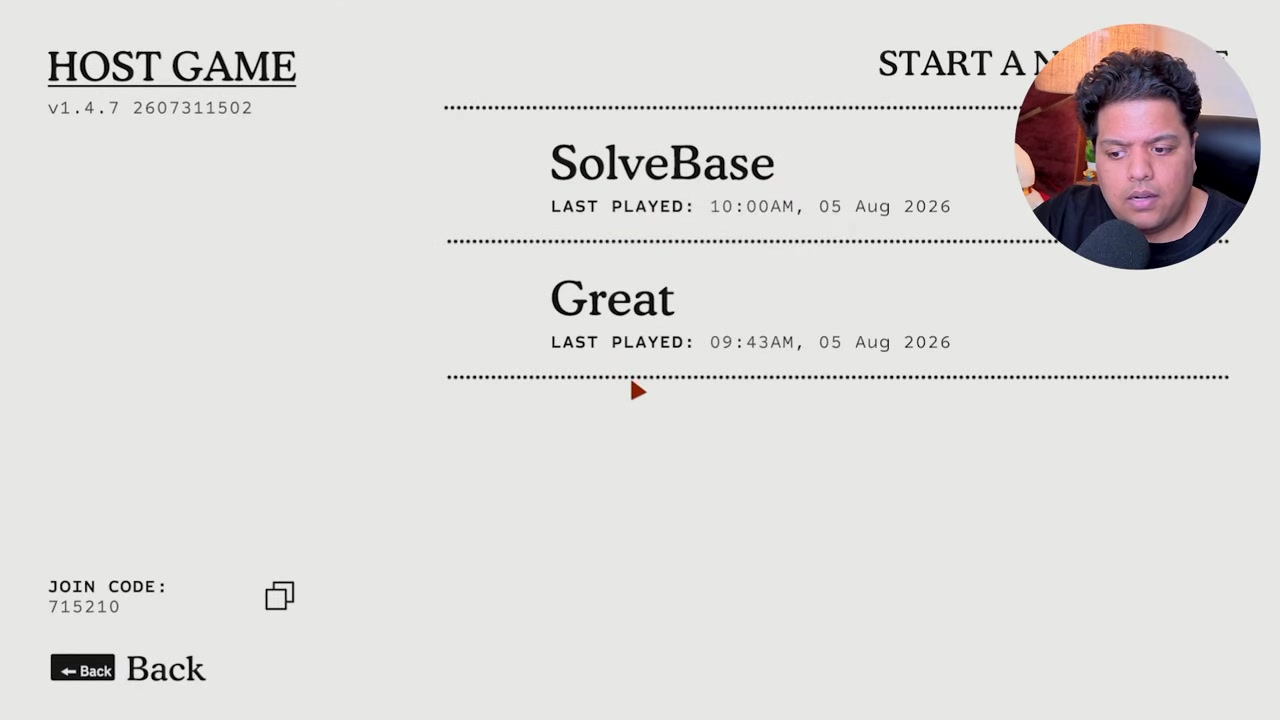
00:12 — the Host Game screen, with the join code visible in the bottom-left corner that friends will type in.
Success check: you can see a join code on the host screen and you know who will read it out to the rest of the group.
Step 2 — Create a new game and name it
On the top-right of the host screen, click New Game. You are asked to create a name for the session (the source types "SolveBase" as an example). You can also set a password — if you do, each friend must type that password in along with the join code, so only add one if you actually want to gate the lobby. When you are done, press Continue.
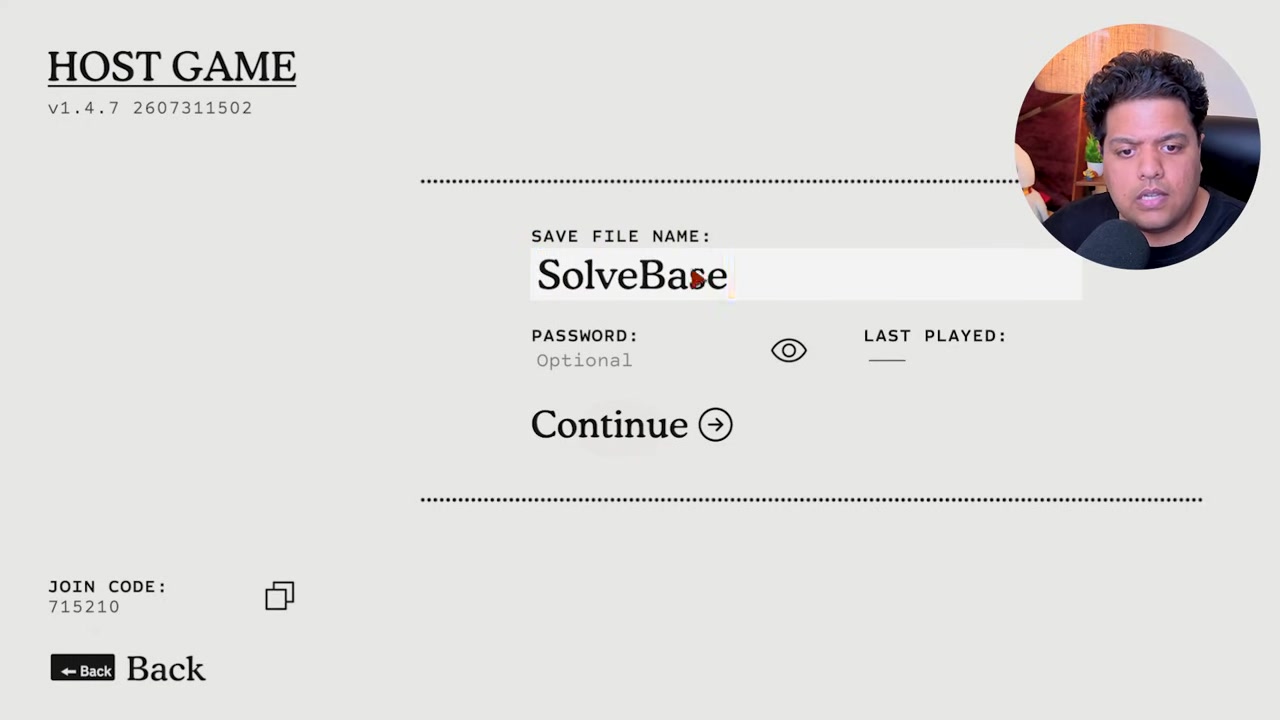
00:36 — creating a new game: the host enters a session name and can add a password before continuing.
Success check: the game has a name, the password is set or deliberately left empty, and you have pressed Continue.
Step 3 — Set the player count and start
Next the host picks the player count — the source selects two players for its two-person demo. On the same screen there is an accessibility option you can toggle: enable challenge skipping. If you turn it on, the game lets the group skip challenges that are too hard; leave it off for a normal run. When the settings look right, press the Play button and the game loads you into the world.
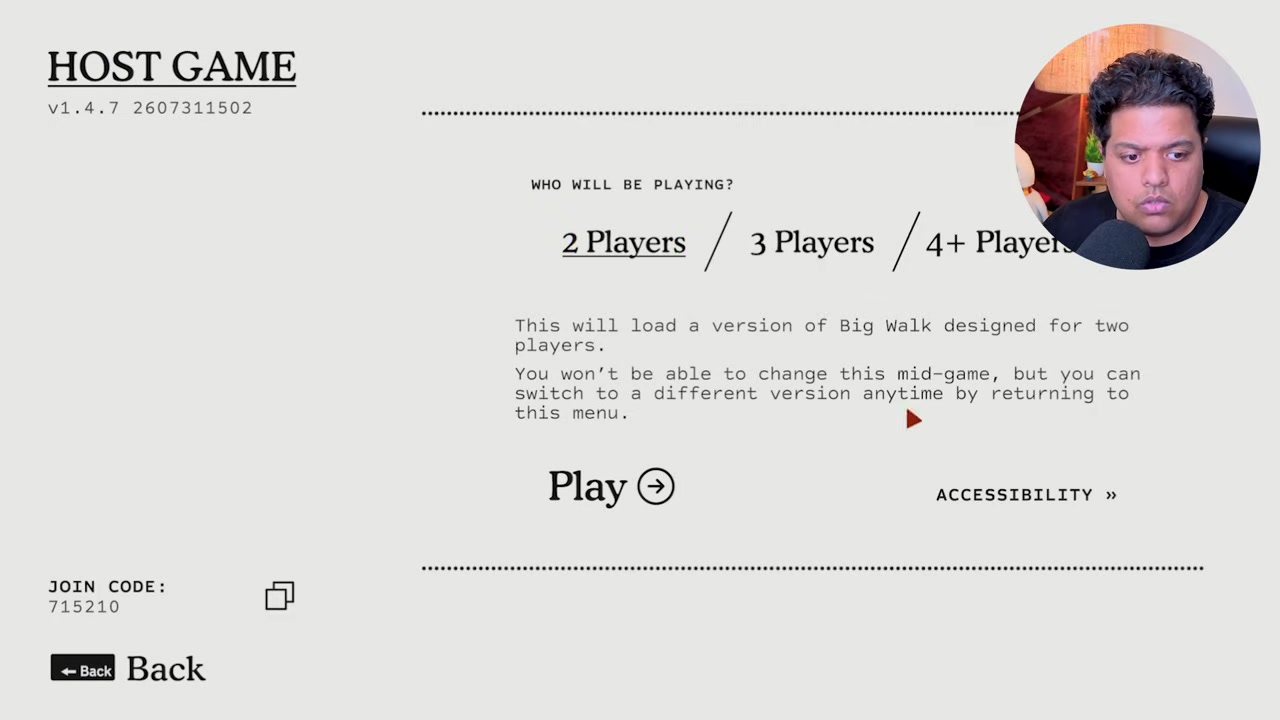
00:52 — choosing two players and the accessibility toggle, with the enable challenge skipping option visible before pressing Play.
Success check: the host has chosen the world size (and decided on challenge skipping), pressed Play, and is standing in the world.
Step 4 — Have your friend join with the login code
On the friend's machine, from the main menu, press Join Game. The screen shows a Login via code field at the top. Clear whatever is in it, then type the join code the host read out earlier.
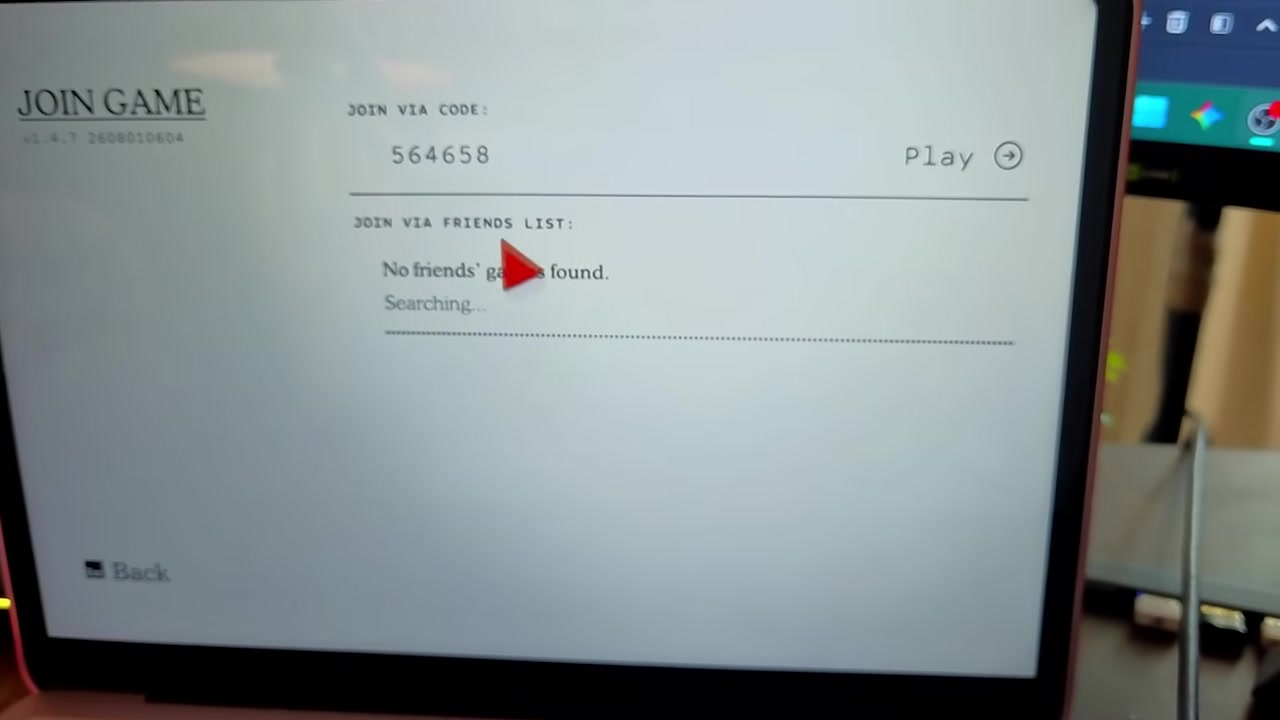
01:18 — the friend's Join Game screen, with the Login via code field at the top ready for the code.
If the friend cannot find the code, the host can read it out live: press the Escape button in-game, open Session details, and the login code is shown there (the source reads "715210" as its example). The friend enters that code and presses the Play button on the right-hand side.
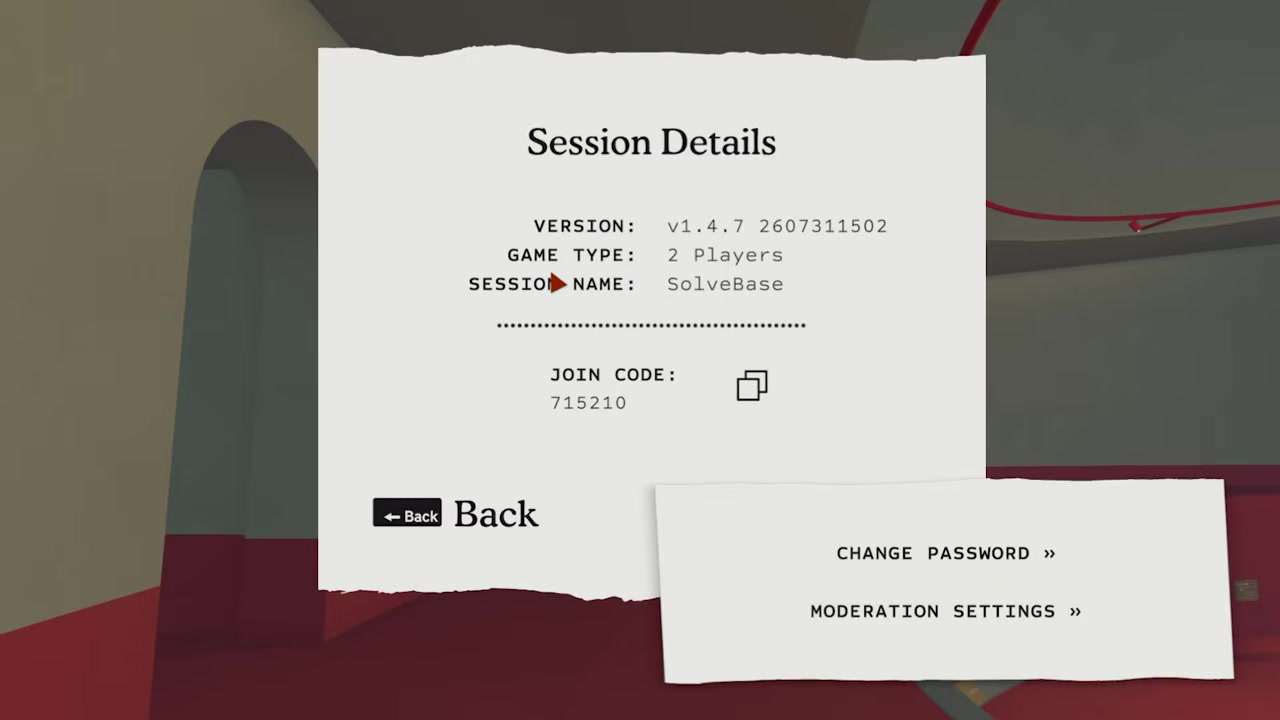
01:29 — pressing Escape and opening Session details reveals the login code the friend needs to type.
After entering the code and pressing Play, the friend connects — they do not need to type the password separately unless the host set one, in which case the same screen asks for it together with the code.
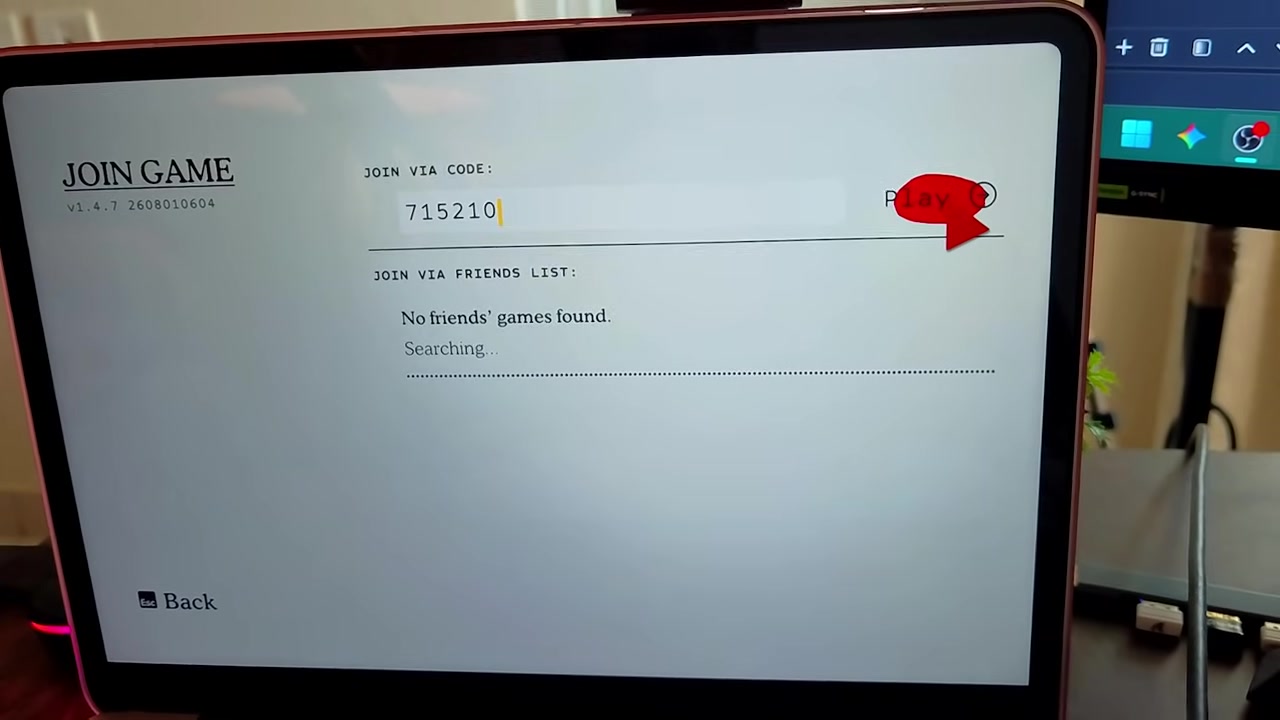
01:38 — the friend types the login code and presses Play; the connection completes on the next moment.
Success check: the friend's screen changes from the menu to the game world, and the host sees a second player has arrived.
Step 5 — Meet up at the spawn tunnels
When a player loads in, they stand inside one of the exit tunnels at spawn. The game has four of these, one for each possible player, so player one exits through one tunnel and each friend appears from their own. The source exits the tunnel and immediately sees the joined friend — the host as one character, the friend as another. From there you both walk out of the spawn area into the same world and can start playing together.
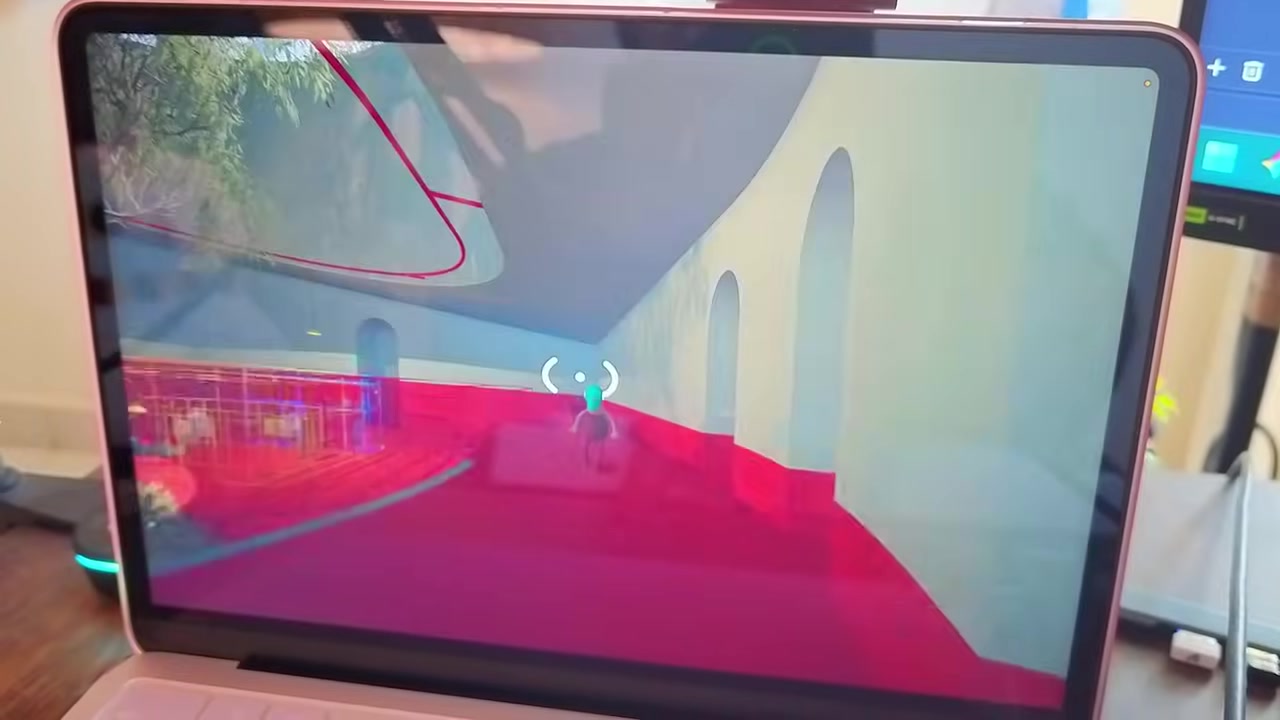
01:56 — the friend comes out of their own exit tunnel while the host's character stands nearby, confirming the join worked.
Success check: every player has left their spawn tunnel and you can all see each other in the same world.
Step 6 — Know where held items go when the session ends
One detail that catches new groups off guard: if you are holding or wearing something when the host ends the session, it is not deleted. It is placed in the lost-and-found section at your base, and the game says so on the left-hand side: anything you were holding or wearing when the host ends the game will be placed there for the start of the next session. The next time you load in, walk to the lost-and-found, pick the item back up, and invite your friends again to continue.
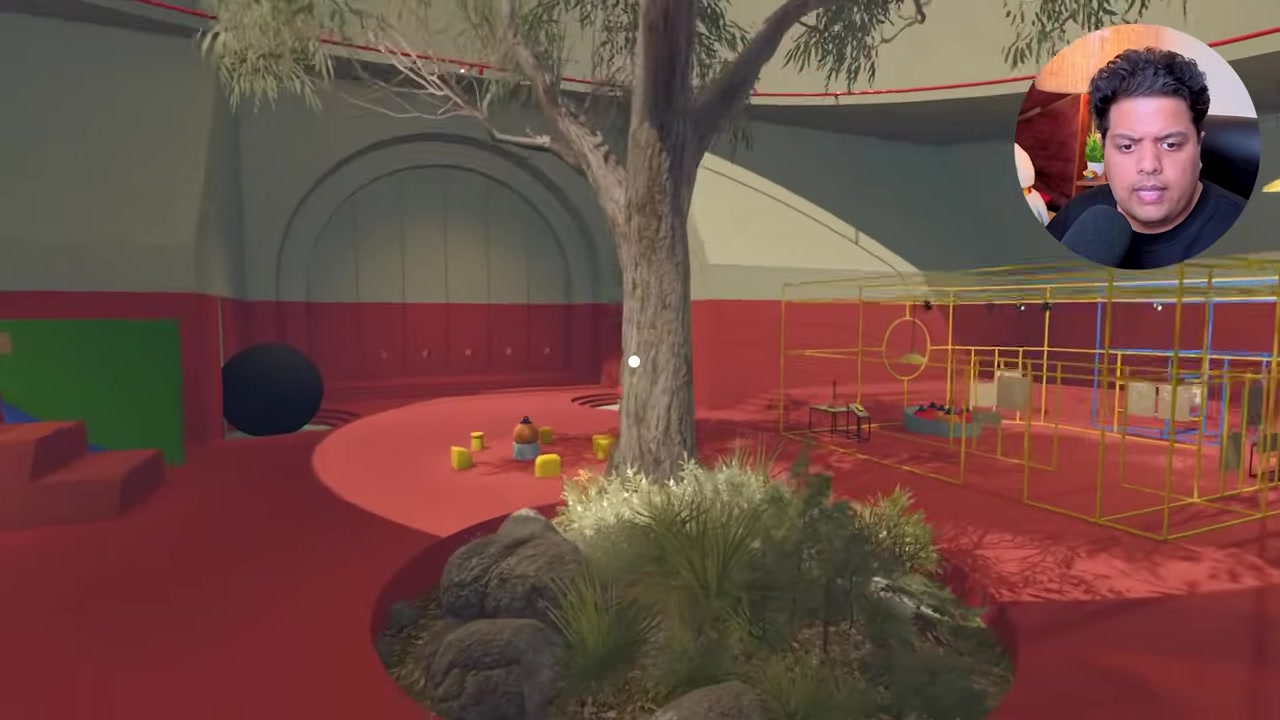
03:20 — the lost-and-found section at the base, with the message that items held when the host ends the game are placed here for the next session.
Success check: you know that ending a session does not erase the item you were carrying, and you can recover it from lost-and-found on the next load-in.
Success check
The host has a lobby with a join code, the world size is set, each friend has joined with the login code, and everyone has met up at spawn. If anyone is missing, they either typed the code wrong, do not own the game on their own account, or hit a password mismatch — walk back through Step 4 before assuming the lobby is broken.
Common mistakes and recovery
- Sharing one Steam account. Every player needs their own account and their own copy of the game. If a friend is using a shared or family-shared copy, they cannot join your lobby reliably.
- Forgetting the code is in two places. The join code is on the host screen when you first click Host Game, and again in Session details (press Escape in-game). If the group lost it, open Session details and read it out again.
- Typing the code with a typo. The code is short but easy to misread — read it digit by digit, and have the friend clear the field before typing.
- Setting a password accidentally. If the host added a password, friends must type it together with the code. If nobody can join, double-check the password first.
- Panicking when the session ends with items in hand. Held and worn items go to lost-and-found, not into the void — recover them at spawn on the next session.
Player-count and version notes
- The source is a two-player session (host plus one friend), and it chooses two players in the world config. The host-and-join flow itself is the same at any party size: one host opens the lobby, and every additional friend repeats the join step with the same code.
- The four exit tunnels at spawn correspond to the player slots, so you can tell at a glance how many people have actually connected by how many tunnels have someone walking out.
- Challenge skipping is an optional accessibility toggle shown during world setup; the source enables it, but it is not required to host or join.
- The lost-and-found rule is a world-wide mechanic: anything you are holding or wearing when the host ends the game is returned there at the start of the next session, regardless of how many people were in the lobby.
Source
This article is a single-source guide synthesized from one public video: How To Host & Join Games in Big Walk By House House by SolveBase (youtube.com/watch?v=Pa7X4ZlHN1Y). Every section maps to a timestamped moment in that video, and the frames are temporary extracts used only to illustrate the steps, not final artwork. Facts were taken from the video's own captions and footage; this article does not claim cross-verification against other sources.