Big Walk: How to Open the Big Wall (Black Tower Key)
The full route to go beyond the Big Wall in Big Walk: reach the Black Tower, trigger the vision, solve all six communication puzzles for six red figurines, get the Black Key, and unlock the Big Wall achievement.
 Big Walk Atlas
The Big Wall is the massive door that guards the end of Big Walk, and it stays sealed until you earn the Black Key, which sits inside the Black Tower. This guide walks the whole route in order so you can follow it in-game without pausing the video. The short version: the Black Tower only opens once you already hold all four tower keys — Red, Blue, Green, and Yellow — plus the sand-castle key. Walk to the tower, climb to the top to trigger the vision, then solve six communication puzzles spread around it to collect six red figurines. Deposit the figurines into the tower's display cases to receive the Black Key, carry it back to the wall's key slot, and the wall opens — earning the Big Wall achievement and revealing the black sphere beyond.
The unlock at a glance
- Reach the Black Tower. From spawn, go under the train tracks and keep walking until the Black Tower comes into view, with the Yellow Tower on your left.
- Trigger the vision. Climb the tower stairs and press the buttons; one player receives a vision that points to the black sphere.
- Solve the six puzzles. Each of the six Black Tower puzzles hands over one red figurine.
- Deposit the figurines. Put all six into the display cases to receive the Black Key.
- Open the Big Wall. Place the key in the wall's key slot — the wall opens and you unlock the Big Wall achievement.
Before you start
The Black Tower is gated behind every earlier key. Its door only opens when you hold the Red, Blue, Green, and Yellow tower keys, and the source stresses that the sand-castle key from the beach scaffolding is also required. This site covers each of those routes as its own article — the train (Blue Tower), chairlift (Green Tower), map (Red Tower), tunnel (Yellow Tower), and the sand-castle scaffold puzzle — so clear those first. The puzzles themselves are all communication-based, so you need at least two players; the source does the whole thing as a two-player team. A belt and a pair of walkie-talkies help along the way, and a megaphone also works for the parts where you can still use devices.
Step 1 — Reach the Black Tower
From the load-in area, follow the shortcut you unlocked on the way to the map and tunnel, and pass the beige-and-green building (you cannot do anything with it yet — it needs the Black Key). Go under the train tracks and keep going until the Black Tower appears in the distance; the Yellow Tower sits on your left as a landmark. The tunnel entrance to the Yellow Tower area is an alternative route. The Black Tower's door is open only if you already carry all the other tower keys, including the sand-castle key.
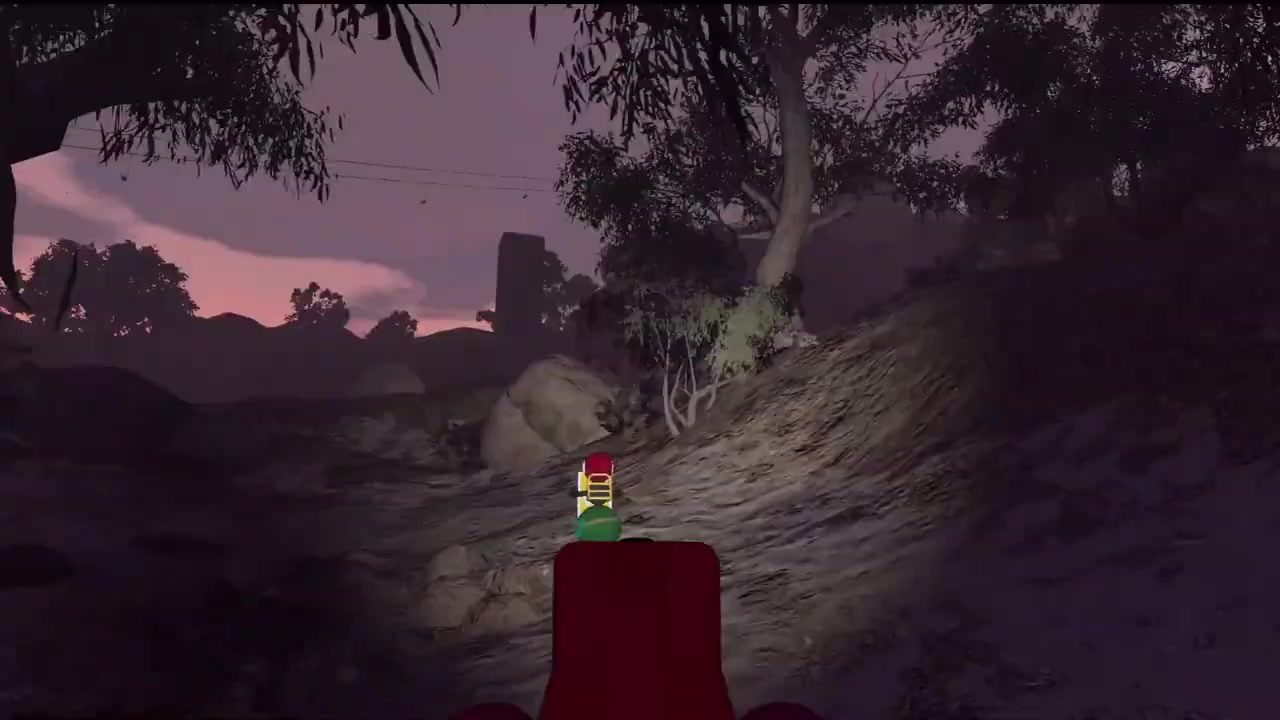
00:54 — approaching the Black Tower from afar, with the Yellow Tower as the landmark on the left.
Success check: you are standing at the Black Tower with all four tower keys plus the sand-castle key already in your inventory.
Step 2 — Trigger the vision at the top
Climb the tower stairs. Near the top you find buttons to press — the count depends on your mode, and in a two-player session there are two buttons. When you press them, one player is locked in place and receives a vision: it shows the obelisk you are standing in, then a black ball on the mountain, a beach and a close-up of an eye, and finally a black hole with a red dot at the top of the ceiling. The vision is the game telling you the goal — everything in this tower exists to grant you access to the black sphere.
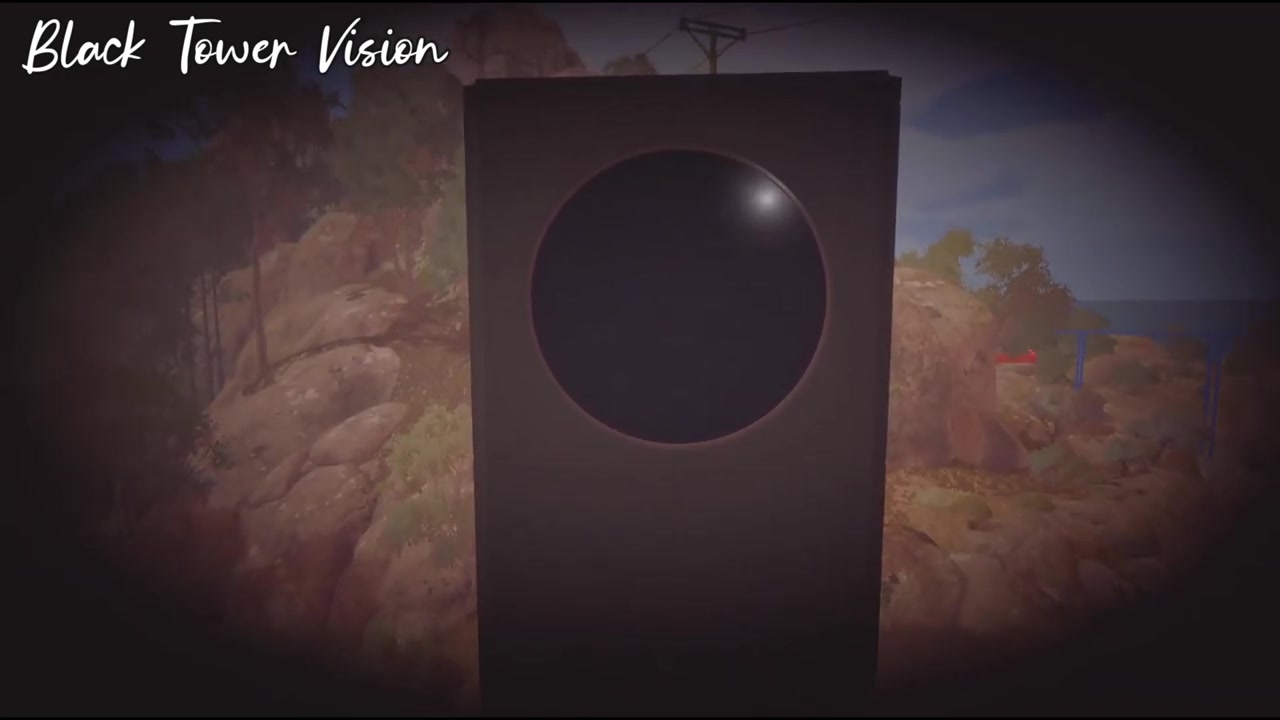
01:34 — at the top of the Black Tower, one player is frozen in place as the vision of the black sphere plays out.
Success check: one player has seen the vision, and both of you know the target is the black sphere beyond the wall.
Step 3 — Solve the six puzzles for six red figurines
Every puzzle below gives one red figurine (the source also calls them red nuggets). They are all communication puzzles, so split up and stay patient — the reward only drops once you coordinate correctly.
Puzzle 1 — Pillar light-switch relay
Look to the left of the Black Tower for the marker: a building with green and beige pillars. Go down the hill, climb the stairs, and you find two doors. Start on the far-left door. At the beginning there is a light switch, and the panels change symbols when you reach the second door on the right. Inside the second room you see a one-way window — you cannot see out once you are in — and both rooms are soundproof. The trick is to turn on the light to communicate: one player toggles the light, and the other presses the button to answer. Agree on a code first — for example, click the button once for position one, twice for position two, and do not click at all to signal "no". The source uses exactly this click-counting scheme and clears the panel positions one by one.
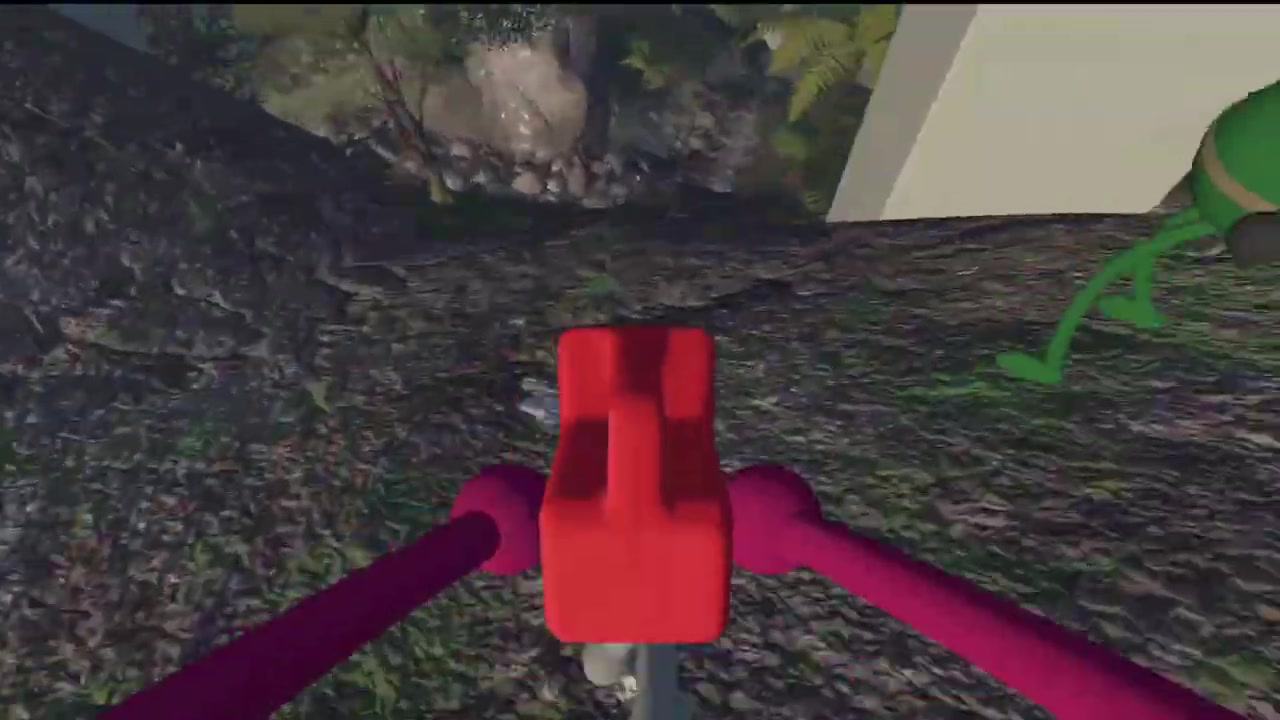
02:44 — the two doors and light switch of the pillar puzzle, where a one-way window and soundproof rooms force light-based communication.
Success check: the first red figurine drops, and you move on.
Puzzle 2 — Blindfolded obstacle course
Continue down the hill from the pillar building, past a yellow walkie-talkie station, until you reach a blue, red, and yellow building. One player puts on the head (the blindfold) and walks the course while the guide runs around the outside of the building giving directions. The guide must call out every move — go straight, stop, turn, crouch and keep walking, and jump forward over gaps and onto steps — because the player inside can see nothing. At the end there is a button to press, and it is easy to miss; have the blindfolded player move slowly and get perfectly straight before pressing, or the whole course restarts.
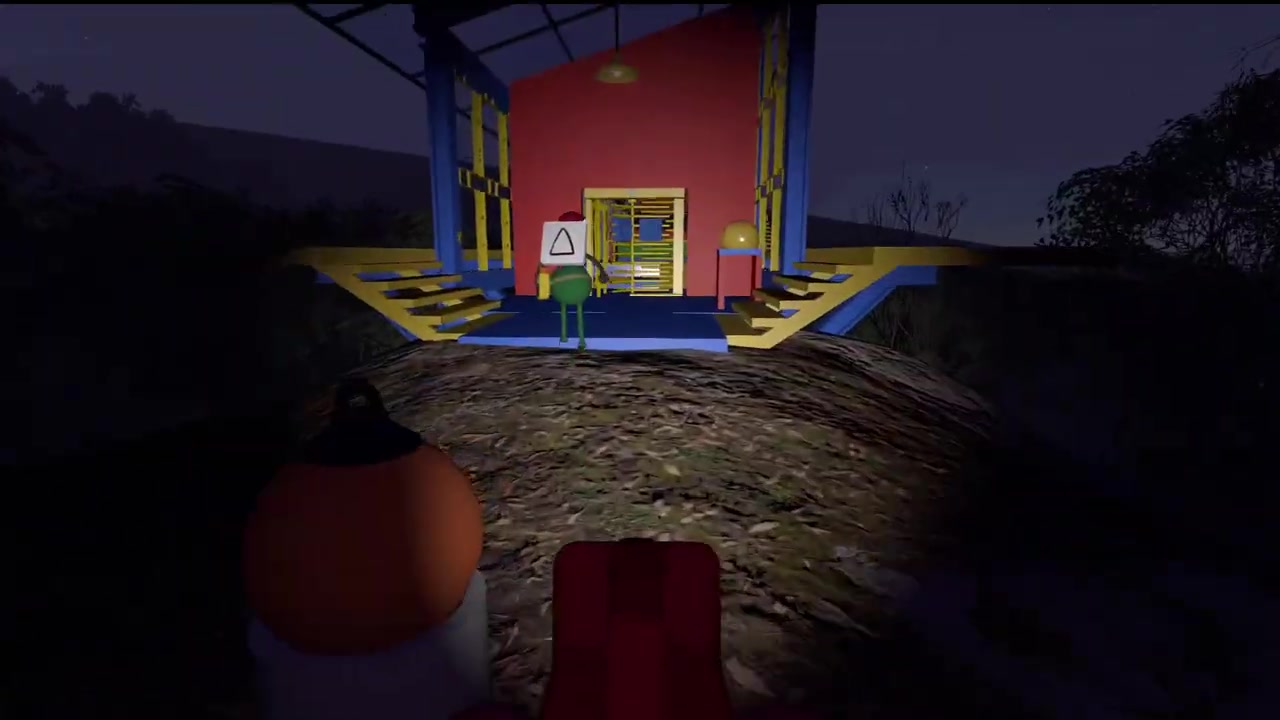
05:15 — the obstacle-course building; one player walks it blindfolded while the guide runs around outside calling directions.
Success check: the blindfolded player presses the end button and the second red figurine drops.
Puzzle 3 — Symbol-matching rooms
In the same forest, near the Blue Tower, look for a red building with yellow and green accents. It has two rooms and only one player per room in a two-player session. The only place you can actually talk to the opposite player is at the far end of the rooms. One player reads the correct symbols from their side and describes them (shape, eyes, nose direction), while the other places the matching panels on the board in the right spots. Go slowly — the shapes look alike, so describe distinctive features rather than guessing.
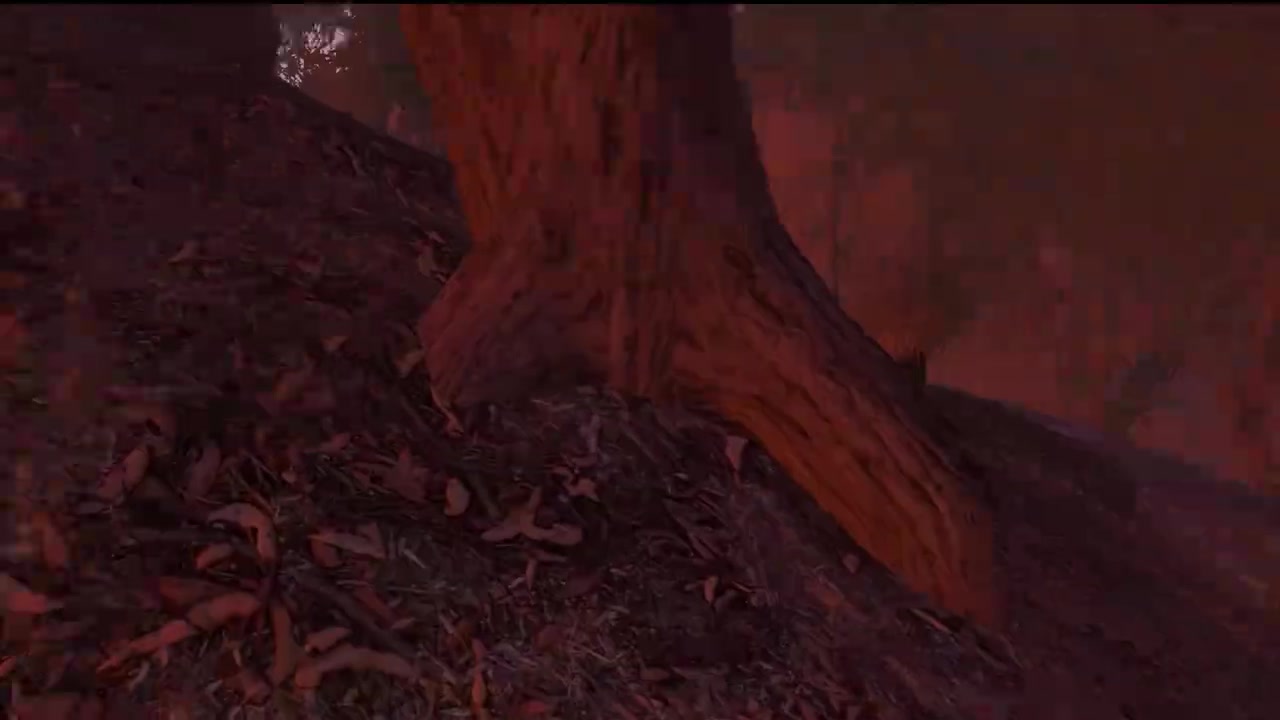
08:19 — the symbol-matching building; the opposite-room player calls out each symbol so the other can place the right panel.
Success check: the board is filled with the correct symbols and the third red figurine drops.
Puzzle 4 — Kettle-dots memory
Head down the hill toward a radio location — a yellow structure with a speaker marks it. Just past it you see red pillar-like towers, which are the marker for this puzzle. Go down the stairs to the red nugget hanging between two opposite doors, and split so one player is in each room. In the right room, panels show circles or dots in positions you must memorize before the door locks. In the left room, take the six yellow kettles and place them on the "volumes" (slots) to reproduce the dot pattern. Pressing the button unlocks the opposite room so the other player can check your layout. Walkie-talkies do not work here, so agree on a numbering code first — the source counts the slots one through twelve and places a kettle only where there is a dot.
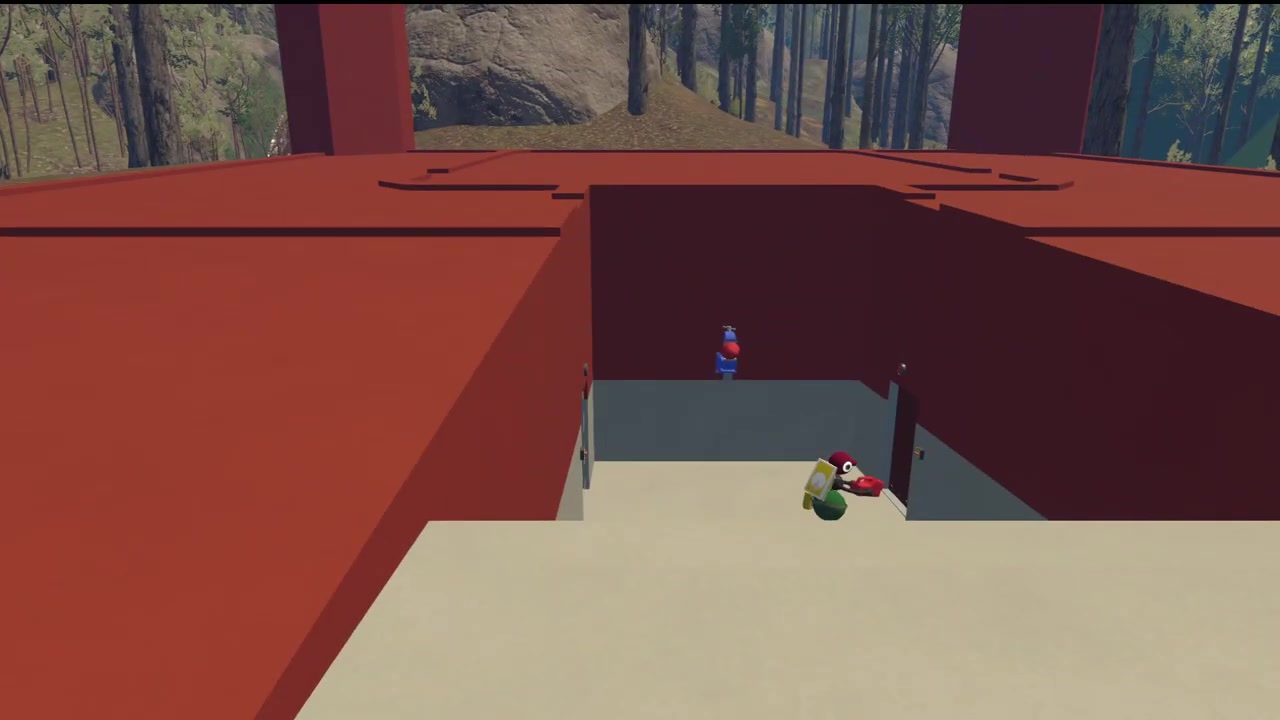
11:03 — the red pillars and the red nugget hanging between the two doors of the kettle-and-dots puzzle.
Success check: the kettles match the dot pattern and the fourth red figurine drops.
Puzzle 5 — Light-relay buildings
Walk back toward the Yellow Tower (with the Black Tower in view), go behind it toward the chairlift, and pass the lock that hides the puzzle. On the way you pass a blue curved building that marks a belt — grab it, since it triggers the Big Help achievement and helps when you play with more people. The puzzle is two separate buildings, not two rooms, and they are soundproof: you can only talk while both of you are in the yellow fenced area. One player sees lights and has to tell the other which button to press in the opposite building, same room, same position. You know a button is correct when a bar fills; one wrong button resets the whole thing. Walkie-talkies and a megaphone help across the fences, but they are dead inside the button and light rooms.
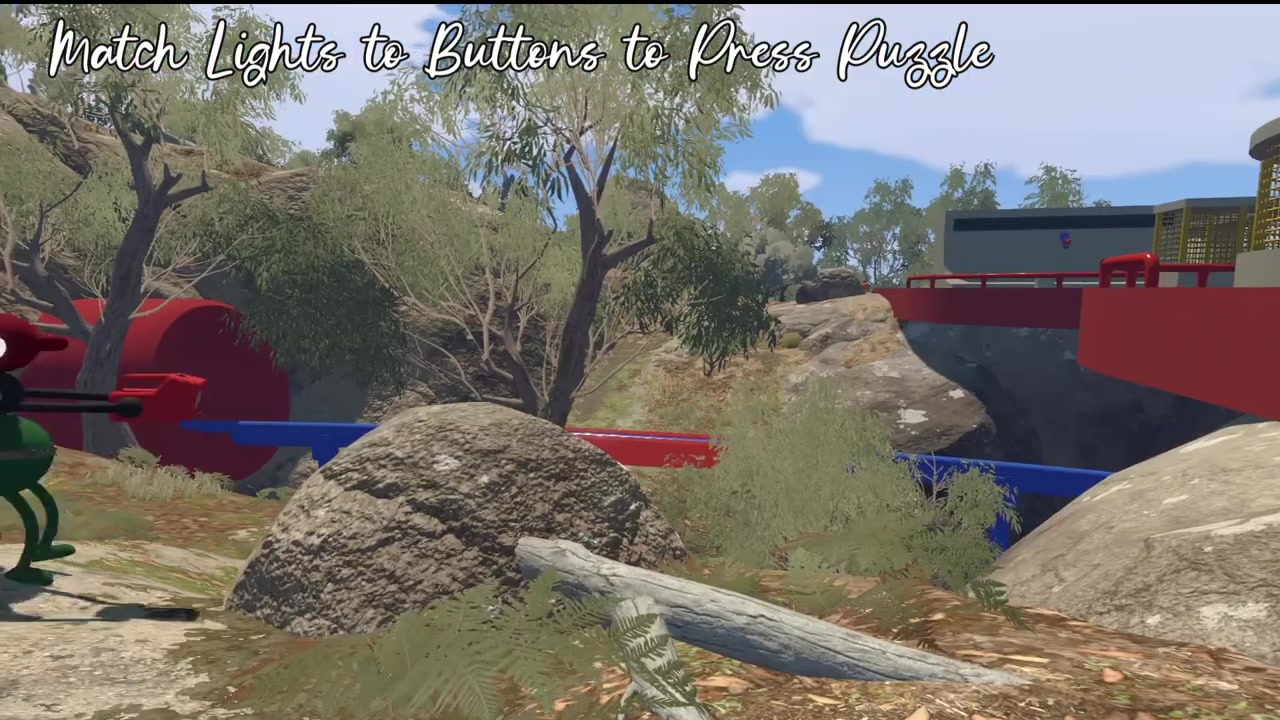
16:07 — the two separate light-relay buildings; communication is only possible from the yellow fenced area between them.
Success check: every light is matched to the correct button without a reset, and the fifth red figurine drops.
Puzzle 6 — Pose-mirroring twin houses
Head toward the train tracks, go under them, and continue until you reach the radio station's floor (the yellow structure). Keep going toward the big green wall, and right before it you see two green twin houses. Enter the right-hand house. There is no sound, so walkie-talkies are useless. One player stays inside and watches the window while the other performs body poses (an arm up, and so on) that appear as signs; the watcher then replicates the movements and places the panels in the correct order. A tip from the source: lay the panels out in front of you beforehand so you can slot the right shape instantly.
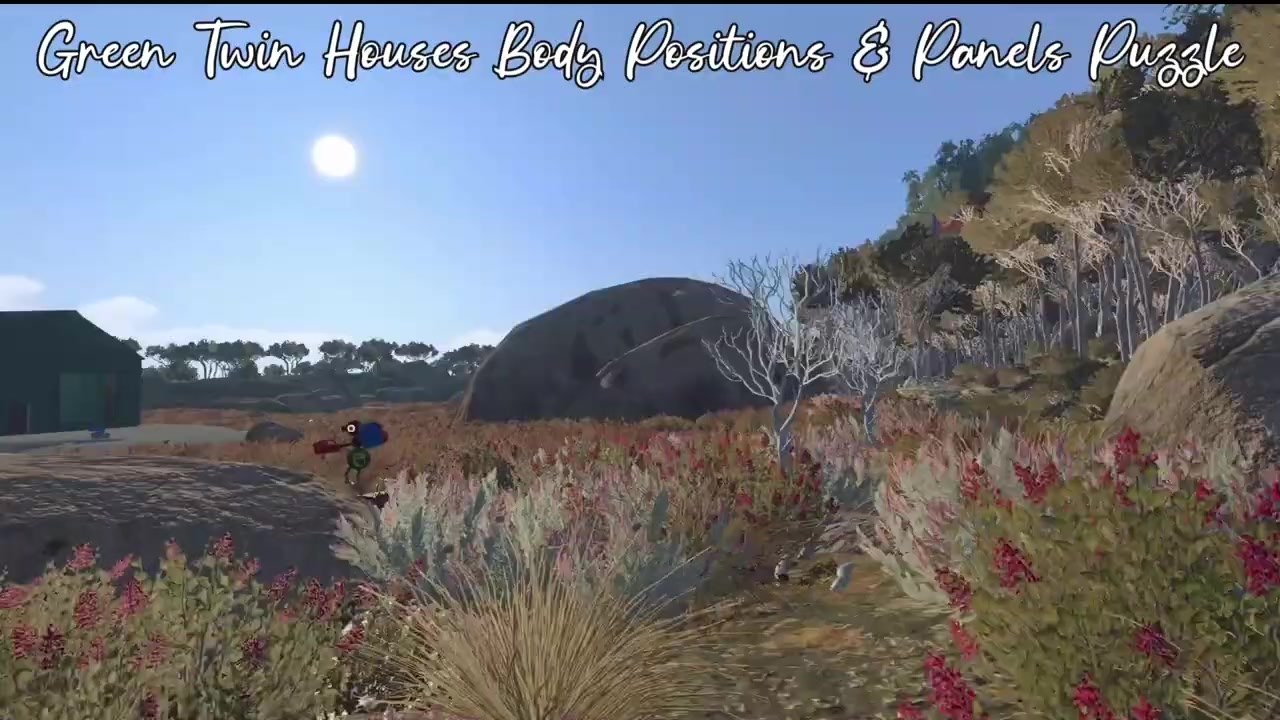
20:24 — the twin green houses; one player mirrors the body poses while the other places the panels in order.
Success check: the last, sixth red figurine drops.
Step 4 — Deposit the figurines and get the Black Key
With all six figurines collected, take the final red nuggets or figurines to the tower and place them into their display cases. This is the same deposit loop the other towers use — the figurines are what turn into the key. The moment the cases are filled you receive the Black Key.
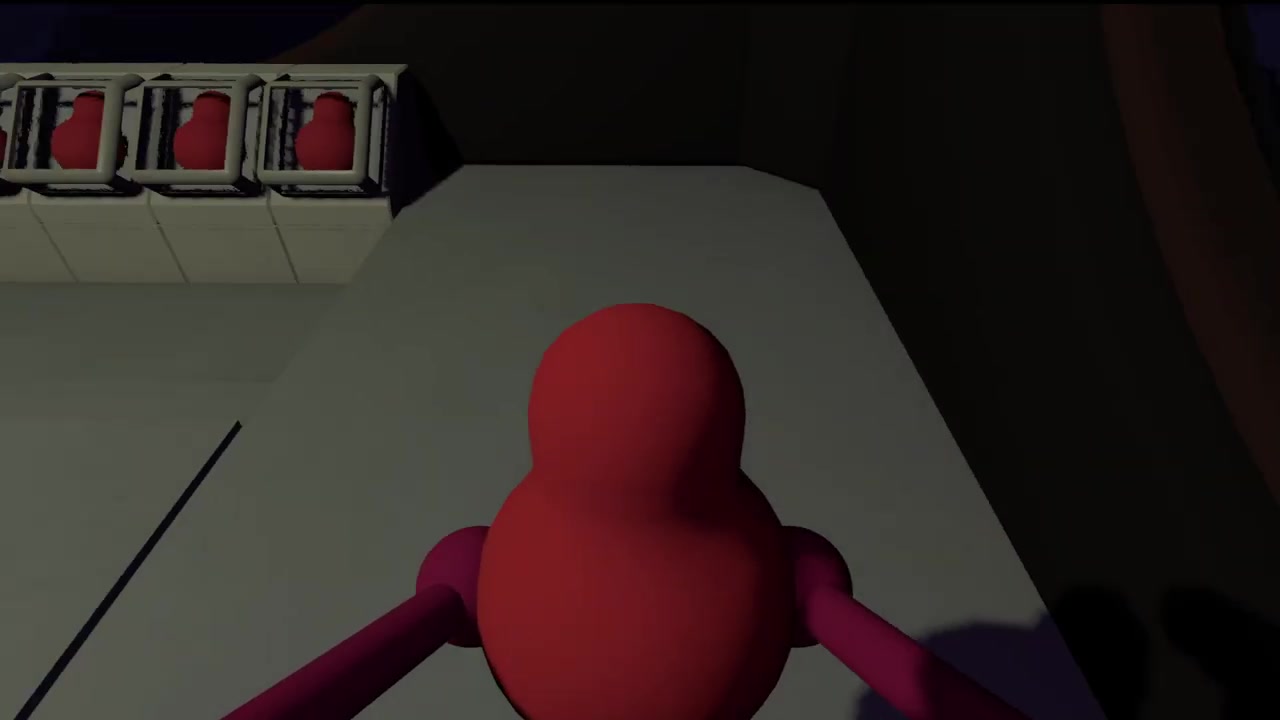
22:04 — placing the final red figurines into their display cases, which grants the new key.
Success check: the Black Key is in your hands.
Step 5 — Open the Big Wall
Head back toward the Big Wall, but this time to its entrance, where a key slot waits. Fair warning: as you get close to the slot, your colors change and you lose the ability to communicate verbally and even through text chat — that is part of the game, not a bug. Place the Black Key in the slot. The wall opens, you earn the Big Wall achievement ("go beyond the wall"), and the black sphere stands ahead.
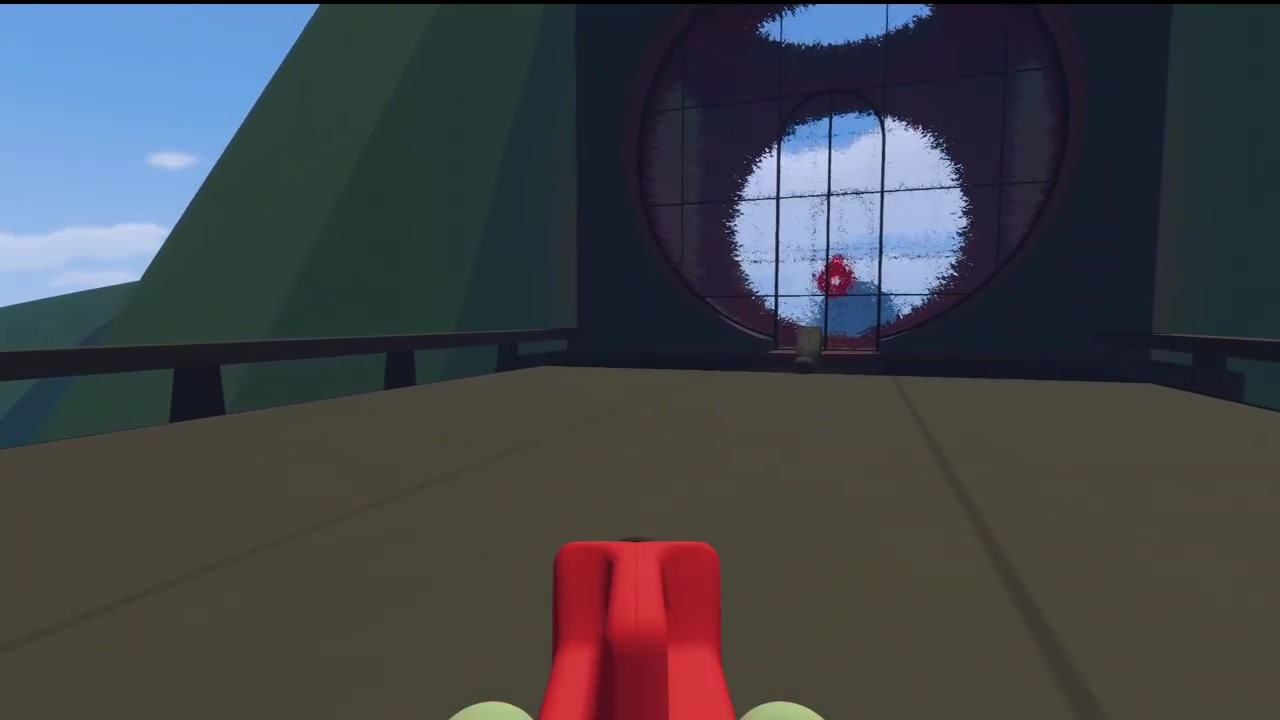
22:52 — the key slot at the Big Wall entrance; placing the Black Key here opens the wall.
Success check: the Big Wall achievement pops and the black sphere is visible beyond the opened wall.
Success check
You have all six figurines deposited, the Black Key in hand, and the Big Wall open with the black sphere ahead. If the wall will not open, double-check the prerequisite — the Black Tower only unlocks when you hold every earlier key, including the sand-castle key.
Common mistakes and recovery
- Going for the Black Tower before the earlier keys. Its door stays shut until you hold Red, Blue, Green, Yellow, and the sand-castle key. Backtrack and clear those first.
- Trying to talk inside the soundproof rooms. Most of these puzzles mute you; use the light switch (puzzle 1), the far-end opening (puzzle 3), the yellow fenced area (puzzle 5), or pure body language (puzzle 6).
- Pressing the blindfolded player's end button too fast. That button is easy to miss and resets the course; move slowly and stand perfectly straight.
- Guessing the light-relay buttons. One wrong press resets the whole puzzle; have the light-watcher name each position explicitly before you press.
- Relying on walkie-talkies everywhere. They are dead in the kettle-dots rooms and in the pose-mirroring houses; agree on a numbering or body code before you enter.
- Panicking when colors change near the wall. That mute is intentional — just place the key and continue.
Player-count and version notes
- The source is a two-player session, and it is explicit that the number of buttons at the top of the Black Tower scales with your mode — a two-player server shows two buttons. Every puzzle here needs at least two people to split the information.
- The belt from the blue curved building grants the Big Help achievement and is recommended "especially if you're playing more than two players", so any group size above two should grab it before the light-relay puzzle.
- Walkie-talkies and a megaphone are helpful only where devices still work (between the fenced buildings); inside the muted rooms they do nothing.
Source
This article is a single-source guide synthesized from one public video: Big Walk's Vision & How to Open the Big Wall | Black Tower Key Puzzle Guide | 2 Player Co-Op by Maybe Sarisa (youtube.com/watch?v=UWB2z-HqqTw). Every section maps to a timestamped moment in that video, and the frames are temporary extracts used only to illustrate the steps, not final artwork. Facts were taken from the video's own captions and footage; this article does not claim cross-verification against other sources.