Big Walk: How to Open the Tunnel (Yellow Tower Key)
The full route to unlock the underground tunnels in Big Walk: reach the Yellow Tower, solve its five puzzles for five red figurines, get the key, shave it at the key-slot stations, and enter the tunnel shortcut.
 Big Walk Atlas
The tunnels in Big Walk are an underground shortcut system that connects the towers, and they stay sealed until you earn the Yellow Tower key. This guide walks the whole route in order so you can follow it in-game without pausing the video. The short version: get to the Yellow Tower (the chairlift from the Green Tower is the quick way), solve its five puzzles to collect five red figurines, deposit them at the tower to get the key, then shave the key at the key-slot stations — the last one sits right in front of the tunnel entrance. Step inside and you unlock the Big Tunnel achievement plus a shortcut back toward the Blue Tower.
The unlock at a glance
- Reach the Yellow Tower. Walk from the load-in area through the Red Tower archway, follow the landmarks, and catch the Green Tower chairlift across.
- Solve the five puzzles. Each of the five yellow-area puzzles hands over one red figurine.
- Deposit the five figurines. Put them into the Yellow Tower's key slots to receive the key.
- Shave the key. Visit the key-slot stations around the map so the key takes its final shape; the last station is in front of the tunnel entrance.
- Enter the tunnel. The tunnel opens, you get the Big Tunnel achievement, and the underground shortcut is yours to use.
Before you start
Two earlier unlocks make this route dramatically shorter. First, unlock the map — the source walks through the Red Tower archway and uses the map to plot the route, and it explicitly recommends unlocking the map first because it makes everything easier. Second, unlock the chairlift — the Green Tower chairlift is what carries you up to the Yellow Tower side; without it the walk is much longer. A belt and a pair of walkie-talkies also help along the way: the belt is used for the Big Help achievement near the route, and walkie-talkies let you skip the hand-signal communication some of the puzzles need.
Step 1 — Reach the Yellow Tower
From the load-in area, go through the archway unlocked by the Red Tower route. Keep following the landmarks in order: a walkie-talkie location, the tree trunk, then the forest following the rocks. You pass the train station — stay off the platform and go up the hill, past the hoop basket puzzle and a radio-station area, until the Green Tower and its chairlift come into view. Catch the chairlift across; it is the quick, simple way up to the Yellow Tower side. From there, head down past the chairlift terminal toward the Yellow Tower — on the way you pass the red tunnel, a blue amphitheater, and a blue curve structure that hides a belt.
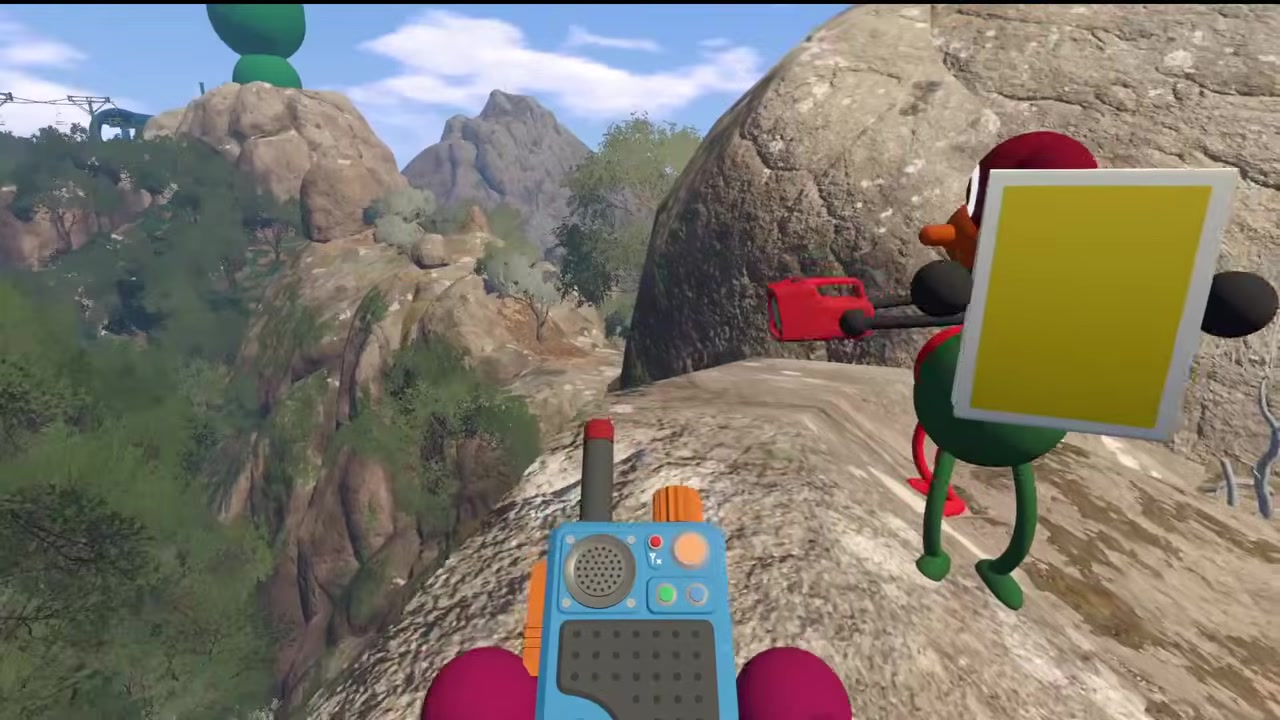
02:40 — from the route, the Green Tower and chairlift come into view; the source catches the chairlift to cross toward the Yellow Tower.
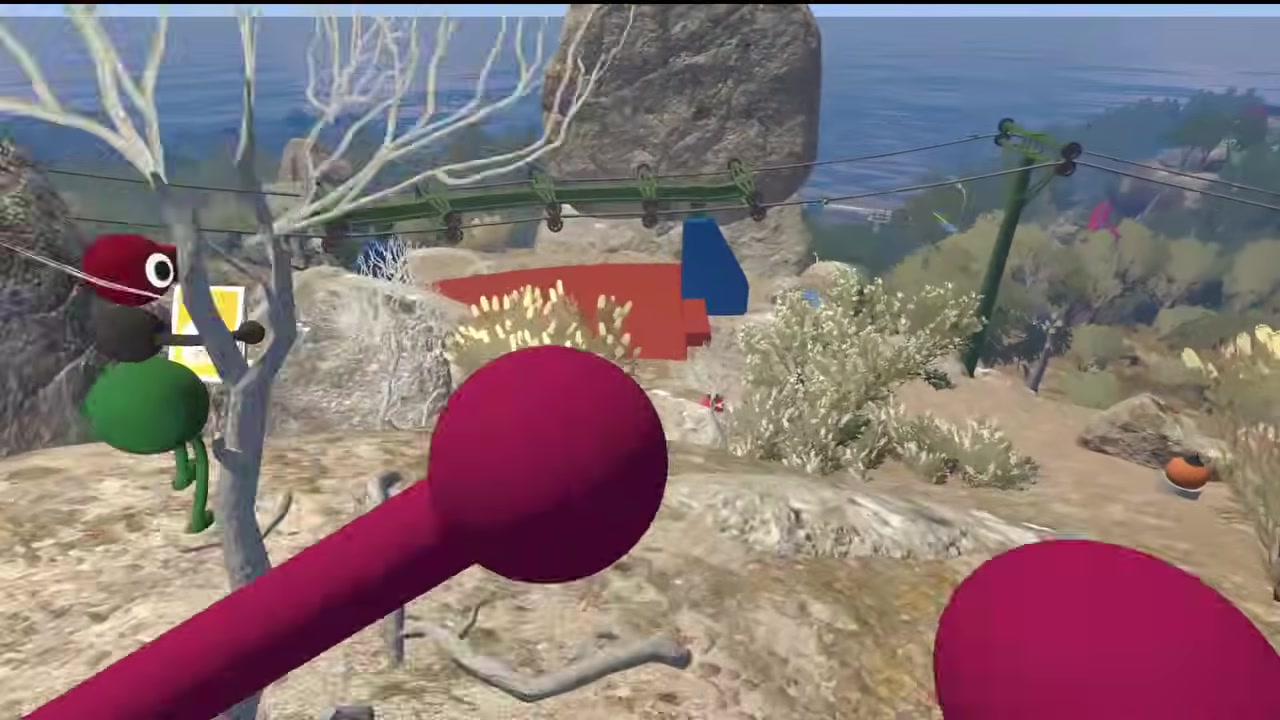
03:26 — past the chairlift terminal, the group heads down toward the Yellow Tower where the five puzzles wait.
Success check: you are at the Yellow Tower with the map and chairlift already unlocked.
Step 2 — Solve the five puzzles for five red figurines
Each of the five yellow-area puzzles gives one red figurine. The source solves all five in one three-player session, and this site covers each one as a separate Yellow Tower puzzle guide. For the outer route, the only thing that matters is collecting five figurines:
- Music / sound panels — inside a modern red house, slot sound panels into the opposite boxes while a teammate in the soundproof booth tells you over the intercom which sound goes where.
- Scavenger hunt — the red-bean-shaped structure scatters roughly 36 colored pieces around the area (blue ones on the archway, red ones on the structure); gather and return them all to fill the panel, teaming up to reach the high ones.
- Blue amphitheater — three players split between the top of the soundproof booth, the bottom, and the center stage, pressing the button that matches each lit light.
- Chairlift signal panels — up the hill by the blue poles, one player rides the chairlift across while another stays by the panels and relays which symbols to add, using binoculars or walkie-talkies.
- Green underground relay — at the green "hole" structure, carry the red figurine from below up to the empty gray box, relaying it up the platforms by kicking, throwing, and lifting each other.
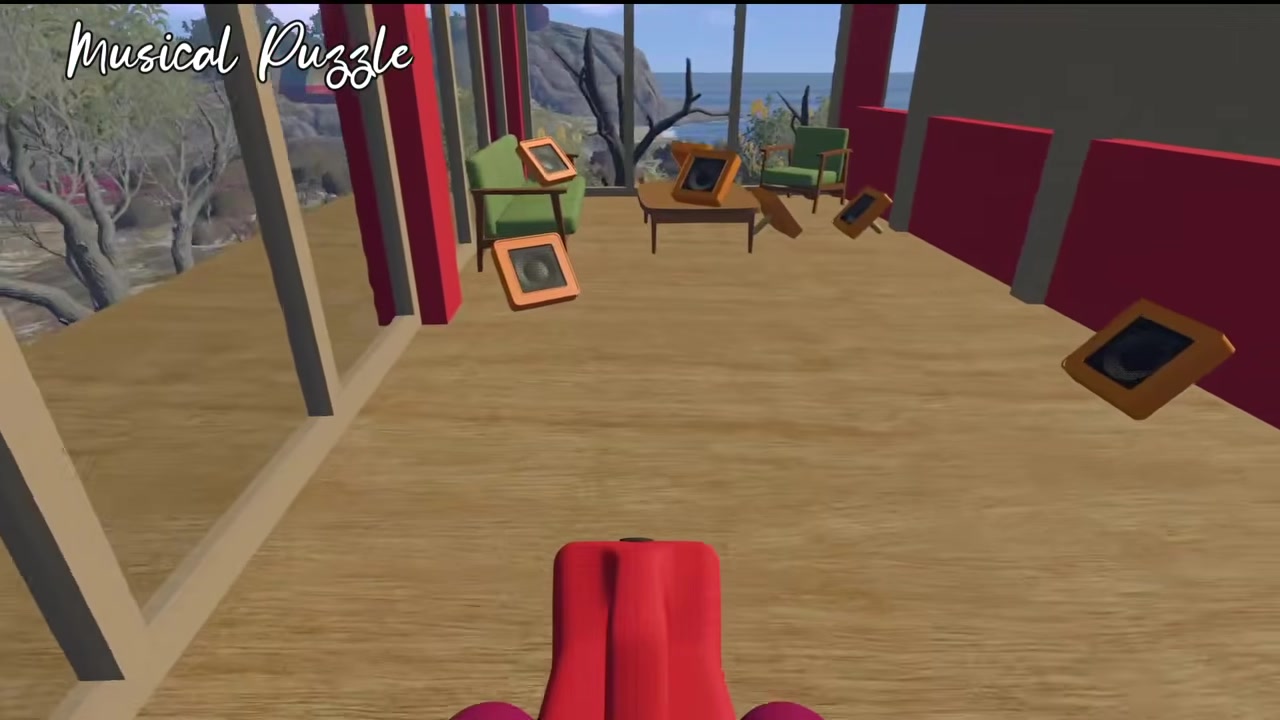
05:38 — inside the red house, the sound and music panels are slotted into the boxes opposite while the booth teammate calls out the sounds.

07:00 — the red-bean-shaped structure marks the scavenger-hunt puzzle; colored pieces are gathered from around it until the panel is full.
Success check: you have collected all five red figurines and are heading back to the Yellow Tower.
Step 3 — Deposit the figurines and get the Yellow Tower key
Back at the Yellow Tower, the source shows the key slots and inserts the figurines. Delivering the figurines is what turns them into the key — the same deposit loop the other towers use. Do this as soon as your hands are full so you never lose track of a figurine.
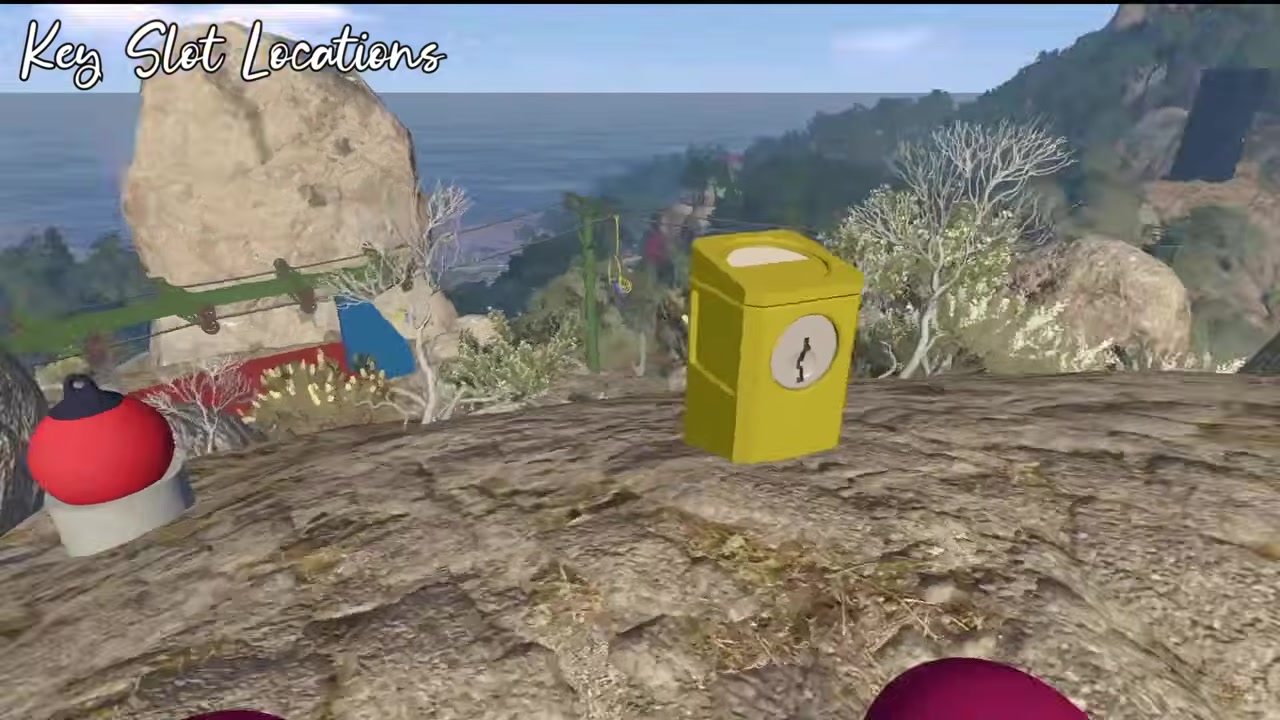
18:31 — the source shows the Yellow Tower key slots; inserting the key here is how the tower releases the key's final form.
Success check: the five figurines are deposited and the Yellow Tower key is in hand.
Step 4 — Shave the key at the key-slot stations
The key is not finished yet — it must be shaved into its final shape at key-slot stations scattered around the map. The source points out the locations, noting that some are pretty far from each other, and that the last key-slot station sits right in front of the tunnel entrance. You run, jump a little, and work through each one in turn.
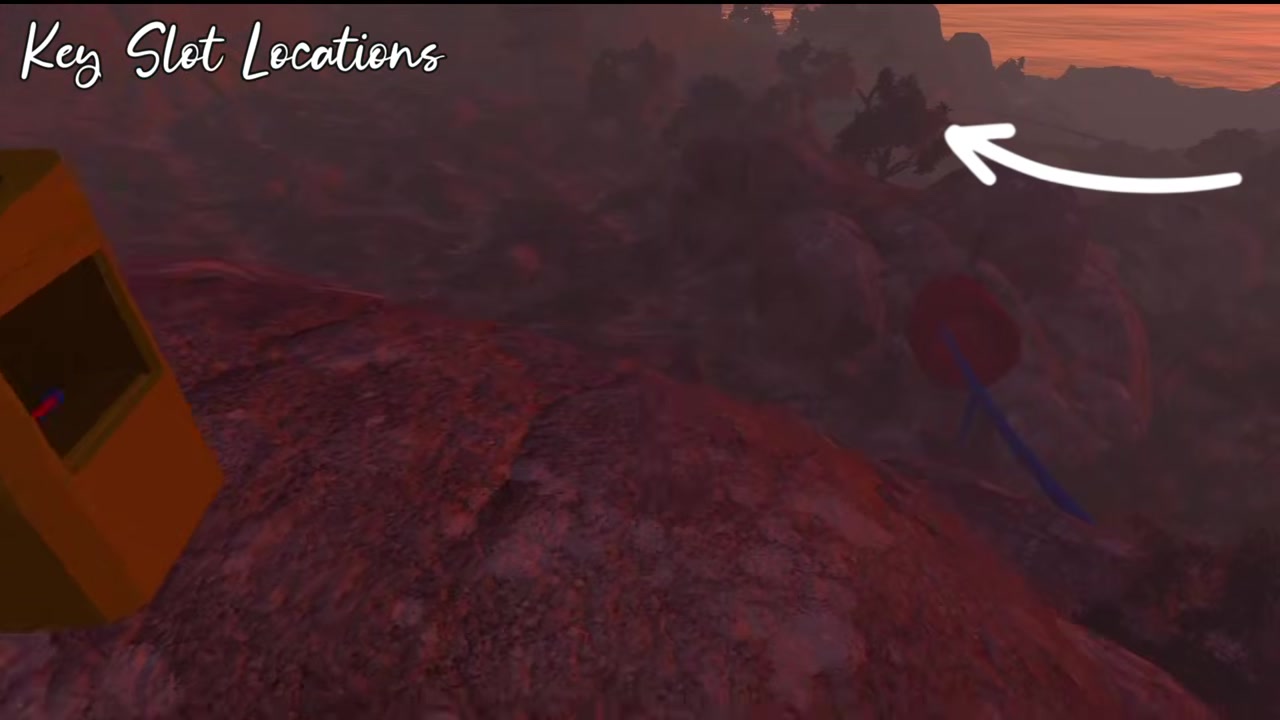
18:52 — the source points out the key-slot locations where the key is shaved into its final shape; the last one is in front of the tunnel entrance.
Success check: the key is fully shaped after the last station, directly in front of the tunnel.
Step 5 — Enter the tunnel
With the key shaped, the tunnel opens. Walk in and you trigger the Big Tunnel achievement. From here the underground system works as a shortcut — the source heads through it toward the Blue Tower.
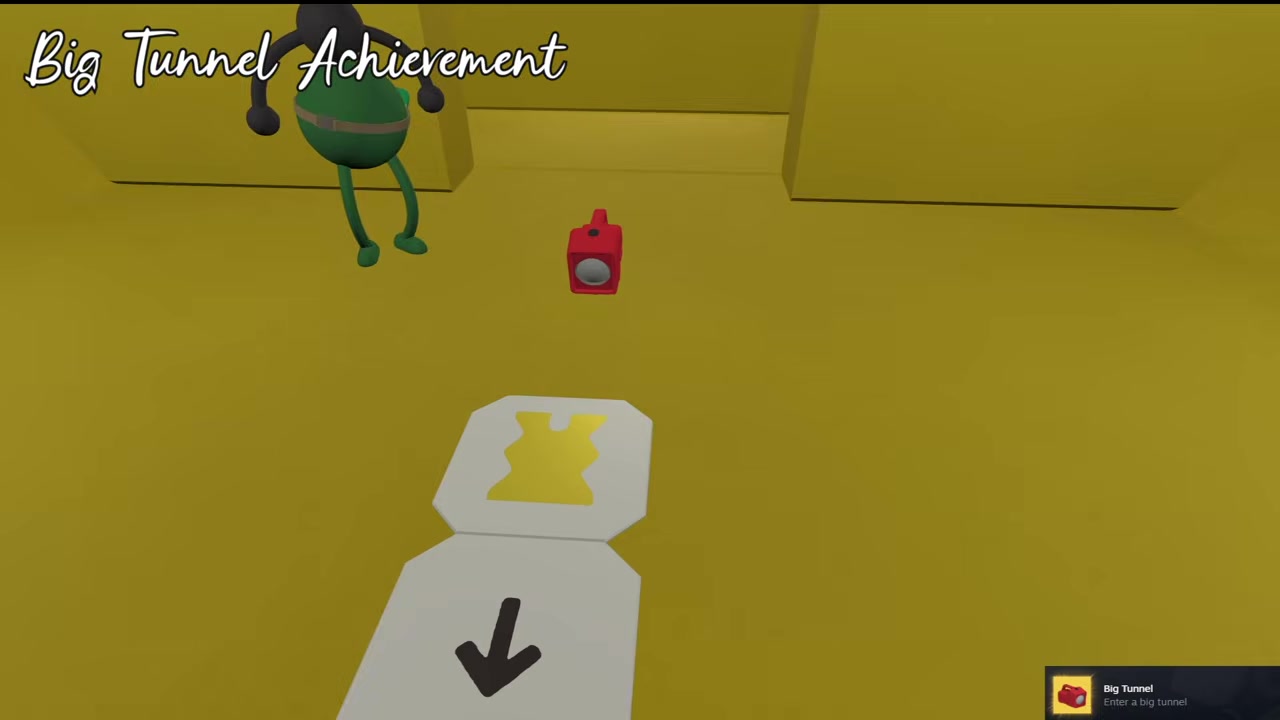
19:30 — the big tunnel entrance; entering it unlocks the Big Tunnel achievement and opens the underground shortcut.
Success check: you are inside the tunnel and the Big Tunnel achievement has popped.
Step 6 — What's inside the tunnels
The Big Tunnel achievement is not the only thing down here. Near the crossroad between the Red Tower and Blue Tower, stairs lead to a room with music playing — it is both a radio location you can activate and a DJ-booth party section with smoke effects. Opposite that, a customization booth lets you get shiny for the Big Makeover achievement: you and your friends paint each other with the three shiny colors. There is also a belt item behind the blue curve structure. The tunnels are built like a maze with no map, so follow the color-coded corridors — red to green to blue, then pink and red again — to stay on the right path.
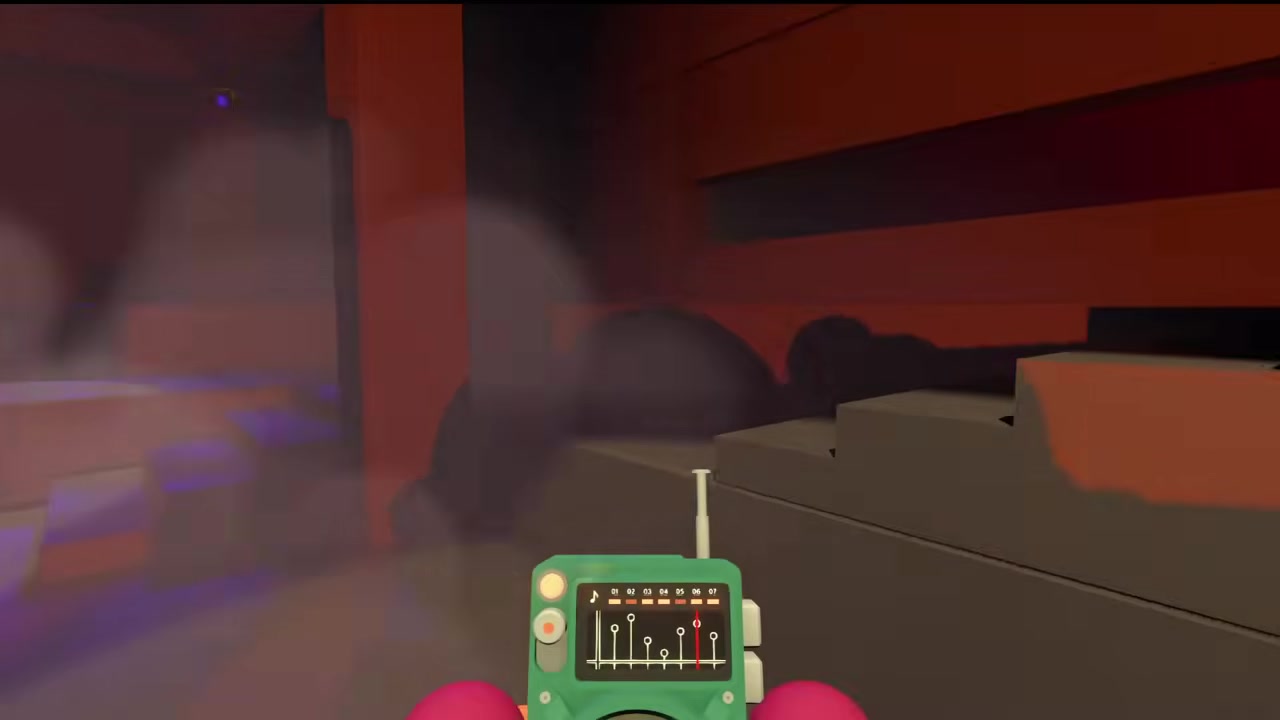
20:26 — inside the tunnels, the room doubles as a radio location and a DJ-booth party section with music and smoke effects.
Success check: you have found the radio/DJ room, the shiny customization booth, and can follow the colored corridors without getting lost.
Success check
The tunnel is open, the Big Tunnel achievement is unlocked, and you can use the underground shortcut to move between towers. If the tunnel does not open, the missing piece is almost always the key — confirm all five figurines are deposited and the key has been shaved at every key-slot station, including the last one directly in front of the tunnel.
Common mistakes and recovery
- Walking the long way because the map or chairlift is locked. Unlock the map and the chairlift first; the chairlift is the quick route up to the Yellow Tower.
- Carrying items through the yellow door system. The yellow doors strip your items at the door, so you cannot bring objects through them — finish the carry before you pass one.
- Getting lost in the tunnels. There is no map underground. Follow the color sequence of the corridors (red → green → blue → pink → red) and re-watch the route if you lose it.
- Leaving a figurine undeposited. Deposit each figurine at the tower as soon as you grab it, before moving to the next puzzle, so you never lose track of the count.
- Forgetting the last key-slot station. It sits in front of the tunnel entrance; do not stop after the far stations.
Player-count and version notes
- The source is a three-player run, and the blue amphitheater puzzle in this area needs exactly three roles (top booth, bottom booth, center). The source notes that more than three people makes the whole route go faster.
- The tunnel, key, and key-slot stations are fixed world unlocks, so opening the tunnel does not depend on your exact group size — but the individual five puzzles do scale with the group, and this site covers them as separate Yellow Tower puzzle guides.
Source
This article is a single-source guide synthesized from one public video: How to Open Big Walk's Tunnel, Get Shiny & Yellow Tower Key Puzzle Guide | 3 Player Co-Op by Maybe Sarisa (youtube.com/watch?v=Bjpb3FipSig). Every section maps to a timestamped moment in that video, and the frames are temporary extracts used only to illustrate the steps, not final artwork. Facts were taken from the video's own captions and footage; this article does not claim cross-verification against other sources.