Big Walk Red Blobs (Gourds & Beans): Track and Recover Every One
How to find a lost red blob, bean, or gourd in Big Walk: the lost-and-found at spawn, the map-room 3D map with its flag system, and the two places a misplaced blob always returns to.
 Big Walk Atlas
Red blobs — the same items the community also calls beans or gourds — are the reward you carry out of almost every Big Walk puzzle, and they are the currency that buys the tower keys. They are also easy to lose: you drop one on a ledge, end the session while it is still in your hands, and suddenly you have no idea where it went. This guide covers the whole tracking-and-recovery mechanic so you can follow it in-game without pausing the video. The short version: a blob you drop returns to the puzzle location where you solved it, while a blob you were still holding when the session ended returns to the lost-and-found beside your spawn point. To see the full picture — every blob location and which ones you have already secured — unlock the map room and read its 3D map: a blob with a flag on top is secured, a lying-down blob with no flag is misplaced and waiting at one of those two spots.
The recovery rule at a glance
- Dropped a blob? It respawns at the exact puzzle location where you originally earned it.
- Holding a blob when the session ended? It waits in the lost-and-found, on the left side of your starting base.
- Need the full checklist? Unlock the map room and read the 3D map — every blob is marked, and a flag shows which ones you have already secured.
Before you start
Recovering a held blob costs you nothing: the lost-and-found is always there, just to the left of where you load in. The 3D map, however, is gated behind one unlock. To reach it you must clear the Red Tower — solve its puzzles to collect five red blobs, turn them in for the Red Tower key, then use that key to unlock the map room through the tunnel near spawn. If you already did this on the way to getting your map, you can skip straight to the 3D map. If not, budget that clear first, because the map is the only place that shows every blob location at once.
Step 1 — Check the lost-and-found first
The fastest check is also the closest. From your spawn point, walk to the left-hand side of the base and look for the lost-and-found section. This is where the game sends any red blob you were holding — or had stored on a friend's backpack — when the session ended. If your lost blob matches that situation, it will be sitting right here waiting to be picked up, no tower clear required.
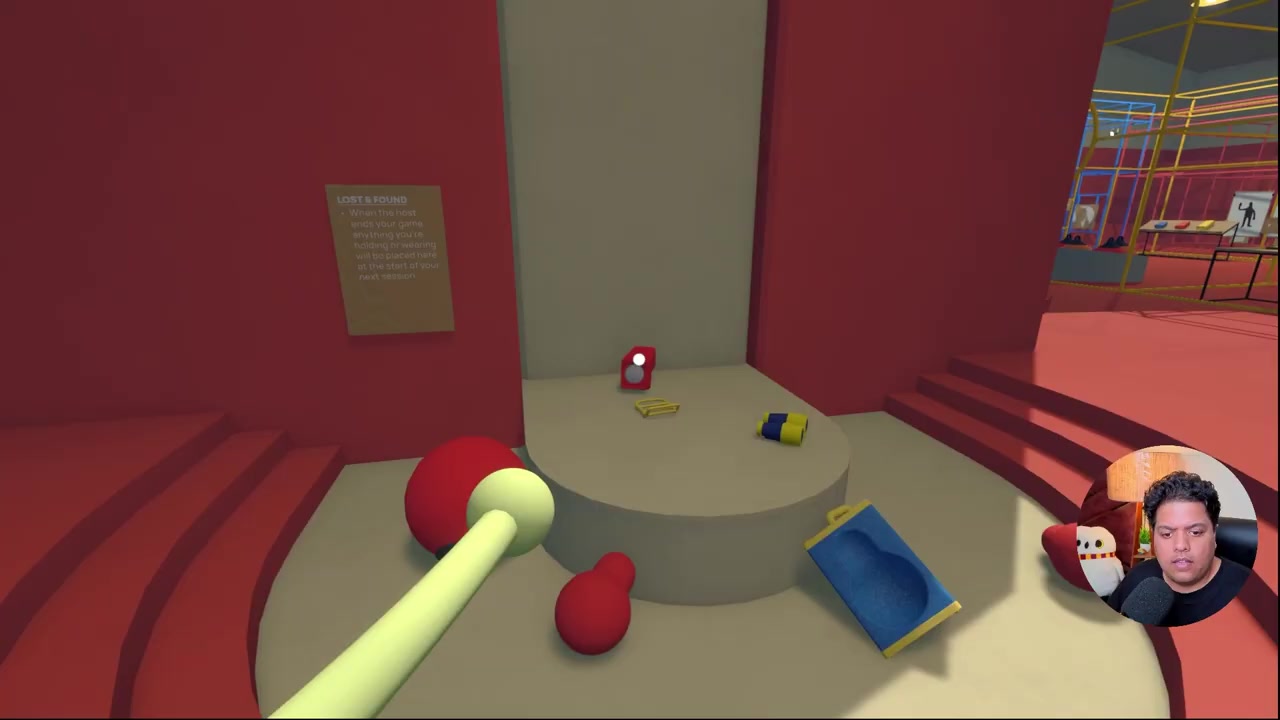
00:22 — at the starting base, the lost-and-found section sits to the left of the spawn point, where a held red blob is returned.
Success check: you are holding your lost blob again straight from the lost-and-found shelf.
Step 2 — Unlock the map room to see every blob location
If the lost-and-found is empty, the blob is out in the world, and the 3D map is how you find it. Get the Red Tower key (five red blobs from the Red Tower puzzles, deposited at the tower), then go to the tunnel near spawn and place the key to unlock the map room. This is the same map room where you first collected your map and compass.
00:45 — the route through the tunnel toward the map room; placing the Red Tower key here unlocks the 3D map.
Success check: the map room is open and you are standing in front of the 3D map.
Step 3 — Read the 3D map
Inside the map room, go over and down to the 3D map. It renders the whole island and shows every red blob, bean, or gourd location on it. Each marked spot corresponds to a puzzle location — the place where that blob is earned — so the map doubles as a checklist of every puzzle that still has a blob tied to it.
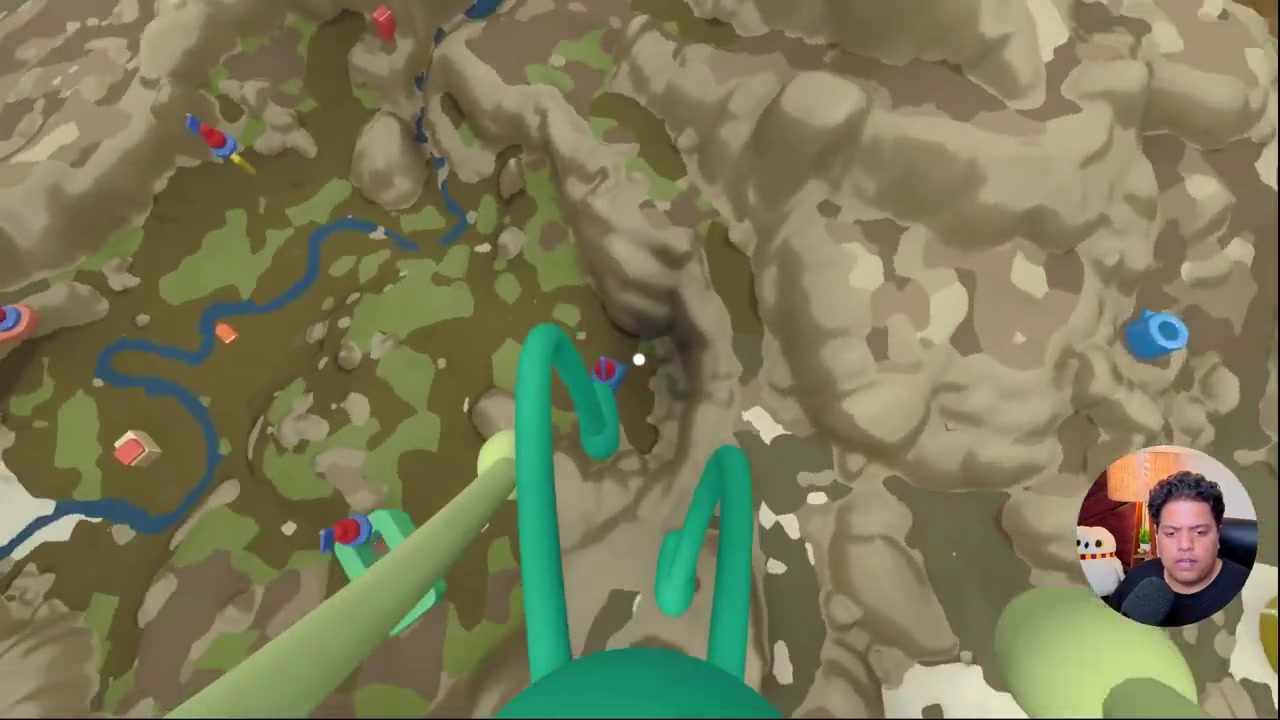
00:58 — inside the map room, the 3D map displays every red blob, bean, or gourd location at its matching puzzle spot.
Success check: you can pick out each blob marker and its puzzle location on the 3D map.
Step 4 — Use the flags to tell secured from missing
Each blob marker on the 3D map tells you its state. A blob you have solved and secured — meaning you placed it into one of the colored structures or containers — has a flag on top of it. A spot with no flag means you have not found that blob yet and have not completed that puzzle. Reading the flags this way turns the map into an at-a-glance progress tracker.
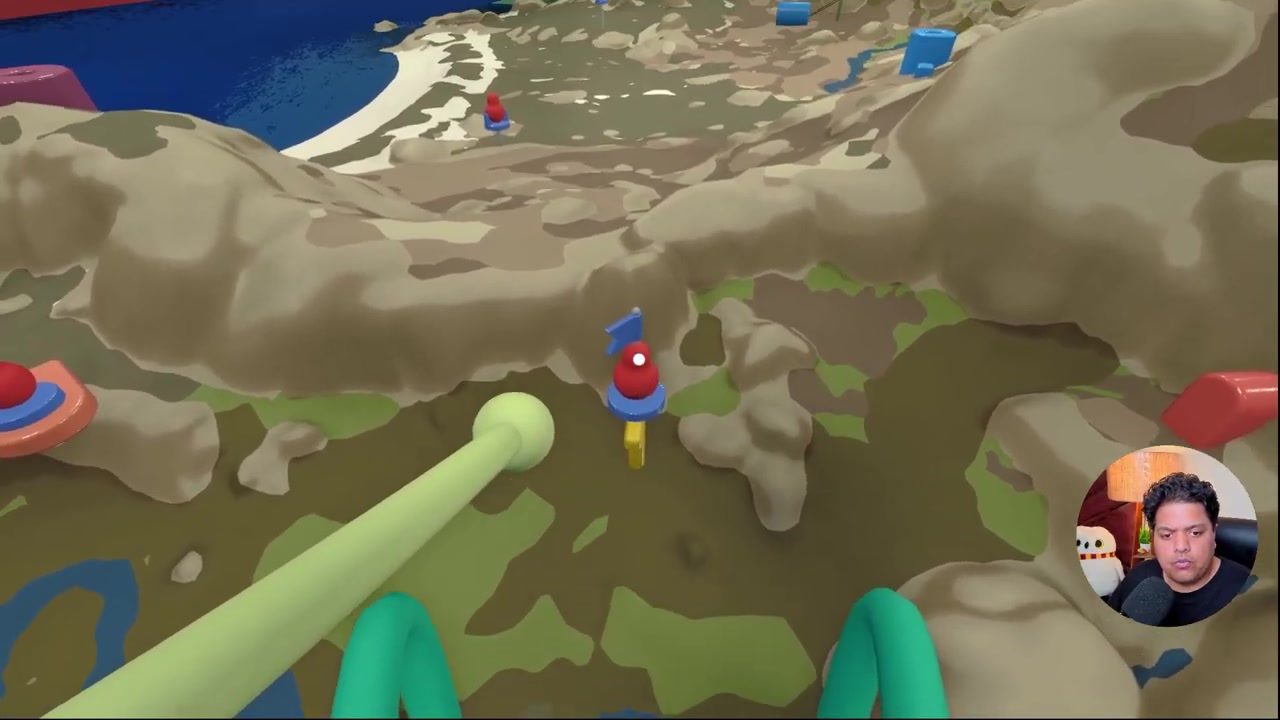
01:21 — on the 3D map, a secured blob carries a flag on top, while the spots you have not collected show no flag.
Success check: you can name which blobs are secured (flag) and which are still missing (no flag).
Step 5 — Recognize a "misplaced" blob
There is a third state worth learning before you go hunting. If you solved a puzzle but then moved the blob — dropped it, or left it somewhere — the blob on the 3D map appears lying down with no flag. That is the game's way of saying the puzzle is done but the blob is not in a container, and it is waiting in exactly one of two places: the lost-and-found at your base, or right back at the puzzle location where you earned it.
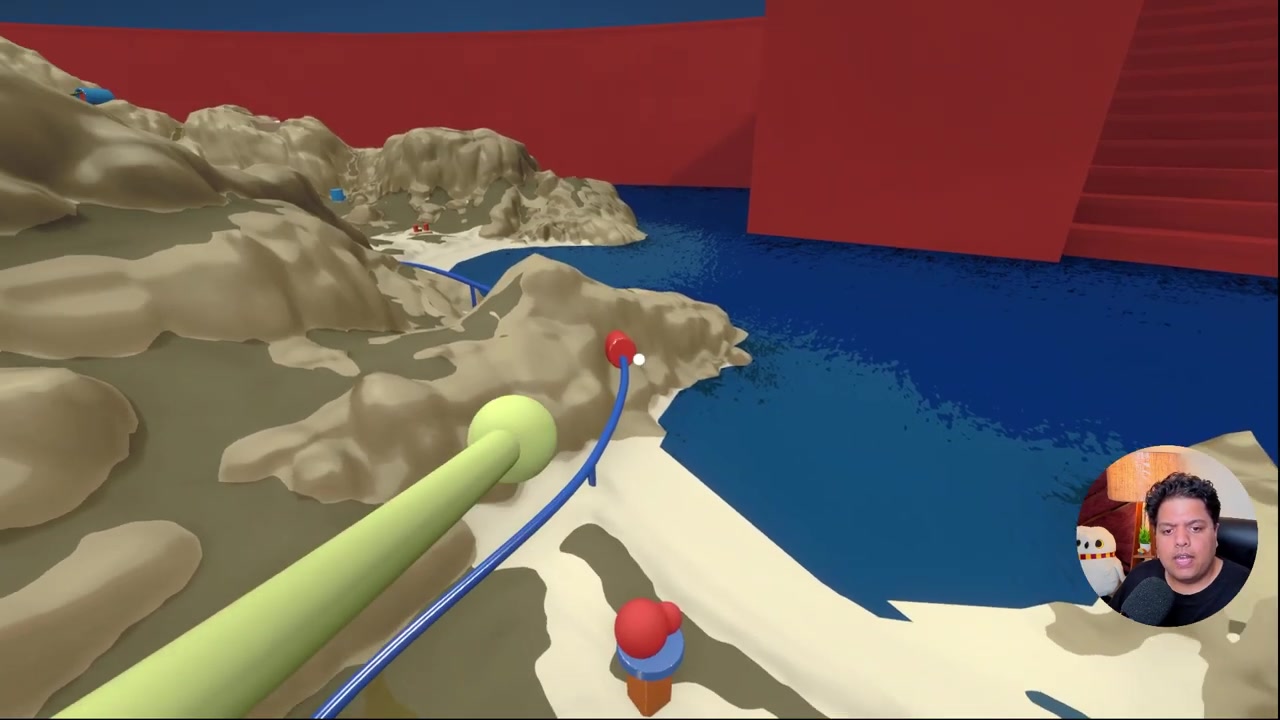
01:42 — a blob marker lying down with no flag means the puzzle is solved but the blob has been moved out of its container.
Success check: you can read the difference between "not found" (no flag, upright) and "misplaced" (no flag, lying down).
Step 6 — Recover a dropped blob at its puzzle location
If the blob was dropped — not held at the session end — it returns to the same place where you solved the puzzle. The source demonstrates this at a blue balloon puzzle: the blob had been lying on a platform behind the balloon, and walking back to that puzzle location finds it sitting right there, ready to pick up. Drop it again later and it lands back at the same puzzle spot every time.
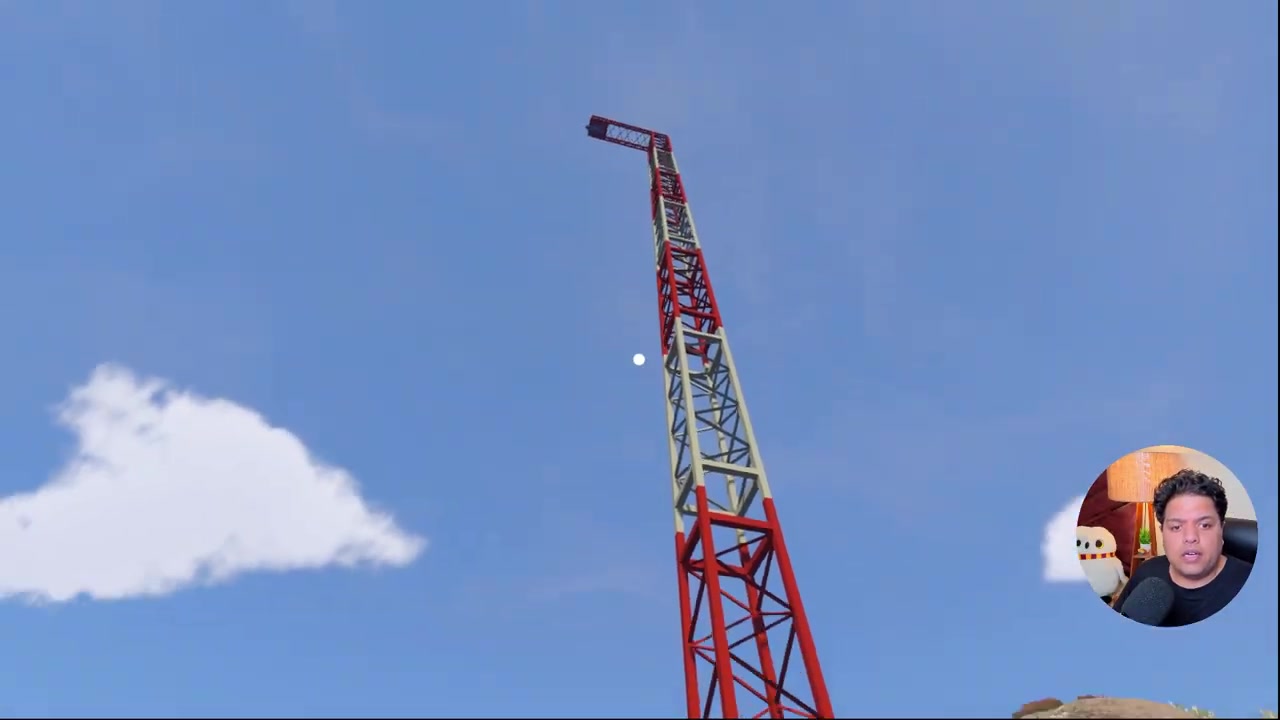
02:08 — behind the blue balloon, the worked-example blob lies on a platform at the puzzle it came from.
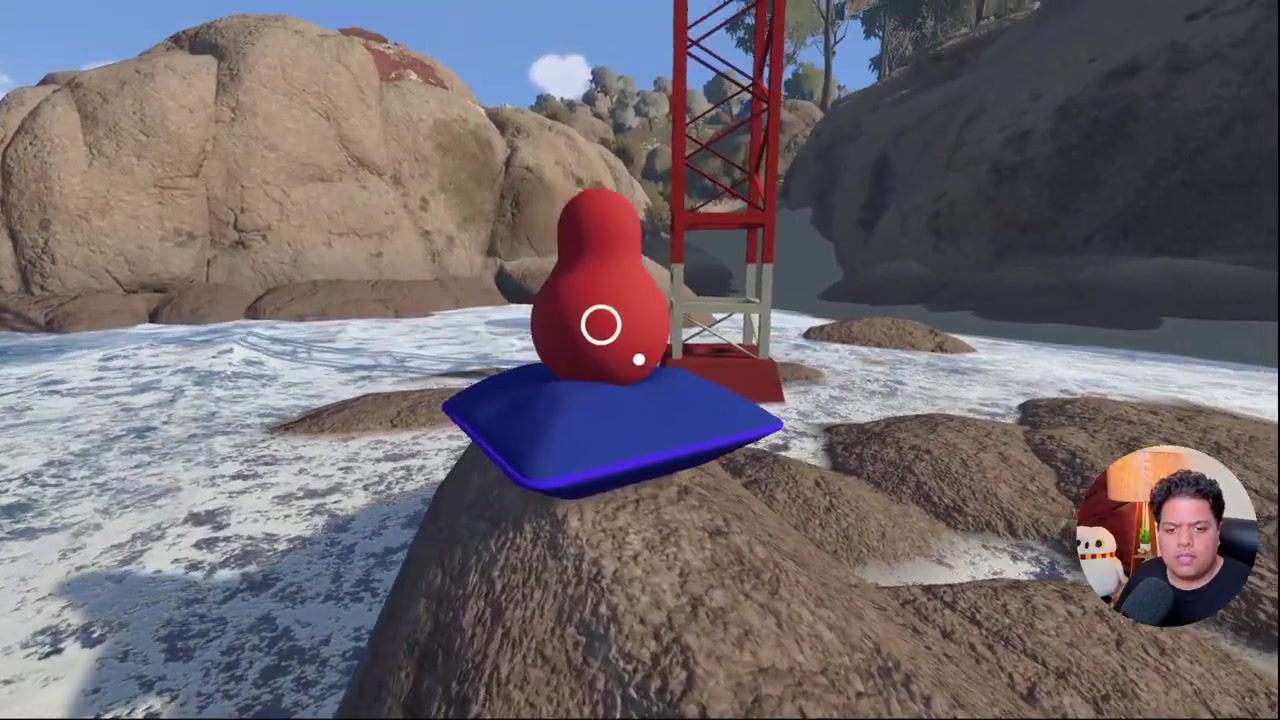
02:20 — the same blob sits back at its puzzle location, where it respawns whenever it is dropped.
Success check: you walked to the puzzle location from the map and picked up the blob that had dropped.
Step 7 — Recover a held blob after ending the session
The other half of the rule covers a clean end-of-session loss. If you were holding the blob — or it was on a backpack — when the session ended, the next time you load in, walk from the starting place to the left-hand side of the base and the blob is on the lost-and-found platform, ready to be picked up again. This is the same shelf from Step 1; it simply refills whenever a held blob is left behind at the end of a session.
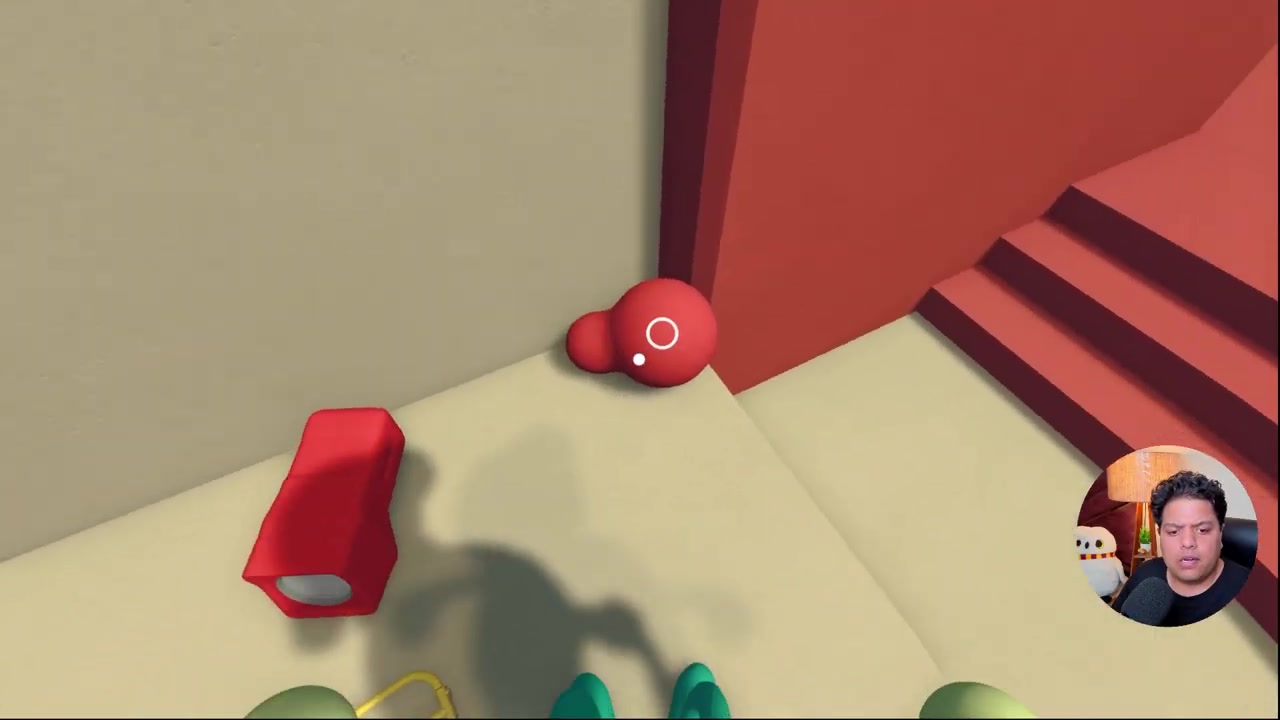
02:57 — after ending a session while holding the blob, it waits on the lost-and-found platform at the base.
Success check: after a reload, your held blob is back in your hands from the lost-and-found.
Success check
You know where every red blob is (the 3D map), which ones are secured (flags), which are still missing (no flag), and which are misplaced (lying down). A dropped blob comes back from its puzzle location; a held blob comes back from the lost-and-found. If a marker shows a blob is missing but neither spot has it, re-check the map state — a lying-down marker points to one of those two places and nothing else.
Common mistakes and recovery
- Checking the whole island before the lost-and-found. If you were holding the blob at the end of the session, it is on the spawn-side shelf, not in the world. Check there first; it takes seconds.
- Hunting the 3D map before unlocking the map room. The map needs the Red Tower key. If the map room is locked, clear the Red Tower, deposit the five blobs, and place the key in the tunnel entry first.
- Treating "no flag" as always "not found". A lying-down, no-flag marker is a solved puzzle whose blob was moved — recover it at the puzzle location or the lost-and-found instead of re-solving.
- Re-searching after a drop. A blob you drop always respawns at its own puzzle location, so use the 3D map to find that spot rather than retracing your whole walk.
- Assuming the blob despawned. Blobs do not vanish: a dropped blob returns to its puzzle spot and a held blob returns to the lost-and-found.
Player-count and version notes
- The lost-and-found, the 3D map, and the drop/held respawn rules are fixed world mechanics, so none of them change with your group size. The source demonstrates them in a single-player session.
- Reaching the map room requires the Red Tower clear (five blobs for the key), which this site covers as the Red Tower puzzle guides and the separate find the map article — the unlock route is the same in any group size.
Source
This article is a single-source guide synthesized from one public video: How To Find Lost Red Gourd / Bean / Blob in Big Walk By House House by SolveBase (youtube.com/watch?v=ACaxctZKfwc). Every section maps to a timestamped moment in that video, and the frames are temporary extracts used only to illustrate the steps, not final artwork. Facts were taken from the video's own captions and footage; this article does not claim cross-verification against other sources.