Big Walk: How to Start the Chairlift (Aerial Lift)
The full route to unlock the chairlift in Big Walk: reach the Green Tower, clear its five figurine puzzles for the Green Tower key, follow the owls to the chalice station, and press Use to ride.
 Big Walk Atlas
The chairlift in Big Walk — the game labels its terminal the aerial lift — stays switched off until you unlock it, and none of the steps have a quest marker. This guide walks the whole sequence in order so you can follow it in-game without pausing the video. The short version: go from the loading area to the Green Tower, clear its five figurine puzzles to open the Green Tower key, follow the owls from the tower entrance to the chalice station, then press Use to board — the lift starts and you unlock the Big View and Big Sit achievements.
The unlock at a glance
- Walk to the Green Tower. From the loading area, find the blue arch, climb the hill, slide down past the yellow structure, and follow the train tracks.
- Find the aerial lift terminal. It is the blue building above you on the cliff, beside the green key slots.
- Open the figurine slot. At the top of the tower, open the slot that takes the figurines.
- Clear the five figurine puzzles. Each puzzle hands over one of the five figurines for the slot.
- Take the Green Tower key. With the figurines placed, the key opens.
- Follow the owls. From the tower entrance, the directional markers point the way to the chalice station.
- Ride it. Press Use to sit in the gondola car and start the lift.
Before you start
You do not need the map for this — the source routes the entire walk from the loading area of a fresh session, and points you to its separate map video if you want the shortcut. The run is three-player co-op, and the five puzzles shown are that three-player set. Bring a flashlight (or another light); the walk and the final key step both happen as it turns dark. The real requirement is simply reaching the Green Tower and finishing its puzzles, because that is what hands you the key.
Step 1 — Walk to the Green Tower
From the loading area, keep going straight ahead until you reach the boulder or the cliff and see the falling tree trunk, then turn right and go up the hill, then turn right again at the blue arch — that is where the route toward the tower begins. From there, pass the blue structure and keep to its left, climbing the hill. As you climb, look back: once the Blue Tower is behind you and you can see the lift lines ahead, you are close. Keep walking until you see a yellow structure that works as a shortcut down — slide down it, and you will reach the train tracks.
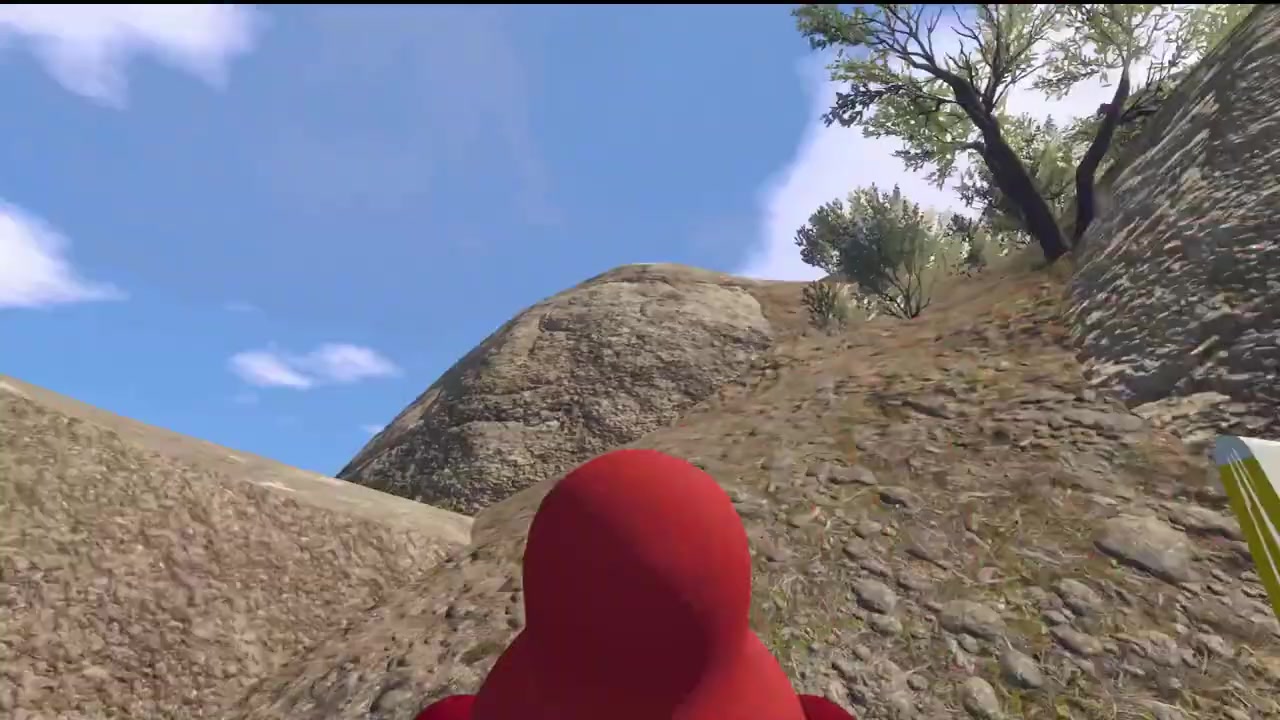
03:48 — as you climb, the Blue Tower falls behind you and the lift lines appear ahead, which means you are close.
Success check: you are at the train tracks with the Green Tower visible on your right.
Step 2 — Reach the tower top and open the figurine slot
From the light of the green building, keep going until you see the terminal of the chairlift: a blue building perched above your head on the cliff. You cannot miss it. Follow it and you will pass the green key slots (used later) on your way up to the Green Tower on top of the cliff. Go inside and climb to the top of the tower, then open the slot the same way the earlier tower did — this is where the figurines are deposited as you clear each puzzle.
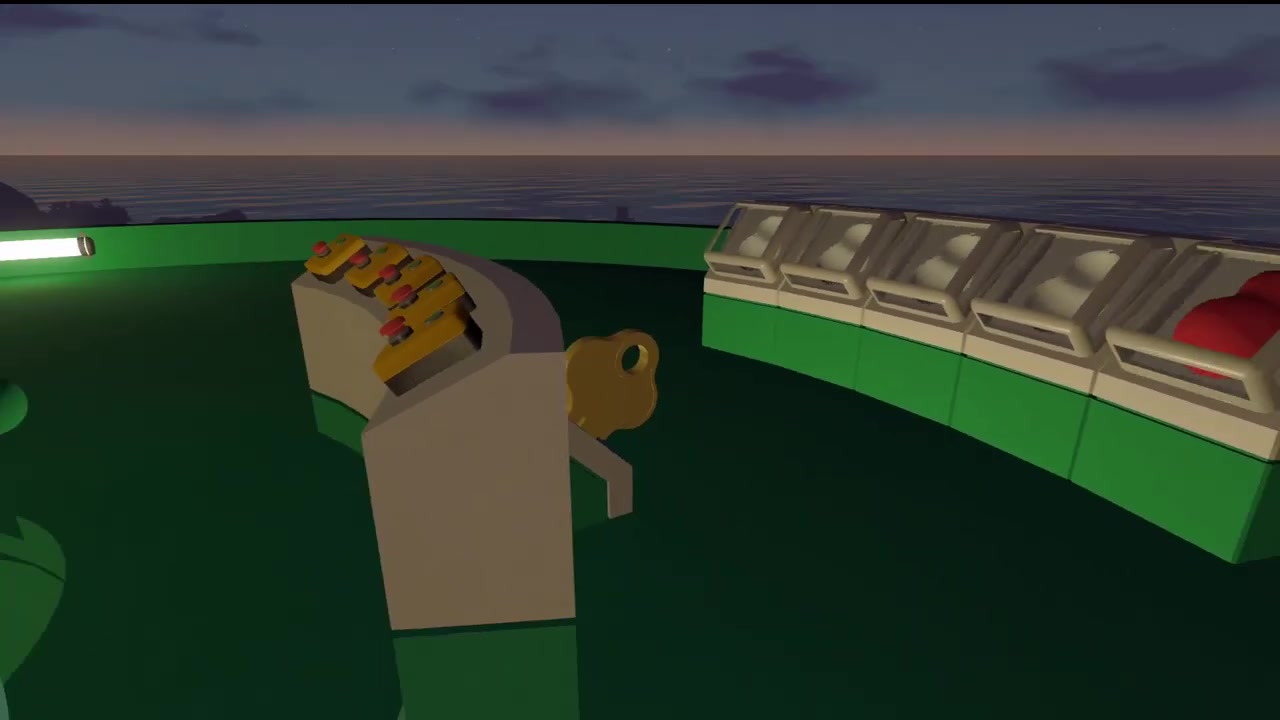
05:25 — at the top of the Green Tower you open a slot and deposit the figurines to continue.
Success check: the tower slot is open and ready to accept the figurines.
Step 3 — Clear the five figurine puzzles
The source unlocks the five figurines by solving five puzzles around the tower. Each one has a distinct landmark; treat this as the three-player set, and see our Green Tower puzzle guides for the individual deep dives.
- Heavy ball (01:44). Climb to the platform, pick up the heavy ball, and use the small arrow beside the platform to see where it goes. The ball rolls if you drop it on a slope — walk behind it to keep it moving downhill while someone else lights the way.
- Light memory arena (05:35). A blue circular structure with lights around a center black tube. Press the center control, memorize the lit positions: green lights the tube, red makes you restart. The source marks each red light with an object or a body so they stop touching it.
- Beach sign buildings (08:00). Two buildings on the shoreline, one left and one right, are the same puzzle. Close the door, press the wall button, and read the flash count; the source relays it with a fixed 30-plus-blocks count and leaves the first space blank for a minus.
- Camera face count (10:14). Each player watches a different angle so every camera is in view. Add the number of faces each person sees and enter the total at the counter — blind spots are the usual source of a wrong total.
- Red-house escape room (12:27). Follow the tracks past the stalled train to a red house with exposed wooden trusses. Each player presses one button in order, which locks the doors into an escape-room stage; the player beside the panels then guides the rest with pointing, jumping, and head nods.
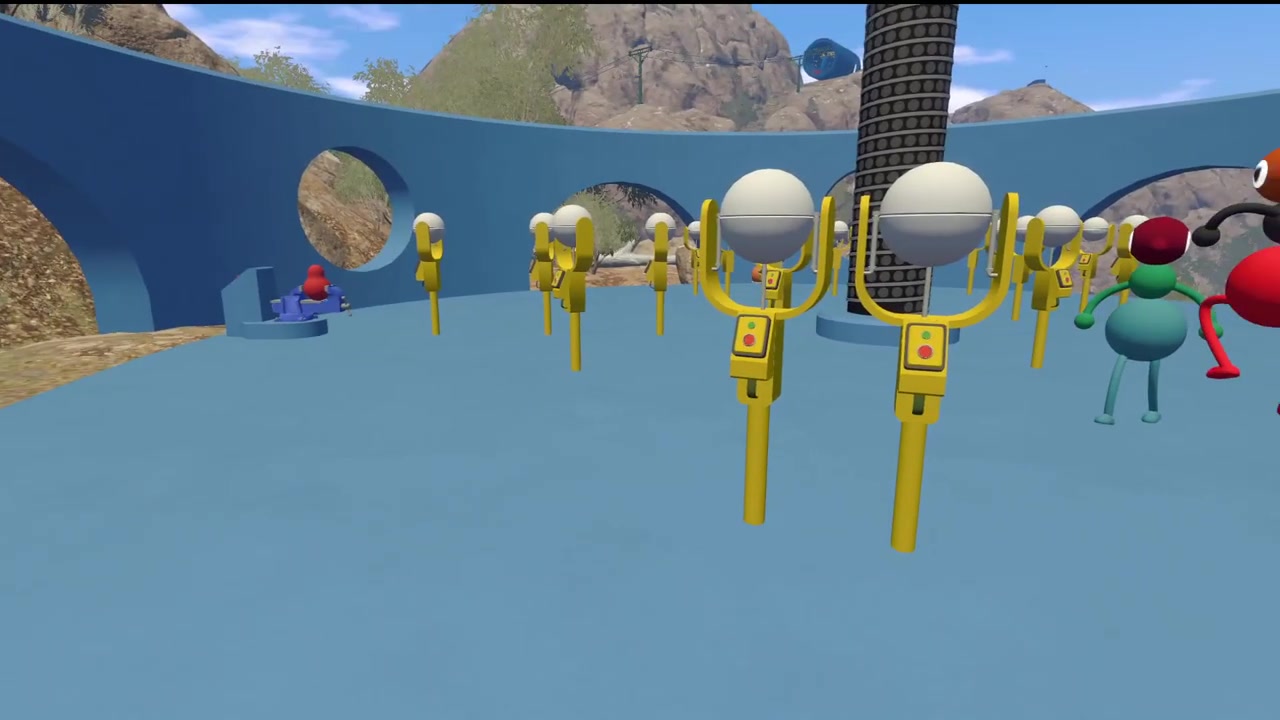
05:35 — the circular light-memory arena: memorize the green lights and avoid the red ones.
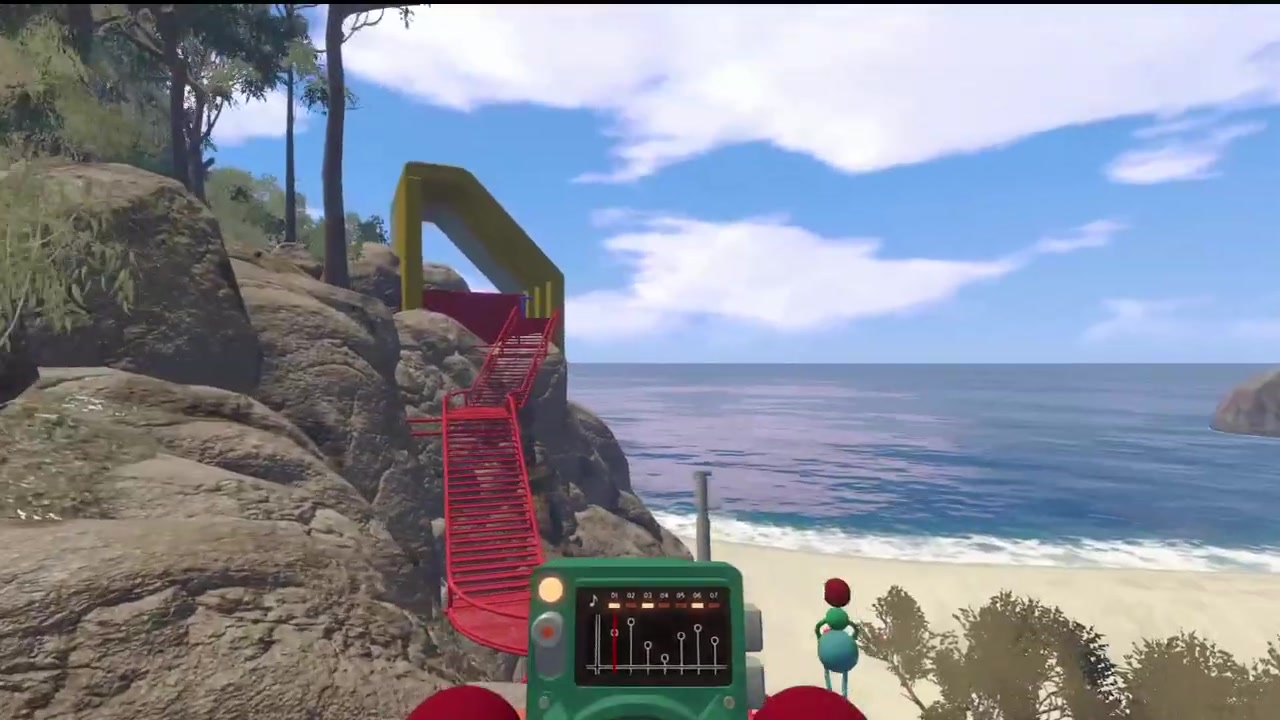
08:03 — the two beach buildings, one left and one right, are both part of the same sign puzzle.
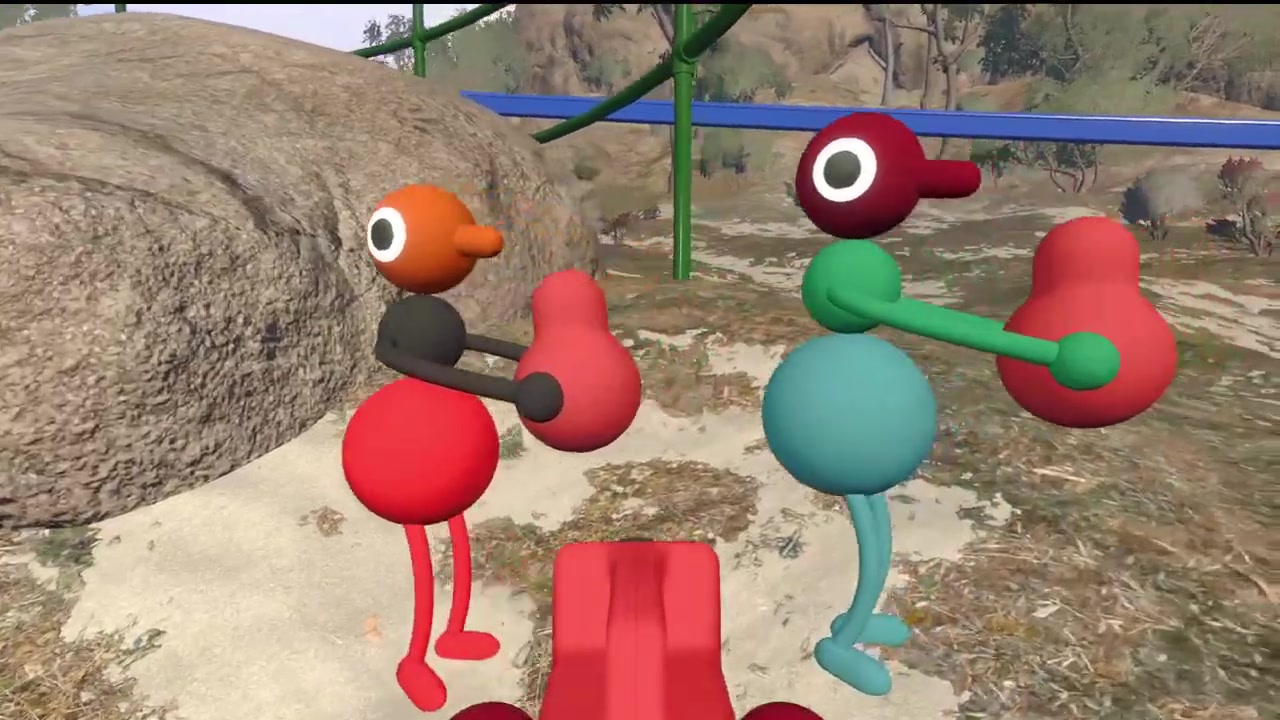
12:20 — follow the tracks past the stalled train to the red house; each player presses one button to lock in the escape-room stage.
Success check: all five figurines are in the tower slot and the key step opens.
Step 4 — Take the key and follow the owls
With the figurines placed, unlock the Green Tower key. From the tower entrance, follow the directional markers the source calls the owls — they point the next direction one step at a time. Follow them all the way to the chalice station, where the gondola car waits.
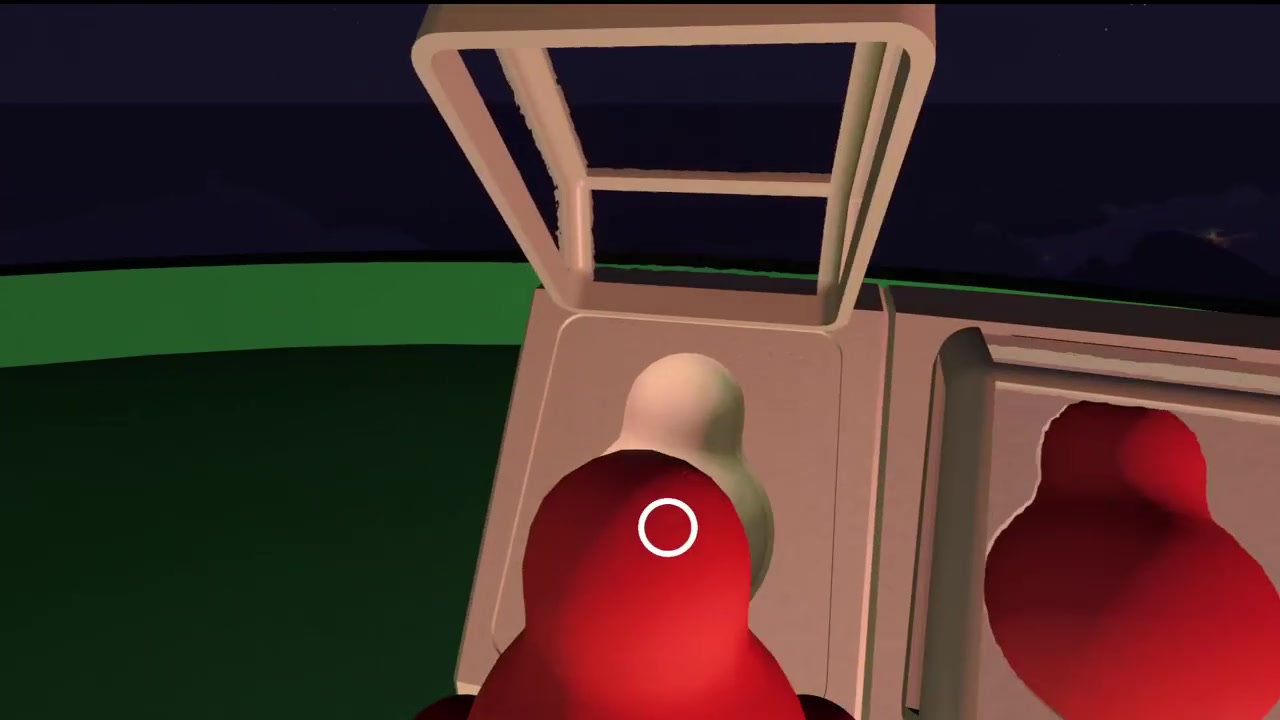
14:10 — back at the tower, the key opens; the owls then point the direction to the chalice station.
Common mistake: unlocking the key and wandering off to search for the lift on your own. Recovery: go back to the tower entrance and follow the owl markers again from the start.
Step 5 — Ride the chalice
At the station, press Use — not Sit — to board the gondola. The source warns that using the sit command instead makes you fall off the car. Only two players fit at a time, so take turns if your group is larger. Boarding successfully starts the lift and unlocks the Big Sit achievement.
15:25 — press Use to sit in the car; Sit drops you off the lift.
Success check: the lift is moving with you aboard, and the Big Sit achievement pops.
Success check
The chairlift is running and you have ridden it. If it is still off, the missing piece is almost always the Green Tower key — go back and confirm all five figurines are in the slot and the key is in hand before returning to the chalice station.
Common mistakes and recovery
- Using Sit instead of Use on the gondola drops you off. Fall off and you have to walk back to the nearest chalice station on foot.
- Losing the route while climbing the hill. Look back: if the Blue Tower is behind you and the lift lines are ahead, you are on track.
- A wrong total in the camera face count. Blind spots are the cause — reposition each player, or jump to catch a projector nobody else can see, then recount.
- Touching a red light in the memory arena restarts that puzzle. Mark each red light with an object or a body so no one selects it again.
Player-count and version notes
- The source is a three-player co-op run, and the five puzzles it shows are the three-player set. The game scales its puzzles, so other player counts may show different layouts; the fixed part is the unlock chain — Green Tower → five figurines → key → owls → chalice ride.
- The source notes more players make the group puzzles faster but more chaotic.
- The achievements are described by the source as Big View (unlock the Green Tower key and turn on the aerial lift terminal) and Big Sit (use the gondola to sit and ride).
Source
This article is a single-source guide synthesized from one public video: How to Start the Chairlift & Green Tower Key Puzzle Guide | 3 Player Co-Op by Maybe Sarisa (youtube.com/watch?v=f7y_d4rPeUw). Every section maps to a timestamped moment in that video, and the frames are temporary extracts used only to illustrate the steps, not final artwork. Facts were taken from the video's own captions and footage; this article does not claim cross-verification against other sources.