Big Walk: Inside the Black Sphere (Beyond the Wall) — Final Puzzles & Main Ending
How the final area of Big Walk works: after you open the Big Wall, walk to the black sphere, where the entrance door will not let you carry items in and every puzzle is solved without talking or text chat. Split the lights from the buttons, hand the tomato timer across the yellow doors, pull the two facing levers, kick the red teapot to point at the wall button, answer yes/no at the window while your partner holds the symbol panels, then use body language and old props in the white room to roll the credits and end the main story.
 Big Walk Atlas
Past the Big Wall the game puts its last stretch of content inside a big black sphere, and it plays by different rules from everything before it: you go in with nothing, and nobody can talk. The short version: after opening the wall (see the Big Wall guide), walk toward the black sphere you can see on the horizon. The entrance door is the kind that does not let you take items in, so arrive prepared to leave your gear behind, and once you are inside the puzzles are non-verbal — no talking, no text chat, and no walkie-talkie or megaphone. Inside, the rooms stack upward: one player runs the lights while the other holds position at the buttons; the tomato timer has to be thrown from player to player because the yellow doors will not let items through; a "Racing to the Lever" section puts two levers face to face; a red teapot is kicked back and forth to point out which wall button loads the bar; a red telescope plus held-up symbol panels turns a window into a yes/no channel; and the closing white room is solved with props hauled in from earlier puzzle rooms plus body language. Clear those and the credits roll — the source calls this the end of the main story. This article describes one two-player recording of that run; it does not test solo play, other player counts, or alternate game versions.
The solution at a glance
- Get to the sphere. It is the landmark you can see after the Big Wall opens; the source warns the walk is long and can take you from day into nightfall, so have a light source ready.
- Enter empty-handed. The entrance door is the type that strips items, so you cannot bring radios, megaphones or carried props through it.
- Stop talking, start signalling. Every puzzle in the sphere is non-verbal — no text chat, no voice inside the puzzles, no gear to help.
- Split roles room by room. Lights and buttons go to different players; one holds a position while the other works the mechanism.
- Hand off anything you must carry. The tomato timer only survives the route if you pass it between players, because the yellow doors refuse items.
- Finish the white room and the story. Use body language and props taken from earlier puzzle rooms until the credits roll.
Before you start
You need the Big Wall open first. The source opens with the group already standing beyond it and says plainly that the wall is the prerequisite: if you cannot open it, stop here and do that first — this site's Big Wall guide covers the whole Black Tower route. Once you are through, the black sphere is the thing on the horizon you are walking toward, and the source's own warning is about distance and daylight: on their run the walk ran long enough that it might have been night by the time they arrived, so they tell you to make sure you have a flashlight.
Two rules change everything once you get inside. The first is that the entrance is a door that does not let you carry items in — the source describes it as "the type of door" that strips what you are holding, so anything you meant to bring is irrelevant. The second is that all the puzzles in the black sphere are non-verbal: the source says there is "no text or chat, there's no talking," and because you left your items behind there is "no walkie-talkie, megaphone, nothing." Groups are expected to fall back on the mannerisms they built up over the rest of the game — their own agreed yes/no signals and familiar actions. Agree on those before you go in, not after.
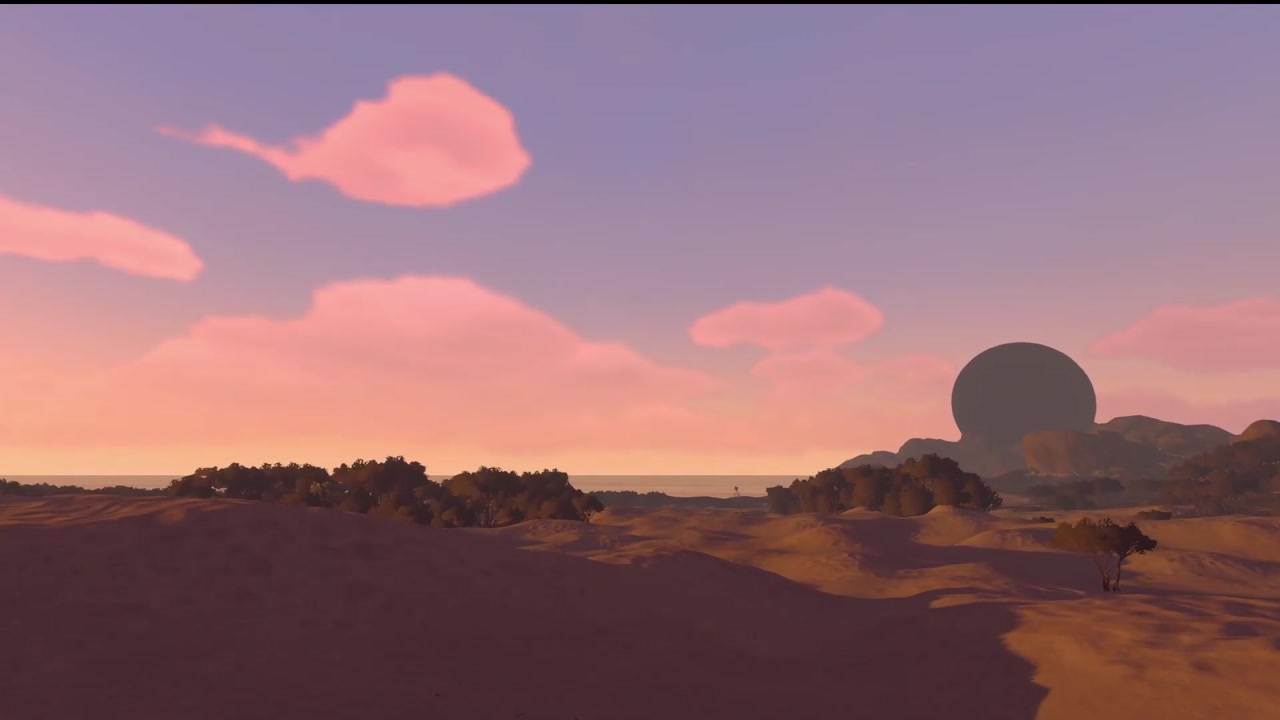
00:10 — after passing the Big Wall, the black sphere is visible on the horizon across the desert coast; this is the direction the source tells you to walk.
Success check: you have the Big Wall open, you can see the black sphere in the distance, and your group has agreed on hand signals for yes and no.
Step 1 — Walk in and accept that you are empty-handed
Head to the sphere and go in through the entrance. The source's next beat is the one that catches groups out: as you go through, "you cannot take items with you because of the type of door it is." Whatever was in your hands does not come with you, and that is by design rather than a bug to work around. From here the interior is plain grey architecture — the recording's first room after the entrance is a bare grey corner with nothing to pick up — and the source adds that different levels of puzzles are stacked ahead.
Plan accordingly: do not walk the whole way to the sphere carrying a specific prop for a specific puzzle, and do not count on gadgets inside. Anything you need later has to be found or staged inside the sphere.
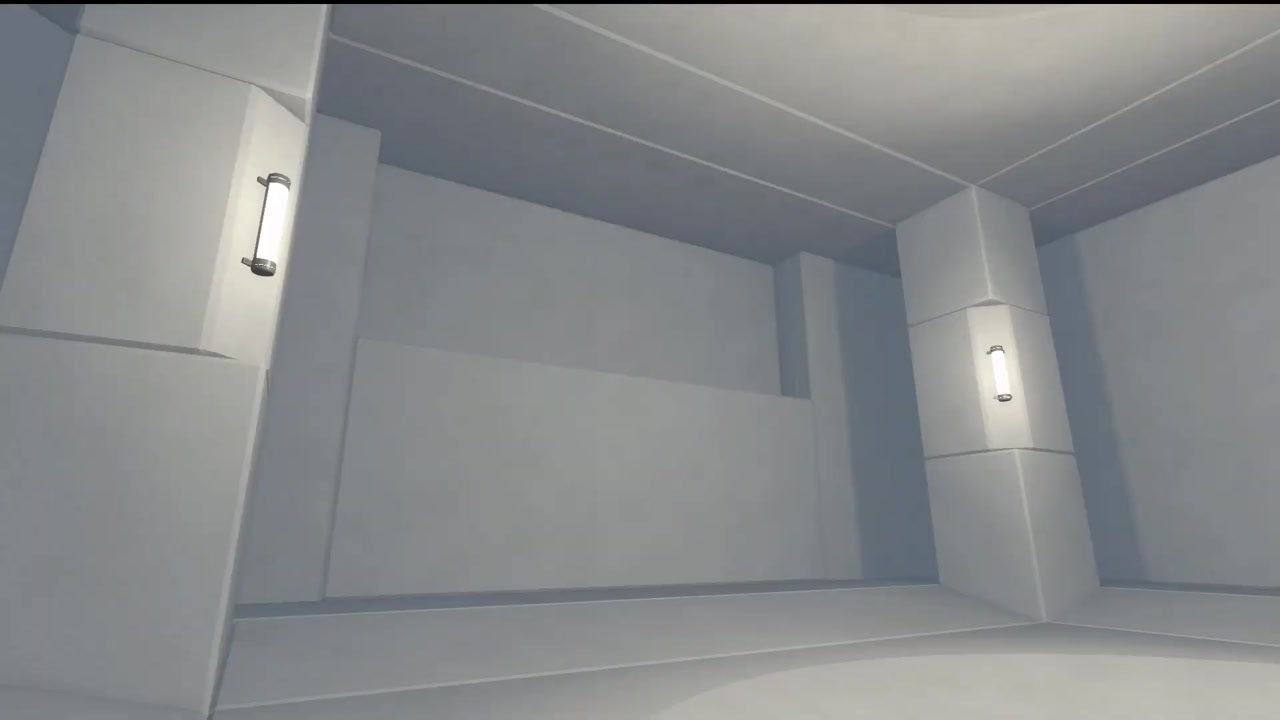
00:38 — just inside the sphere, right after the entrance: a plain grey interior and empty hands, the point where the source explains that the entrance door does not allow items through.
Success check: you are inside the sphere with no carried items and no expectation of using radios or a megaphone.
Step 2 — "Lights and Buttons Puzzle in the Sphere": give each player one half
The source's own chapter card for this room reads "Lights and Buttons Puzzle in the Sphere", and the narration that goes with it is a short, complete division of labour: "they are lights. I do the lights, me. You stay over there." One player works the lights — the room's blue pedestals carry glowing diamond-shaped buttons that have to be pressed — while the other player holds their position instead of following, because the puzzle needs someone standing somewhere specific.
This is the pattern for the whole sphere. Because nobody can speak inside, the group cannot renegotiate mid-puzzle; the person on the mechanism has to be able to read a signal from across the room. Decide who does what before either of you touches anything, and keep to it — swapping halfway is how you end up both pressing buttons and nobody watching the lights.
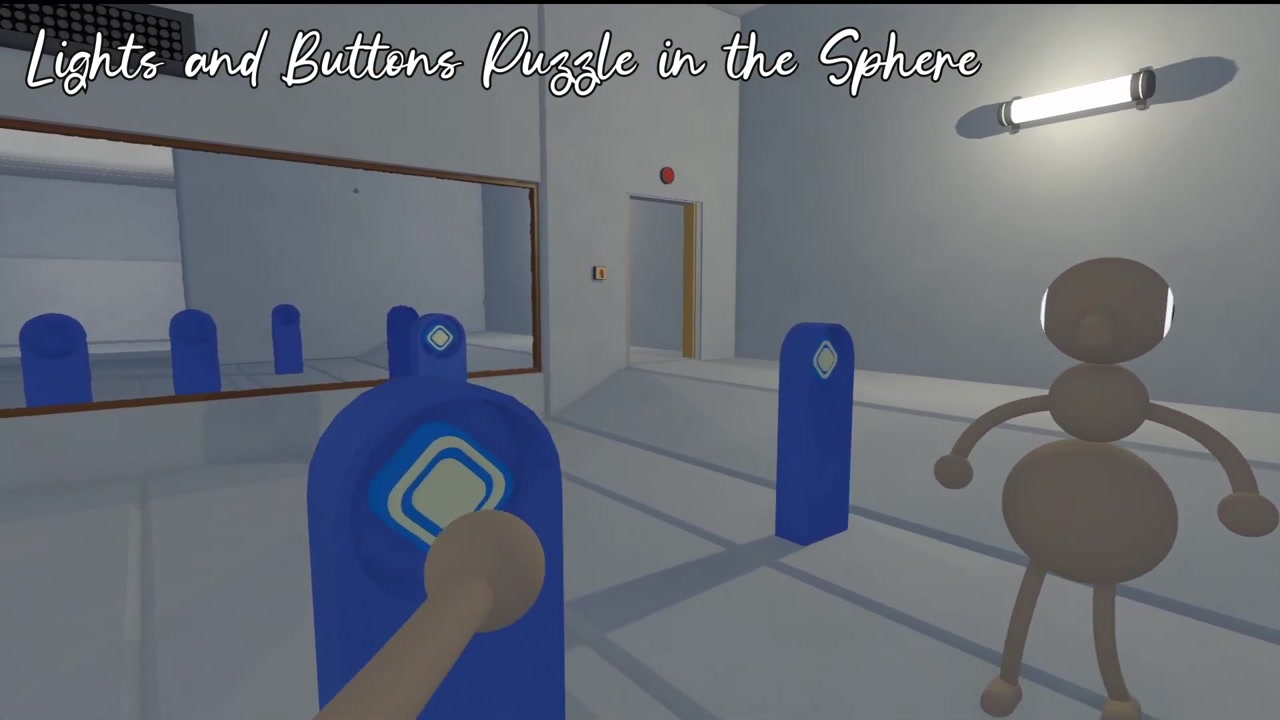
02:45 — the source's "Lights and Buttons Puzzle in the Sphere" card over the room: blue button pedestals in front, the partner waiting further back.
Success check: one player is on the lights/buttons and the other is parked at an agreed spot where the two can see each other.
Step 3 — Carry the tomato timer by throwing it, because the yellow doors refuse items
For the next section the source's card reads "Kicking Timer Puzzle", and the mechanic it explains is the tomato timer: "one person has to start by taking the tomato timer, and you have to throw it to each other back and forth until you reach the end of the puzzle." The reason is the door type again — "you can't take the timer with you through the yellow doors, as those don't let you take items." So the timer cannot simply be carried across; it has to be handed on from player to player, each throw covering the next stretch of the route.
Practically, that means the timer is a baton and the doors are checkpoints. Stand close enough to each other that the throw lands, and make sure the receiving player has already crossed before the timer arrives. The source demonstrates this over a single run and does not show what happens if the timer is left behind.
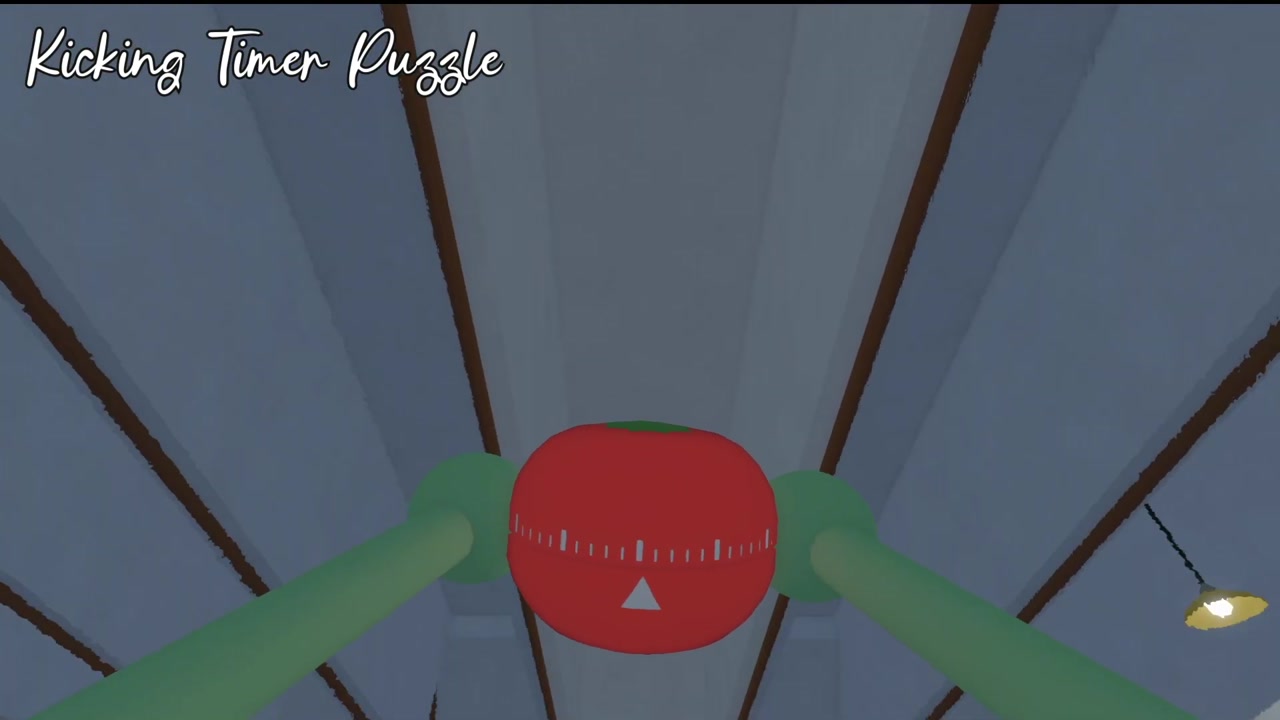
05:05 — the tomato timer, held in both hands: the object the source says must be thrown between players because the yellow doors do not let you carry items through them.
Success check: the timer has crossed every yellow door with you and is still with the group at the end of the section.
Step 4 — "Racing to the Lever Puzzle": two levers, facing each other
The next room carries the source's card "Racing to the Lever Puzzle", and here the recording is honest about a detail it could not fully pin down. Two players end up facing each other at two levers — the source describes it as an "I believe", then explains that in their run the pair simply tried it and pulled instantaneously: "I believe it's one after the next. If you have to do it at the same time, then it was very much a lucky fluke that we got it in one go." In other words, the recording shows one successful attempt, and the source leans toward one lever after the other while admitting they may have been lucky with a simultaneous pull.
Take it in that order: assign one player per lever, agree on who goes first, and treat a simultaneous pull as untested rather than as the solution. The red-and-white chequered strip on the floor in this section is the visual marker for the lever area.
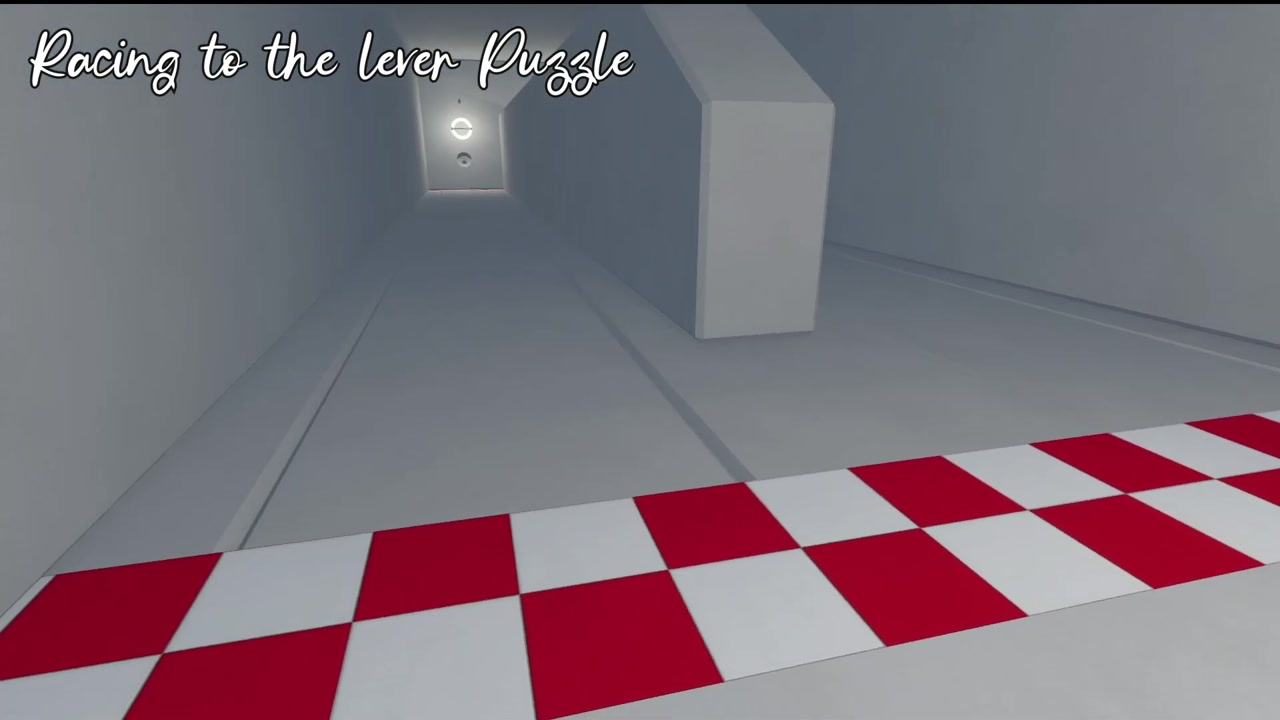
06:02 — the source's "Racing to the Lever Puzzle" card over the grey room whose floor carries the red-and-white chequered strip, where the two levers are worked.
Success check: both players are standing at their own lever, and the pair has cleared the room without words.
Step 5 — Kick the red teapot to point at the button that loads the wall bar
Two players, one wall, and no way to say "press the third one." The source's answer is the red teapot: "one person is on the other side throwing you the red teapot to indicate which button it is to press, while using the kick command, cuz that is simpler." The teapot travels back and forth, and its position is the message — "one person can kick it to you to show you which button you have to press to load the bar that's on the wall, and you kick it back to them so they can show you."
So the sequence is: the player at the wall waits, the partner kicks the teapot to the position that corresponds to a button, the wall player presses that button to load the bar, then kicks the teapot back for the next instruction. Repeat until the bar is loaded. The frame below is the kind of wall control you are aiming at: a yellow panel with a red press button.
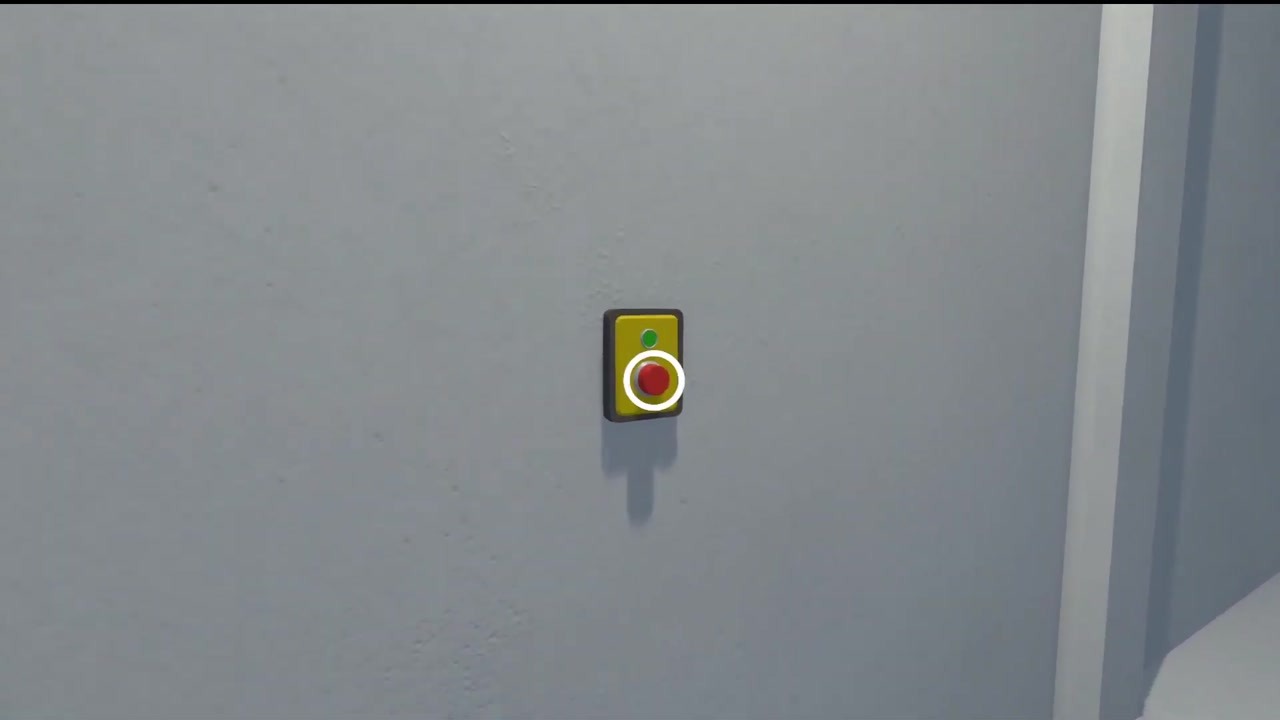
07:35 — the wall-mounted panel with its red button: this is the control the teapot signal is pointing at, the button that loads the bar on the wall.
Success check: the bar(s) on the wall are loaded and neither player had to shout an instruction.
Step 6 — Telescope and held-up panels: turn a window into a yes/no channel
The next puzzle splits the group by what they can see. The source: "one of the players must go in where there's a red telescope that you can look through to see what the blank panels are showing, and a person needs to stay outside and hold it up." The reader sees the symbols; the holder cannot, because — as the source points out — "they don't know what they're holding up, only you do."
Then the two communicate through the geometry of the room: the telescope player "goes to the next window and jump or nod or shake your head to say yes, no", and at the same time works through "the positioning of the panel and the order of each symbol." In practice that means three separate things to transmit per panel: whether the holder is in the right place, which panel is required, and in what order the symbols go. Agree in advance on a jump for "yes", a head-shake for "no", and a pointing or counting scheme for order, because a window is the only channel you have.
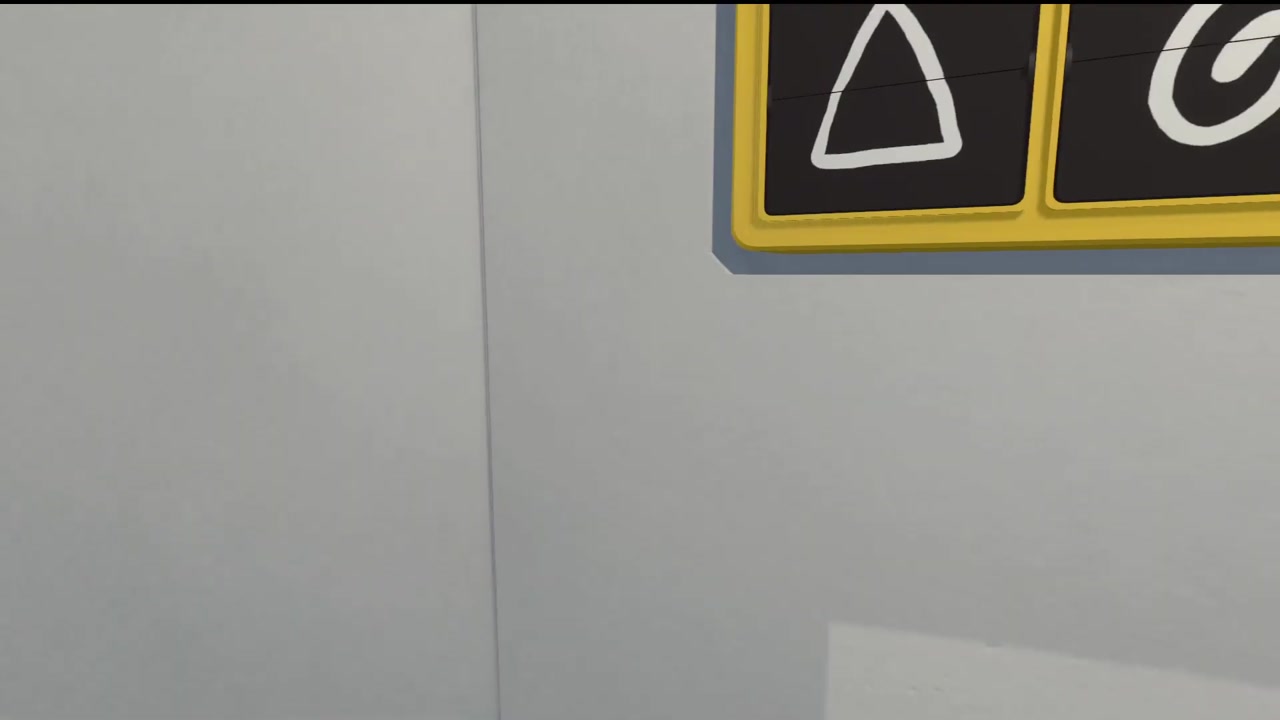
08:40 — the symbol tiles in their rack: a white outlined triangle on the left tile and a spiral-like glyph on the next, the kind of panel the outside player holds up and the telescope player reads.
Success check: the panels match what the telescope shows, the order is right, and both players got there with jumps and head movements alone.
Step 7 — "Wordless Associations": body language plus props you brought from earlier rooms
The closing room is labelled by the source as "Wordless Associations", and it is the purest version of the sphere's rule: "this whole white room we can't communicate verbally with each other or by text chat." The group's workaround is worth copying — "luckily we took some of the items we had from the other puzzles and we also communicated with our body language." In their run, for example, "three jumps meant that red rainbow shape", and that shape then "was used with the red teapot", so they had a shared vocabulary of movements and props rather than a language.
The source also gives a fallback for groups that cannot get the signs across: "if you're having trouble [communicating], you can even take the signs from before ... from the other puzzles, as they can be seen through the glass." So the props from earlier rooms are not just decoration — they are legible through glass and can stand in for a gesture you cannot describe. Build a short list of signals (a jump count, a prop, a position on the floor) and stick to it until the room is finished.
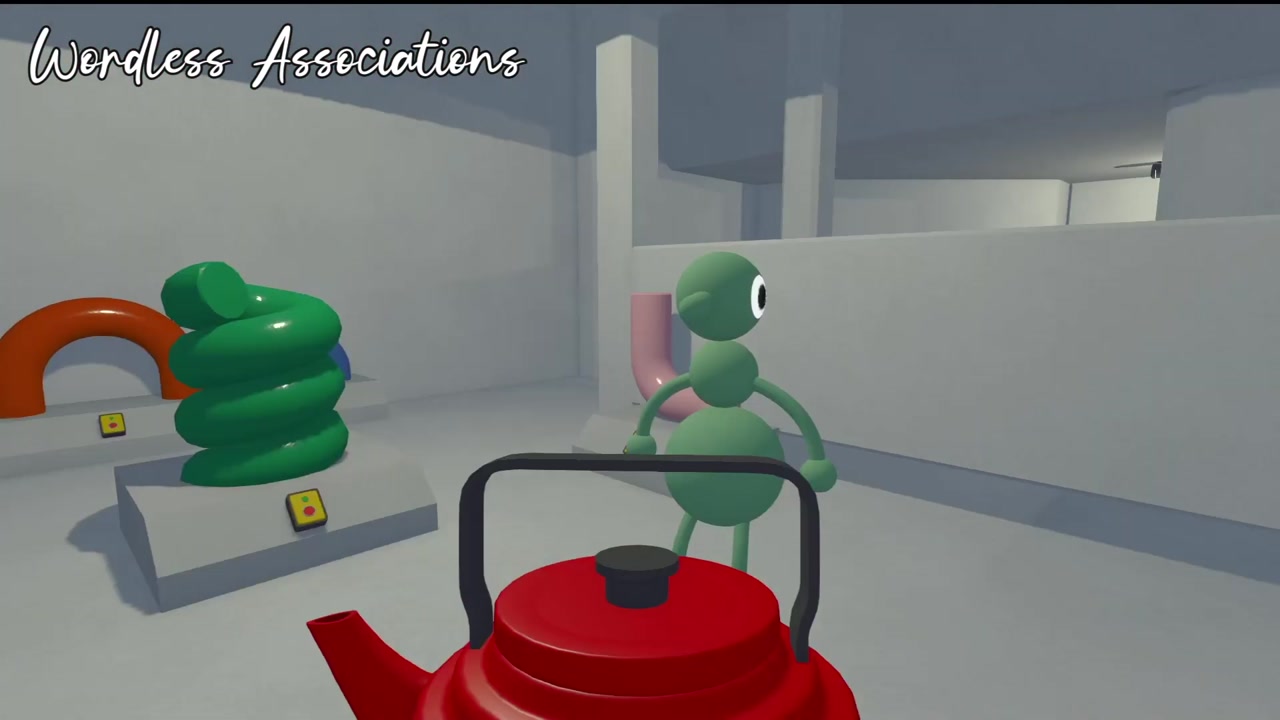
10:10 — the "Wordless Associations" room: the large red teapot in the foreground with the green coil and curved props around it, the items the group uses as signals because speech and text chat are off.
Success check: the white room's sequence is submitted and every player used agreed signals or props rather than words.
Step 8 — Finish: the credits roll and the main story is over
Clear the sphere and the run ends like this: the credits roll, and the source is explicit that this is the finish line — "this is the main story. This is a perfect time to end on the credits." Their session had started the puzzles at night and finished them after sunrise, which is a fair picture of how long the sphere can take.
One thing worth knowing before you get here: this is the normal ending, not the extra one. The 100% secret ending only becomes available once the game has already been finished — this site's secret ending guide covers the building, the remaining gourds and the seven purple ones, and it describes the normal ending as its prerequisite. So the credits here are not the end of your save file; if you still owe the map gourds, there is another ending waiting behind this one.
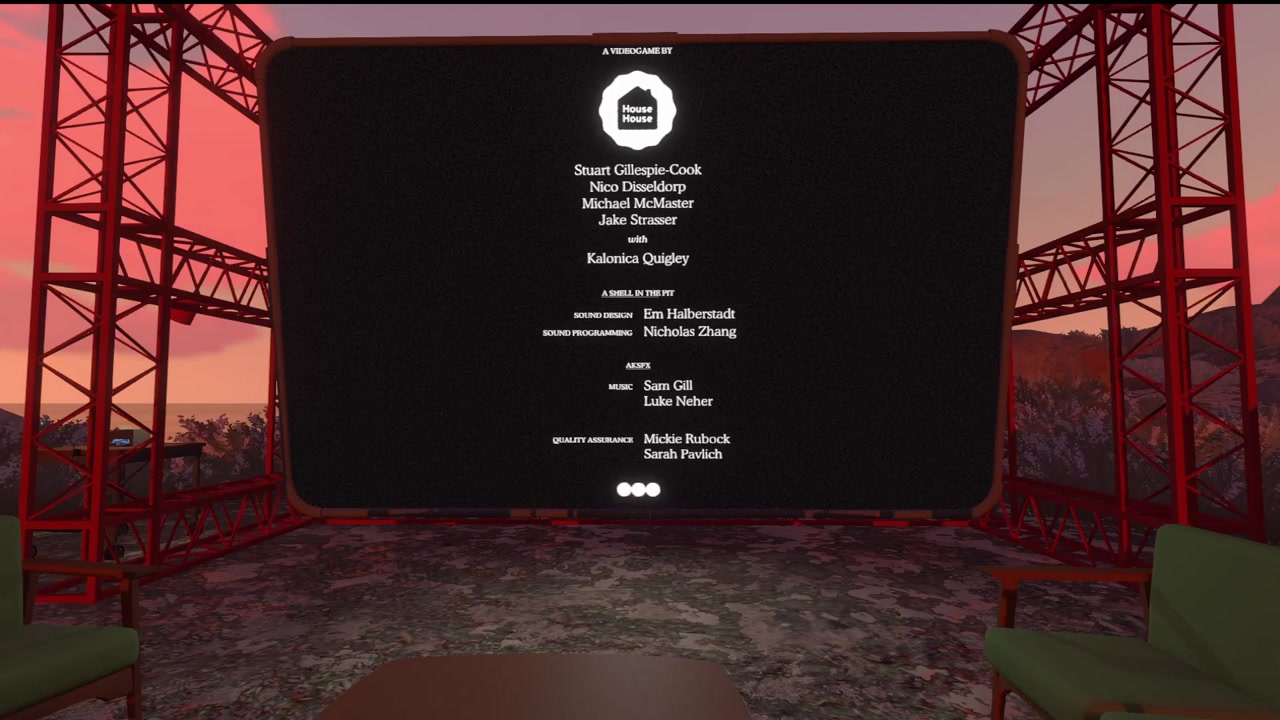
14:00 — the credits roll on the big screen: the source's recorded run ends the main story here, after starting the sphere's puzzles at night and finishing them at sunrise.
Success check: the credits have rolled and the main story is complete.
Success check
The source demonstrates success by reaching the credits at the end of the sphere and calling it the end of the main story. Its recorded chain is: walk from the Big Wall to the sphere, go in empty-handed, run the lights-and-buttons room, pass the tomato timer across the yellow doors, clear the two-lever room, load the wall bar via the teapot signal, finish the telescope-and-panels room, and close out the wordless white room. The video does not verify achievements, counters, or what unlocks afterwards.
Common mistakes and recovery
- Arriving with items you planned to use inside. The entrance door is the type that does not let you carry items in. Do not build a plan around a prop you were holding outside; anything you need has to come from inside the sphere or from the puzzle rooms themselves.
- Talking out a solution mid-puzzle. The sphere's puzzles are non-verbal — no voice, no text chat, and no radios or megaphones because your gear stayed outside. Every solution has to be pre-agreed.
- Both players working the lights. In the lights-and-buttons room the division is one player on the lights and the other holding a position; if both wander off to press things, nobody is watching the half of the puzzle you cannot see.
- Carrying the timer instead of passing it. The yellow doors do not let items through. If the timer is still in one player's hands at a yellow door, throw it to a partner who has already crossed.
- Banking on a simultaneous lever pull. The source thinks the levers go one after the next and says their instant success may have been luck. Start with the ordered method and treat the simultaneous version as untried.
- Kicking the teapot at random. The teapot is a pointer, not a toy: it is kicked back and forth to show which button to press to load the wall bar. Agree that the teapot's position means a specific button before either player starts pressing.
- The telescope reader and the panel holder swapping jobs. Only the telescope player can see what the panels show; the holder genuinely does not know what they are holding up. Keep those two roles fixed, and use window jumps/nods/head-shakes for yes/no plus a separate scheme for symbol order.
- Trying to talk your way through the white room. Speech and text chat are off there. Bring props from earlier puzzle rooms — they can be seen through the glass — and fix meanings early, such as a jump count standing for a shape.
- Getting there after dark. The source warns the walk from the Wall can run into nightfall. A light source is not optional if you start late.
Player-count and version notes
- The source is a two-player co-op run (its own title says so), and each puzzle is split between two people: one on the lights, the other holding position; one on the telescope, the other holding panels.
- The recording does not test whether the sphere can be cleared solo, and it does not show how the room's controls change with other player counts. Do not assume a solo route from this footage.
- The source gives no map coordinates for the sphere. It is described as the landmark you walk toward after the Big Wall opens, which is how this article directs you.
- The chapter names quoted here — "Lights and Buttons Puzzle in the Sphere", "Kicking Timer Puzzle", "Racing to the Lever Puzzle", "Wordless Associations" — are the source video's own on-screen labels, included so you can match each section to the recording.
- This guide is single-source: every step comes from one public video's narration and footage, and no second source was used to cross-verify it.
Source
This article is a single-source guide synthesized from one public video: How to End Big Walk's Main Story & Beyond the Wall Black Sphere Puzzle Guide | 2 Player Co-Op by Maybe Sarisa (youtube.com/watch?v=_4SQxjEYiNs). Every section maps to a timestamped moment in that video, and the frames are temporary extracts used only to illustrate the steps, not final artwork. Facts were taken from the video's own captions and footage; this article does not claim cross-verification against other sources.