Big Walk Climbing Shortcuts: 9 Ways Over the Door, the Bridge and Into the Purple Area
Nine climb routes recorded in one session that get a group past the tutorial door, across a bridge whose key is still missing, and up into the purple area early — with the co-op grabs, the solo jumps, and the exact inputs each route needs.
 Big Walk Atlas
Most barriers in Big Walk come with a key: the tutorial door, the drawbridge, the tower gates. The island itself is climbable though, and a player who has been climbing since launch recorded nine routes that put a group on the far side of those barriers without the keys — including an early way into the purple area. Every route is pure movement: jumps, grabs, boosts and a carried friend. None of them needs an item, and none of them opens anything; you go over instead.
The short version: the recording contains nine climbs, and they are not all for the same group size. Creek Escape chains three grabs out of the tutorial drop. Eastern Door Skip is a rock-rock-slope climb over the unopened door and needs the mouse scroll wheel rather than the space bar. Northern Escape is a single climb up the crack near the button. Southern Beach Escape, Easy Bridge, Hard Bridge and Purple Climb are two-player routes built on boosts, carries and mid-air catches. Solo Bridge Skip and the Solo Southern Escape are one-player versions of the same idea. If your door or bridge is already open, you do not need any of this — it exists for the sessions where the key is somewhere you have not been yet.
Before you start
- A partner for the co-op routes. Routes 1, 4, 5, 6 and 7 are all two-player: someone has to grab, carry or boost the other. Routes 2, 3, 8 and 9-10 are run by one person in the recording.
- Nothing else. The door skip explicitly needs no items ("it doesn't require any items"), and none of the other routes pick anything up either.
- The right input. The eastern door skip is done with the scroll wheel, and the source says he cannot do it with the space bar "as far as I'm aware". The solo bridge skip needs you to hold A while jumping. If a route keeps failing, check which input you are actually using before you blame your aim.
- Patience with collision. The source calls several of these climbs "scuffed" and says wriggling around usually fixes a bad grab. Expect to retry.
One thing to hold onto while you read: these routes bypass barriers. The door stays shut, the bridge stays down, the purple area is entered before you have earned it the normal way. If that is not what you want, use the key routes instead — the puzzle catalog has the intended solution for every region, and the tutorial area walkthrough covers the door the honest way.
Step 1 — Creek Escape: chain three grabs at the tutorial drop
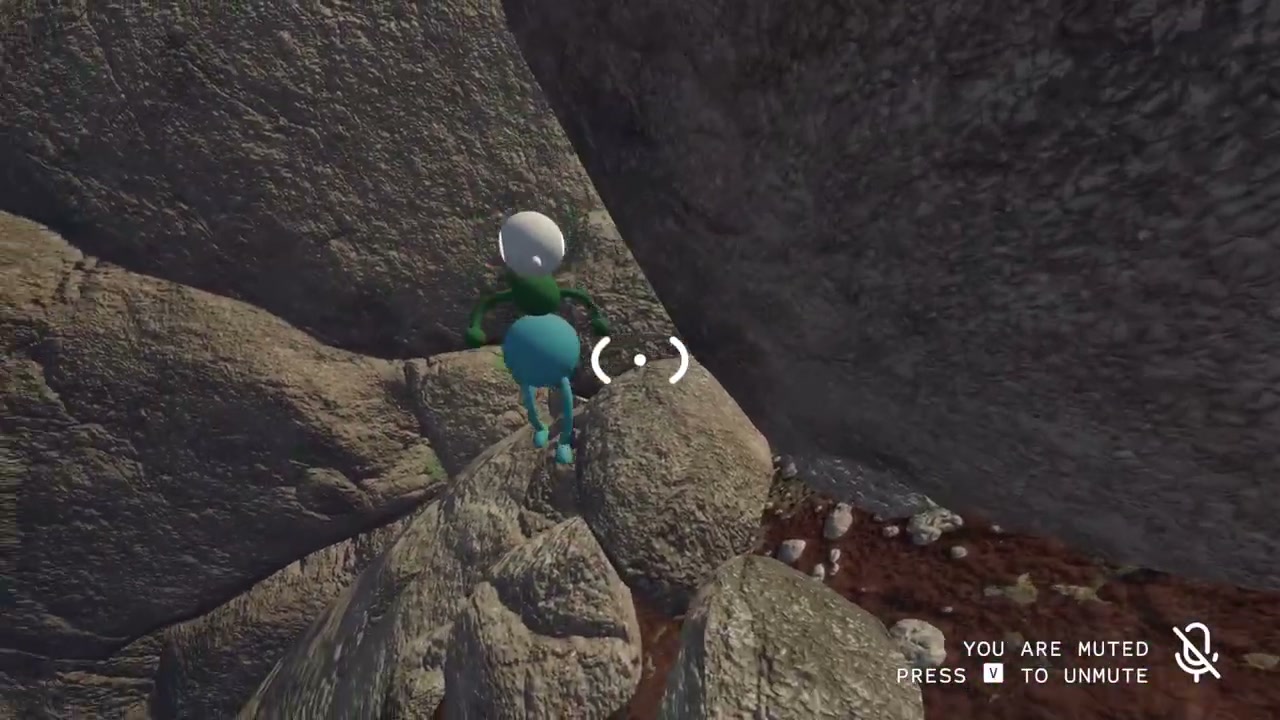
00:18 — linked up on the rocks at the drop below the tutorial stairs.
This is the first and easiest escape in the tutorial area, and the source calls it the quickest way out of the starting section. Come down the stairs, then run left and drop down. Do not fall into that drop — the source's warning is blunt: you cannot get back up from there. Once you are down, the climb is a three-step grab chain: he jumps up, crouches and grabs you; you jump up and grab him; then he grabs you again and you are up.
Success check: you are standing above the drop, outside the starting area. If you have more players, the source notes you can open the door from there as well.
Step 2 — Eastern door skip: rock, then ledge, then slope
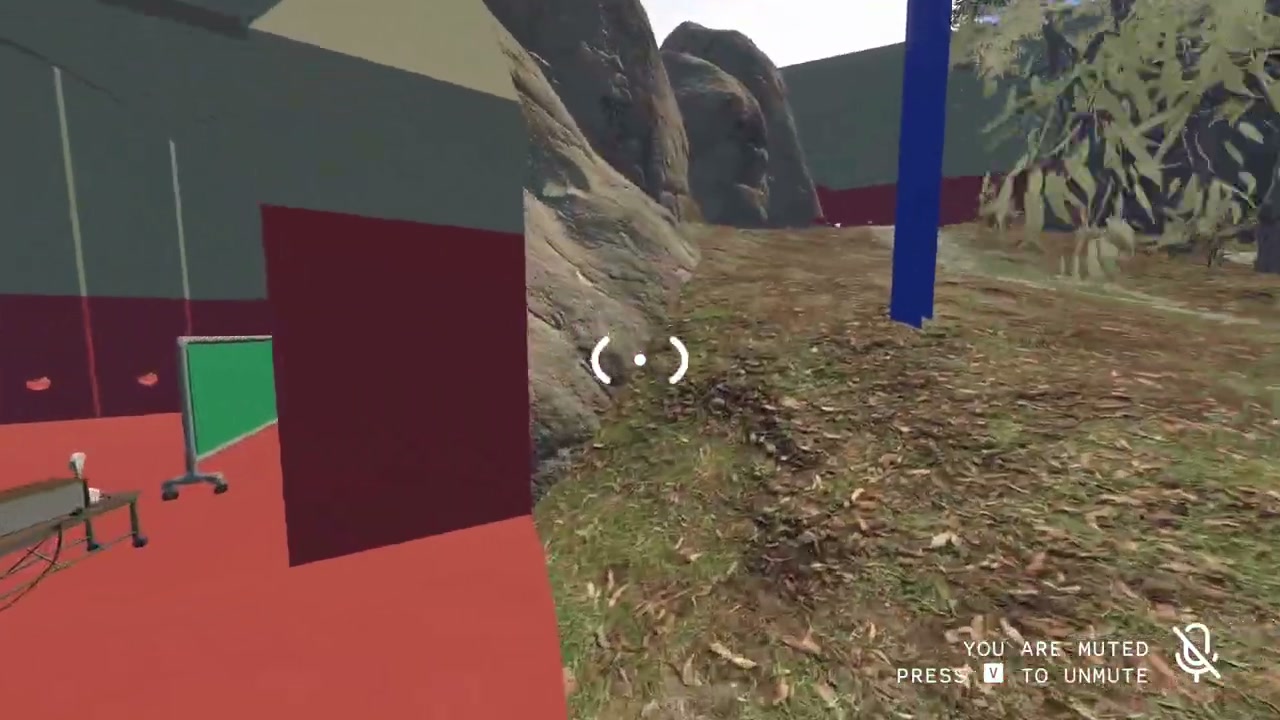
00:52 — the rock-and-ledge line that ends above the door instead of in front of it.
If the door is still unopened but you want to be on the other side of it, this is the quickest line. Jump to the first rock, jump up again to the higher hold, then walk up the slope and around — you finish up and over the gate rather than at it. No items involved.
The input matters here: the source says it requires the scroll wheel and that he cannot do it with the space bar as far as he knows. That is a mouse-and-keyboard technique; treat any controller attempt as unverified rather than assuming it will transfer.
Success check: you are on the far side of the gate above the door, with the door still closed.
Step 3 — Northern Escape: the crack beside the button
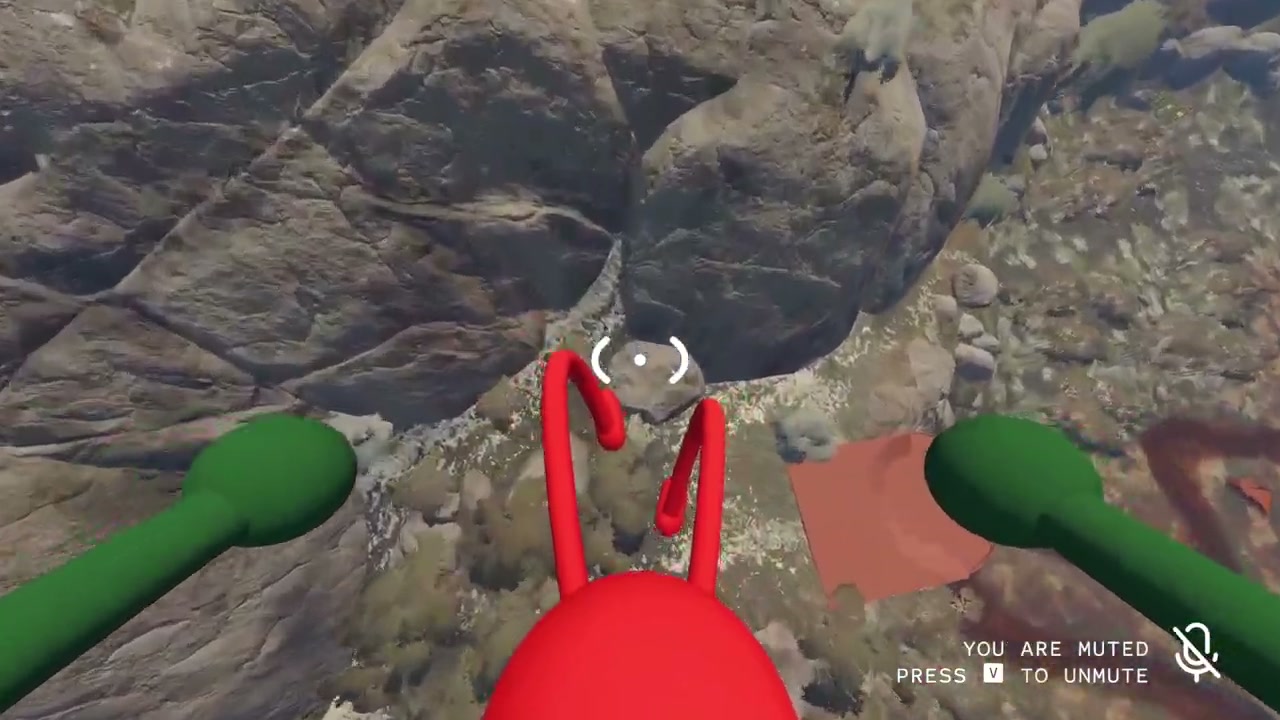
01:30 — the crack by the button, mid-climb.
This one is in the tutorial area as well, with spawn and the beacons behind you. The route is a crack near the button, and the technique is the ordinary climb: get into the crack and work your way up. Two cautions from the source — do not stand fully inside the crack, because you lose your jump, and expect it to feel rough. He describes it as "a little scuffed" and keeps adjusting until he tops out.
Success check: you are over the wall to the north. The source uses this to reach the musical-chairs area and the yellow-tower direction quickly.
Step 4 — Southern Beach Escape: boost from the tree
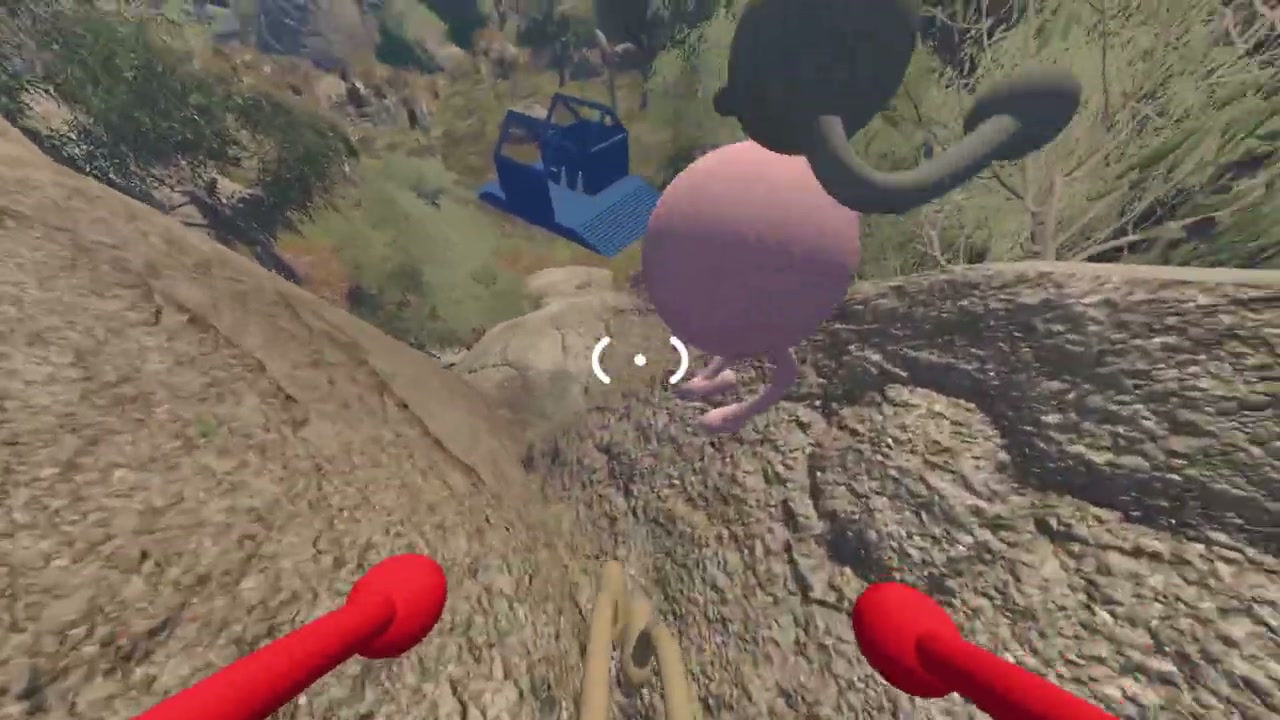
02:28 — the boost into the crack behind the blue house.
This route sits behind the blue house, and it is a two-player relay. One player picks up the other and carries them to the rock. The carried player then does the tree line: jump onto the rock, then into the middle of the tree, on top of the tree, and across to the rock. From there the standing player boosts them up into the crack, and the climber grabs them up. Once you are out of the hole you can simply walk clear without another grab.
There is a second identical spot further along: boost your partner up, then get yourself grabbed up. Same move, same order.
Success check: both players are standing outside the hole behind the blue house.
Step 5 — Easy bridge crossing: swim a friend across
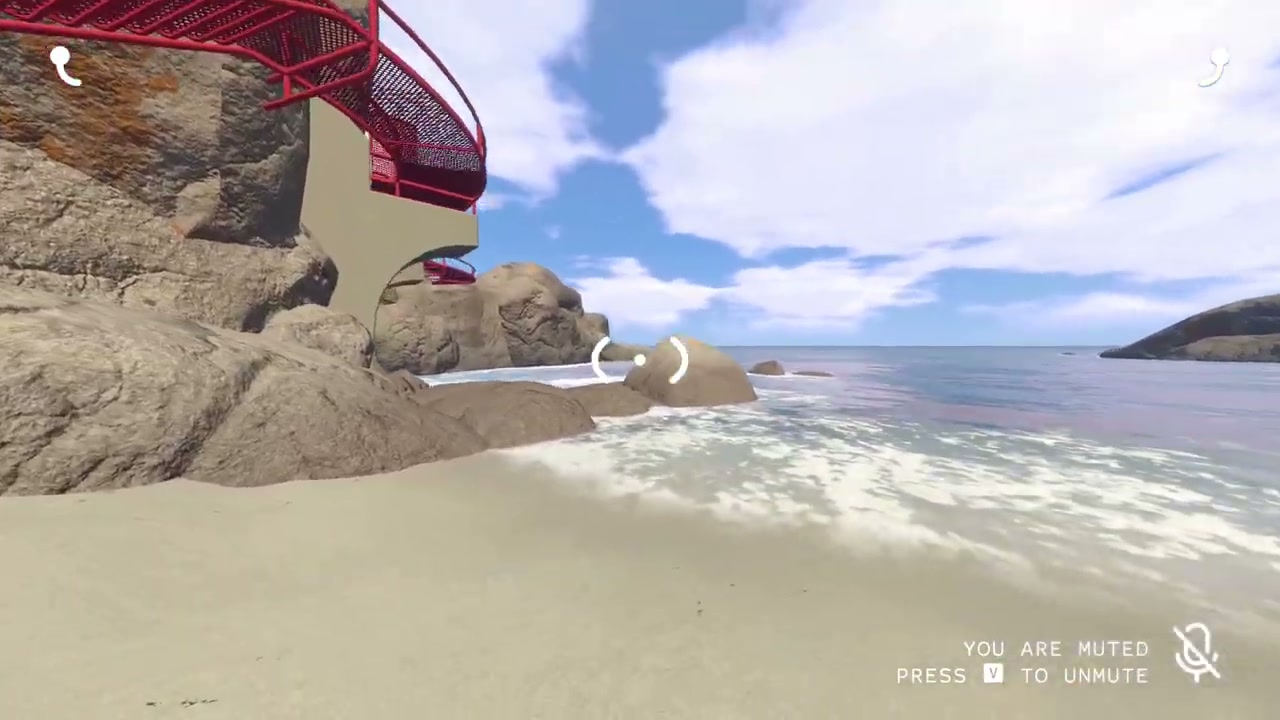
02:52 — the water crossing and the bridge frame that the easy route bypasses.
With the bridge still down and the key not in hand, the easy version is to pick up your friend and head for the closer rock in the water. The source is honest about the trade-off: you have to run-swim through the water, which is slow, but the route itself is easy. When you reach the rock, the carried player jumps off and then picks up the carrier, and from there you both run around the end of the bridge.
Success check: both players are past the bridge and the bridge is still down.
Step 6 — Hard bridge crossing: railing jump and a catch
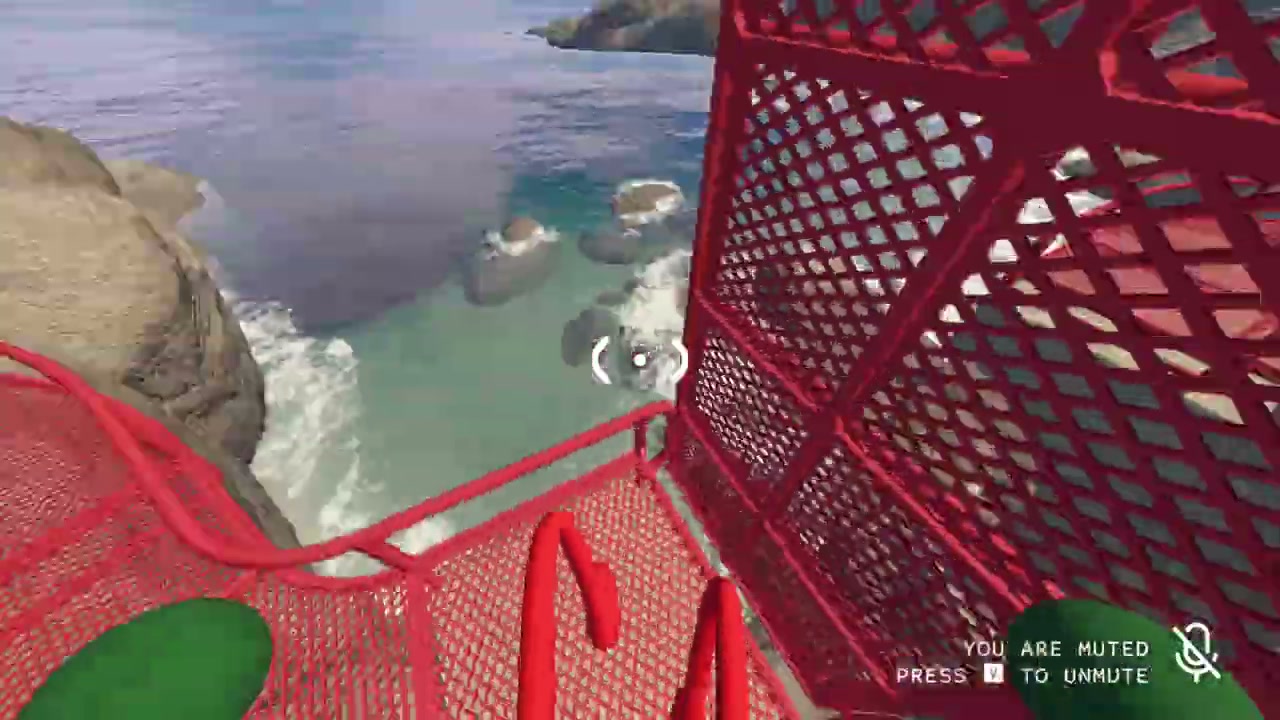
03:52 — the railing side of the bridge, where the jump-and-catch happens.
The hard version is faster and less forgiving. One player carries the other to the bridge. The carried player then stands on the railing and jumps out and back in, while the carrier jumps out and lands on the far side. Then the player on the railing jumps toward them and is caught in the air.
The source slips during his own attempt and simply asks to be grabbed, which is the recovery you should expect: one clean grab fixes a bad jump. A flashlight sits on the far side if you want it for the rest of your route.
Success check: both players are on the far side, no key used, and the bridge is still down.
Step 7 — Purple Climb: the crack beside the pink backpack
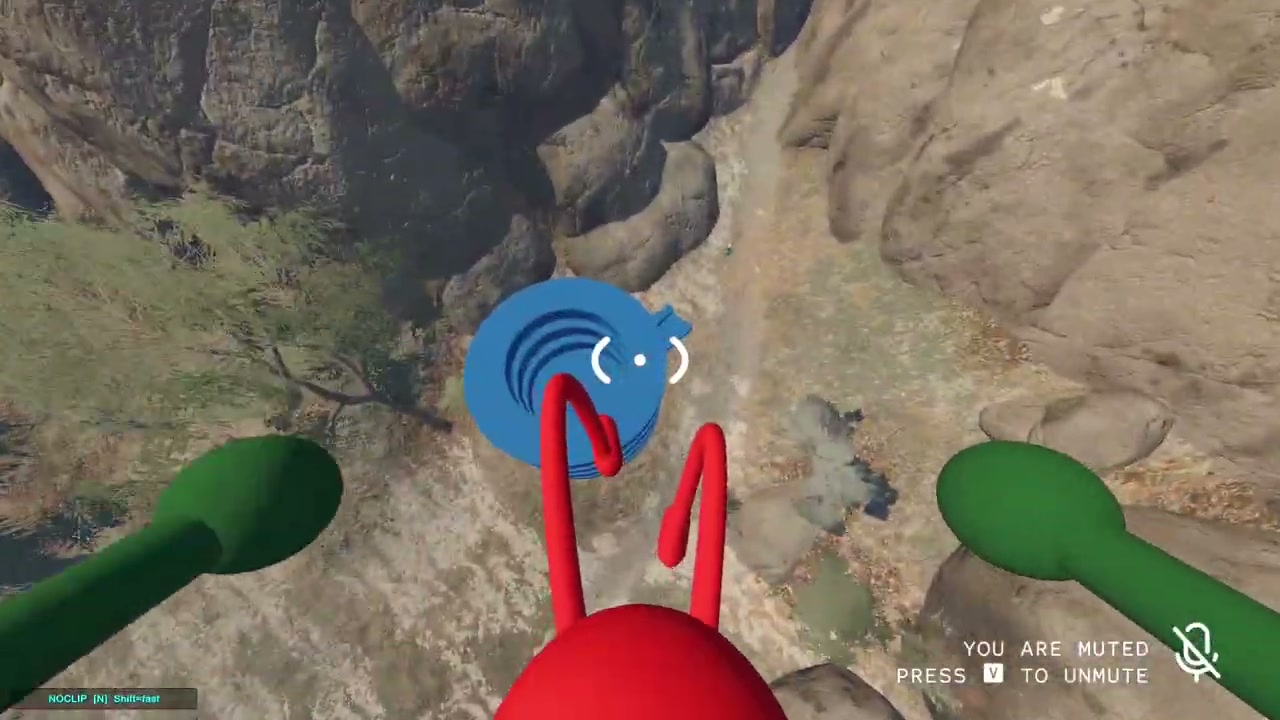
04:10 — the grab inside the crack beside the pink backpack.
If you want the purple area early and you have two players, this is the quickest way in — the source calls it the "big patience climb" or the purple climb. Start at the pink backpack, which the source marks as the anchor ("this is locked in, this is the pink backpack"), then go to the crack on the right. One player jumps up into the crack; the other jumps up and grabs them; from there it is normal climbing. When the collision fights you, wriggle — that is the source's own fix — and keep going until you are up.
Success check: you are standing in the purple area with your partner.
Step 8 — Solo bridge skip: forward jump, hold A, spam jump
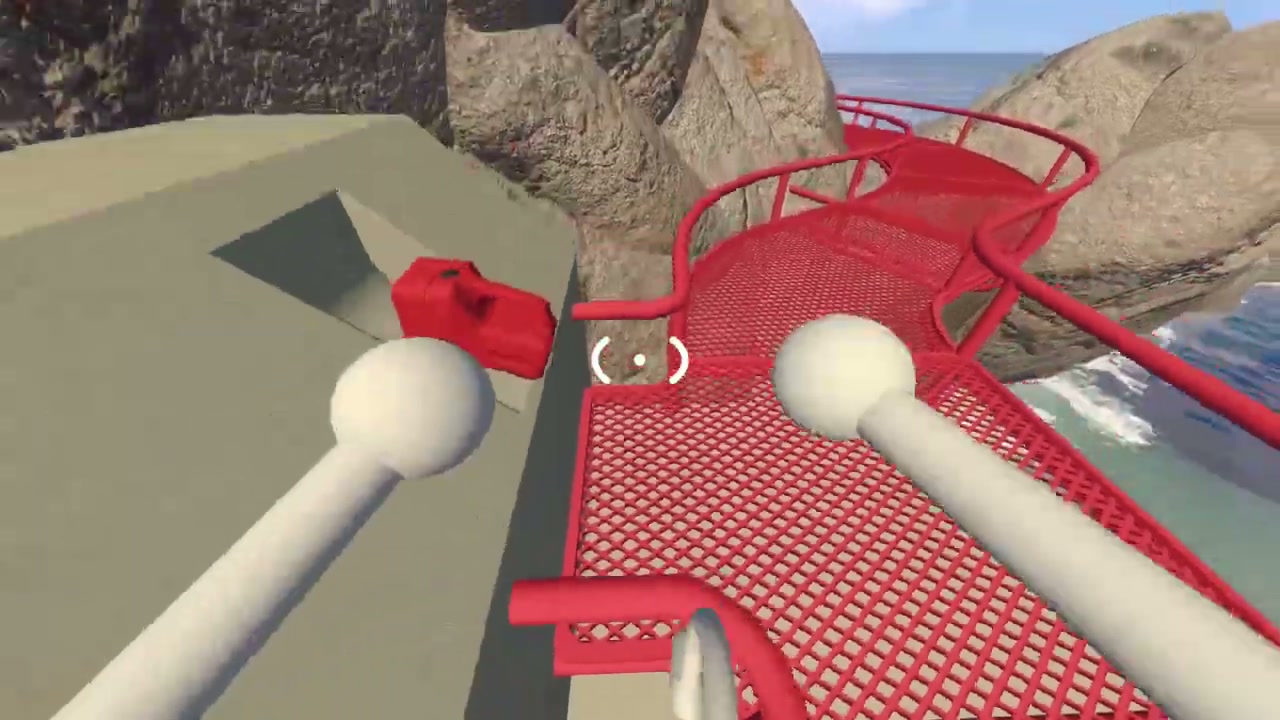
05:08 — the bridge deck and railings for the one-player version.
One player, same bridge. Run to it exactly like the co-op version, but the jump changes: jump up, then jump off at full speed forwards, start holding A, and keep spamming jump. If you catch the slow ledge, jump again, and when you are lined up, jump to the far side.
The source runs it twice on camera, so the second attempt is there if the first one reads as luck: forward jump, hold A, spam jump, then the last jump across.
Success check: you are across alone, with the bridge still down.
Step 9 — Solo Southern Escape, part 1: light bulbs as steps
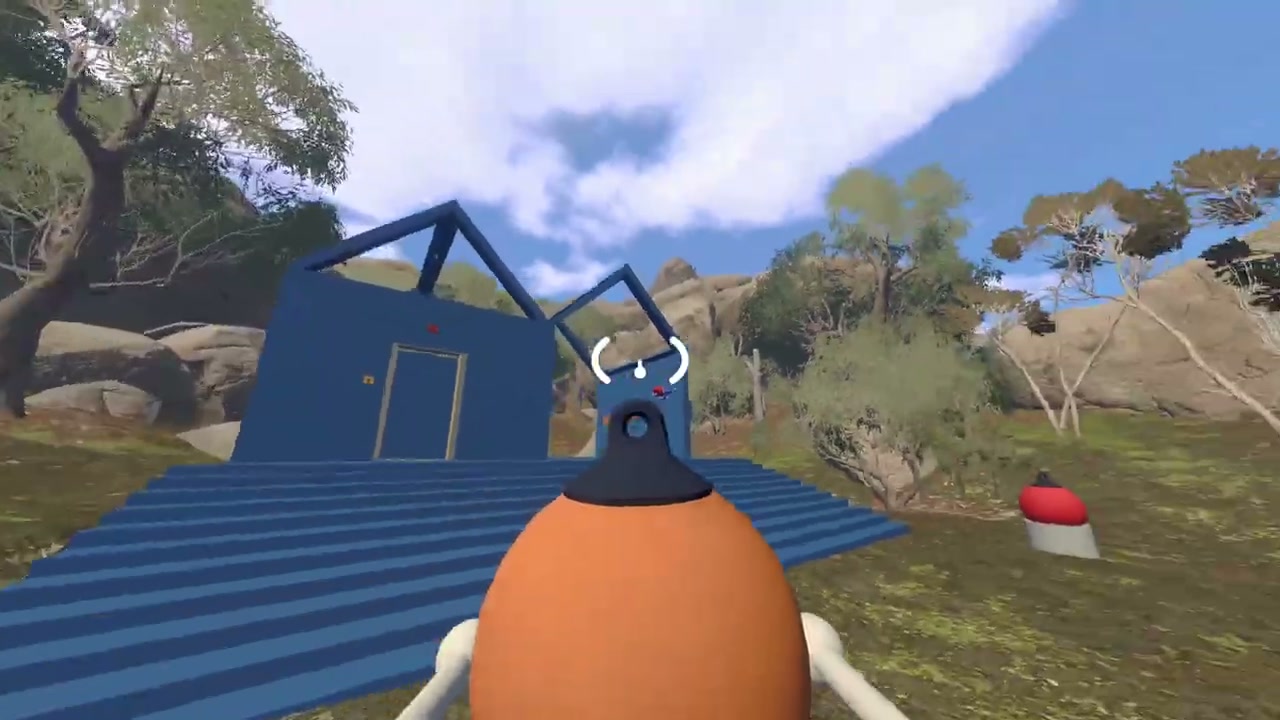
05:30 — a light bulb in hand at the blue house, before it is thrown ahead of the climb.
Without a teammate, the southern beach is done with light bulbs from the blue house, used as movable steps. Grab a bulb and throw the bulbs ahead toward the spot the source calls the two-player farming spot. Then:
- Wedging the first bulb. Pop one bulb into a nook so it cannot roll away.
- Carrying the second up. Take the other bulb with you up the climb.
- Dropping it in the corner. Crouch, walk into the corner and drop the bulb there so it does not roll down.
- Dropping the last one forward. Come back for the first bulb, climb again, and drop forward onto it so it stays put.
Success check: you have a bulb held steady under the crevice and one waiting lower down.
Step 10 — Solo Southern Escape, part 2: stand on the bulb and walk the edge
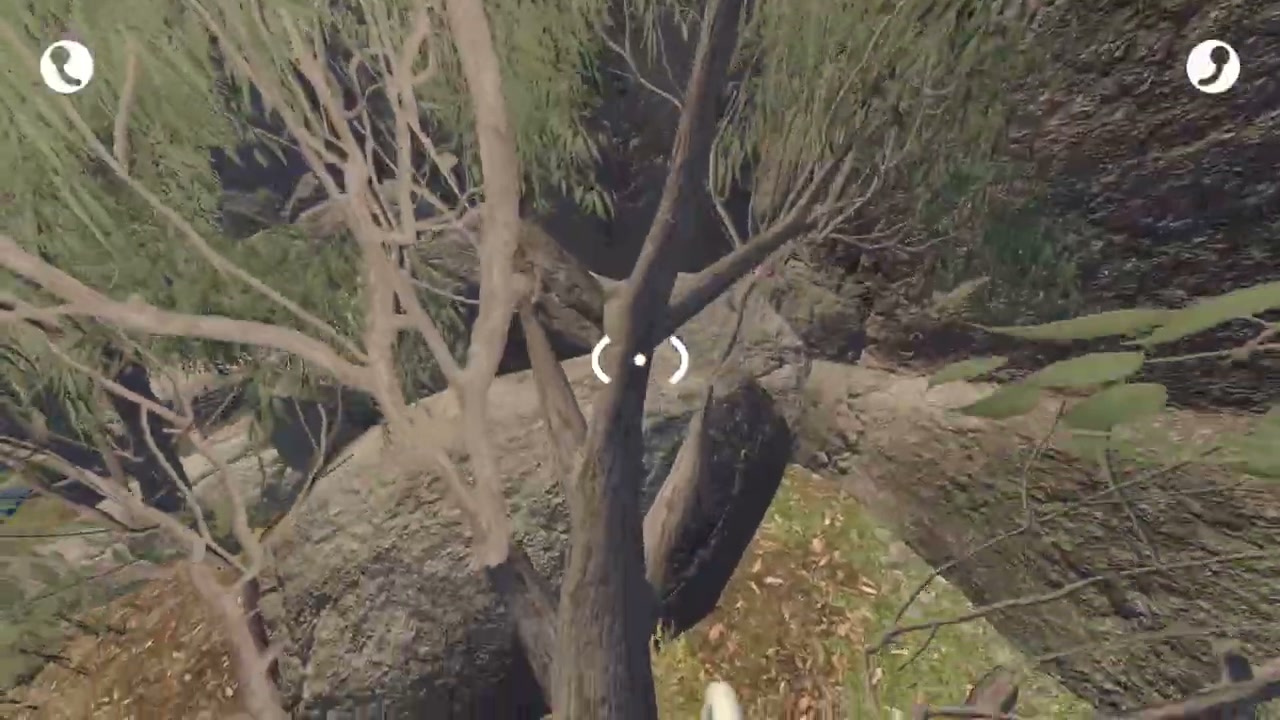
06:08 — the edge above the crevice, where the walkable sliver is.
From the bulb, jump up into the crevice. At the top, the left side can be walked on: the source finds that the wall to the other side refuses you, but jumping onto the very edge lets you walk straight up. Then run around and stay on the little sliver — step off it and you get stuck rather than fall, which costs you the attempt.
Success check: you are out of the beach area on your own, without a teammate.
Success check
The route worked when all of these are true:
- You are on the far side of the barrier — the door, the bridge, or the purple-area wall.
- The barrier itself is still closed; you climbed past it, you did not open it.
- Nothing was carried or consumed to get there: no key, no item, just jumps and grabs.
- Everyone in the group is across, not just the player who topped out first.
Common mistakes and recovery
- Using the space bar on the eastern door skip. The source says the scroll wheel is required and that the space bar does not work for him. Switch input before retrying the climb.
- Standing fully inside a crack. You lose your jump. Stay on the edge of the crack and re-seat yourself before jumping again.
- Jumping solo on a route that expects a grab. Routes 1, 4, 5, 6 and 7 need a second player. If nobody is catching you, you are on the wrong route, not the wrong angle.
- Dropping into the creek without a way back. The tutorial drop cannot be climbed back out of, per the source. Take the stairs and the left-hand drop deliberately.
- Swimming instead of being carried on the easy bridge route. The water is slow; the carry is what makes it quick.
- Giving up after a slip on the hard bridge route. The source slips, asks for a grab, and finishes. One catch resets the attempt.
- Letting the light bulbs roll. That is the whole reason for the nook and the corner drop in the solo southern escape — a bulb that rolls away is a bulb you have to fetch again.
- Stepping off the sliver at the top. You get stuck instead of falling, so stay on the narrow edge.
Player-count and version notes
- Two players: Creek Escape, Southern Beach Escape, Easy Bridge, Hard Bridge and Purple Climb. Each depends on a grab, boost or carry, so a solo player cannot reproduce them.
- One player: Eastern Door Skip, Northern Escape, Solo Bridge Skip and Solo Southern Escape. The recording shows the northern crack being climbed by the narrator himself while a partner stands by, so it is a solo climb in practice.
- The north, east and south labels, "blue house", "pink backpack", "musical chairs" and "yellow tower" are the recorder's own descriptions of what he sees. He gives no coordinates and no map reading, so treat these as landmarks to match on screen rather than as fixed map positions.
- Everything here was recorded in one session and uploaded in October 2026. The source repeatedly describes climbs as "scuffed" and position-sensitive, so small differences between your build and his are expected — the route exists, the exact frame-by-frame positions may need adjusting.
- These routes are traversal, not item tricks: every one of them is jumps, grabs and boosts on visible geometry, and the source never uses a glitch to pass a barrier.
Source
This article is a single-source guide synthesized from one public video: ALL Climbing Locations || Big Walk Mega Guide by The Green Portals (youtube.com/watch?v=HatHCvk014E). The recording is chaptered into nine climbs, and every step above maps to a timestamped moment in it; the frames are temporary extracts used only to illustrate the steps, not final artwork. The route names, the input advice and the warnings about scuffed climbs all come from the video's own narration. The article does not claim cross-verification against other sources, and it does not add mechanics the footage never shows. For the intended way through the same barriers, see the tutorial area walkthrough and the puzzle catalog.