Big Walk Starting Area Walkthrough: The First Puzzles, the Key and the Bridge
The opening route in Big Walk, in order: the friend-and-button puzzle, the button-holder relay, the telescope and red light, the blue building symbol check, the two simultaneous switches, then delivering the four rewards for the key, cutting it at the cutters and crossing the lowered bridge toward the Red Tower.
 Big Walk Atlas
The starting area is the part of Big Walk almost nobody writes down, because it looks like it teaches itself — and then a group spends an hour walking in circles. The short version: work through four puzzles in the opening area, pick up one reward from each, carry all four to the receiver beside the gate, open it and insert them to get a key, walk that key through the cutters until it is fully cut, and the gate and bridge lower so you can head for the Red Tower. Two players are needed for every one of those puzzles: one presses and holds, the other walks; one is behind the wall with the answer, the other places it.
The opening route at a glance
- Start with the friend-and-button puzzle closest to spawn — one player holds, one player presses.
- Take the relay puzzle where one player keeps a button held while the other walks to the object.
- Solve the telescope puzzle — the player at the telescope holds the button while the other reaches the red light in the distance.
- Follow the line of small lamps to the blue building and copy its symbol row through a caller outside.
- Follow the lamps right to the switch puzzle and press both switches at the same moment.
- Deliver the four rewards at the receiver by the gate and take the key it produces.
- Cut the key at the cutters — it will not open the gate uncut.
- Cross the lowered bridge toward the Red Tower, switching on every radio station you pass.
Before you start
The route assumes a two-player session and no items beyond what the opening area hands you. Three things make it much faster:
- Agree who does what before each puzzle. Every stop on this route is built from the same two jobs — one player operates a control, the other travels — so decide the roles out loud at the start of each one instead of mid-puzzle.
- Follow the lamps. From the second puzzle on, the source navigates by a line of small lamps; the blue building and the switch puzzle are both found that way, not by landmarks.
- Plan for darkness. The recording reaches these puzzles as the island turns dark, and the source notes the telescope step "would be a lot easier to do this during the day". A light source helps, and the red light itself is what gives you direction at night.
Step 1 — The friend-and-button puzzle
The first stop is the easiest one and it sets the pattern. The source's description is short: "this one's pretty easy — you just grab a friend", and then press the button. One player gets into position and the other presses; the reward drops where you can pick it up.
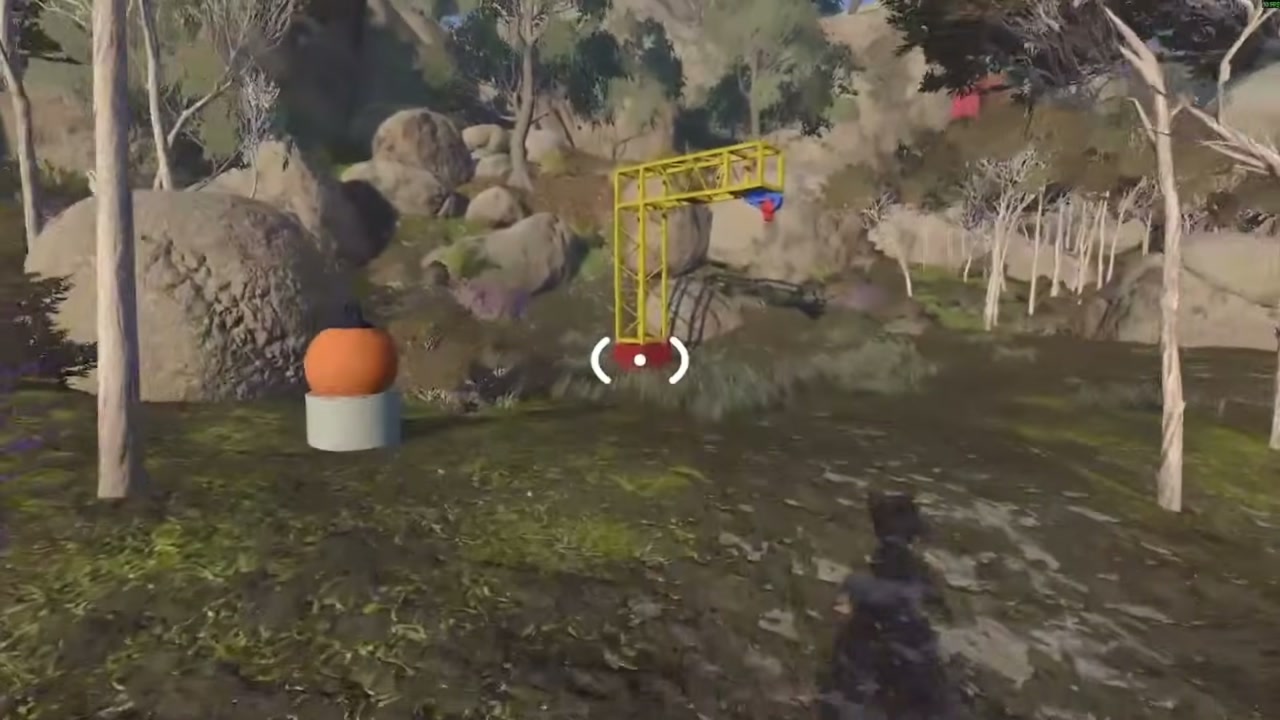
00:52 — the opening puzzle structure, with the interaction marker on the yellow frame; this is the "grab a friend and press the button" stop.
Success check: you have picked up the first reward and the puzzle no longer responds.
Step 2 — The relay: one holds the button, one walks
The second stop splits the group. The source puts it plainly: "one person presses a button and the other person goes to where the thing is". Whoever stays behind keeps the button pressed; whoever travels walks to the object and takes it.
The recording does this as the light starts to go — the sky is already turning and the target sits far enough away that you need to keep your bearings.
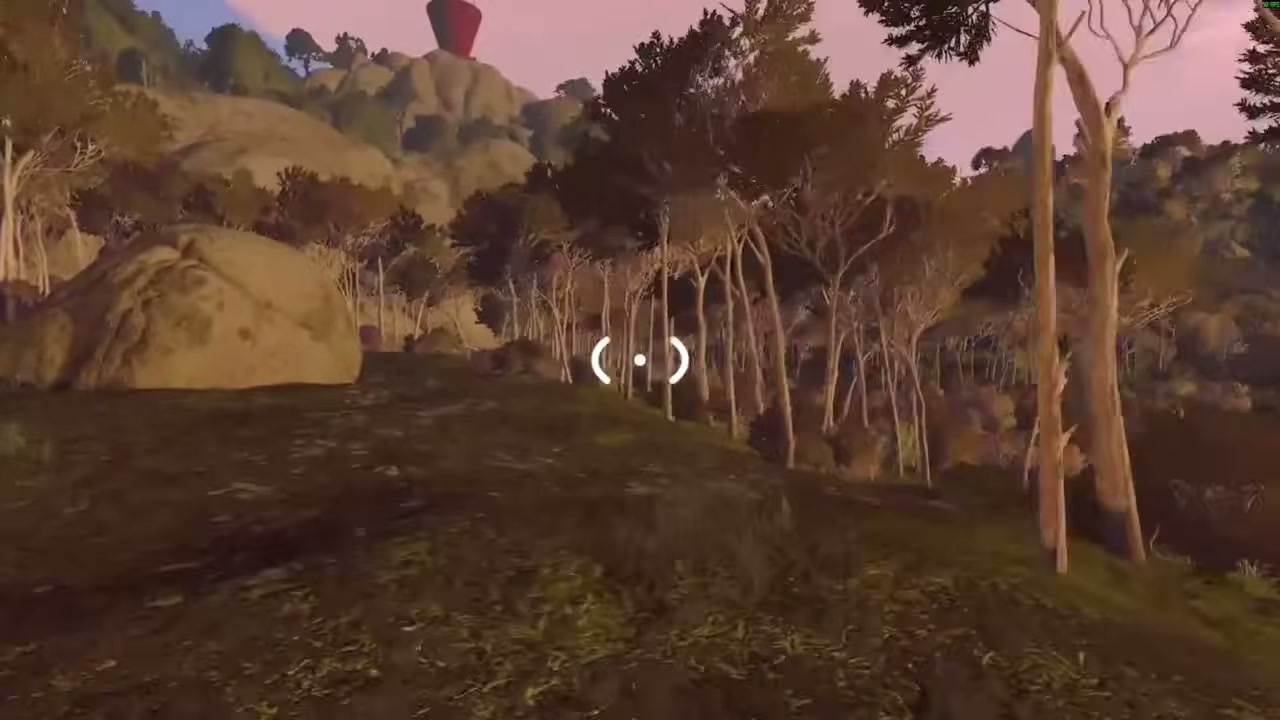
01:18 — the relay in progress: the traveller's view of the hillside at dusk, with the red target on the ridge and the interaction marker centred.
Success check: the reward is in the traveller's hands and the button holder can let go.
Step 3 — The telescope and the red light
The third puzzle is the one the source calls "the puzzle with the telescope". One player stays at the telescope and keeps holding the button; the other walks to where that red light is in the distance and takes the item out of its case. The source's summary of the solution is exactly that: "you just press the button, your friend goes over to the thing and gets the McGuffin outside of its case."
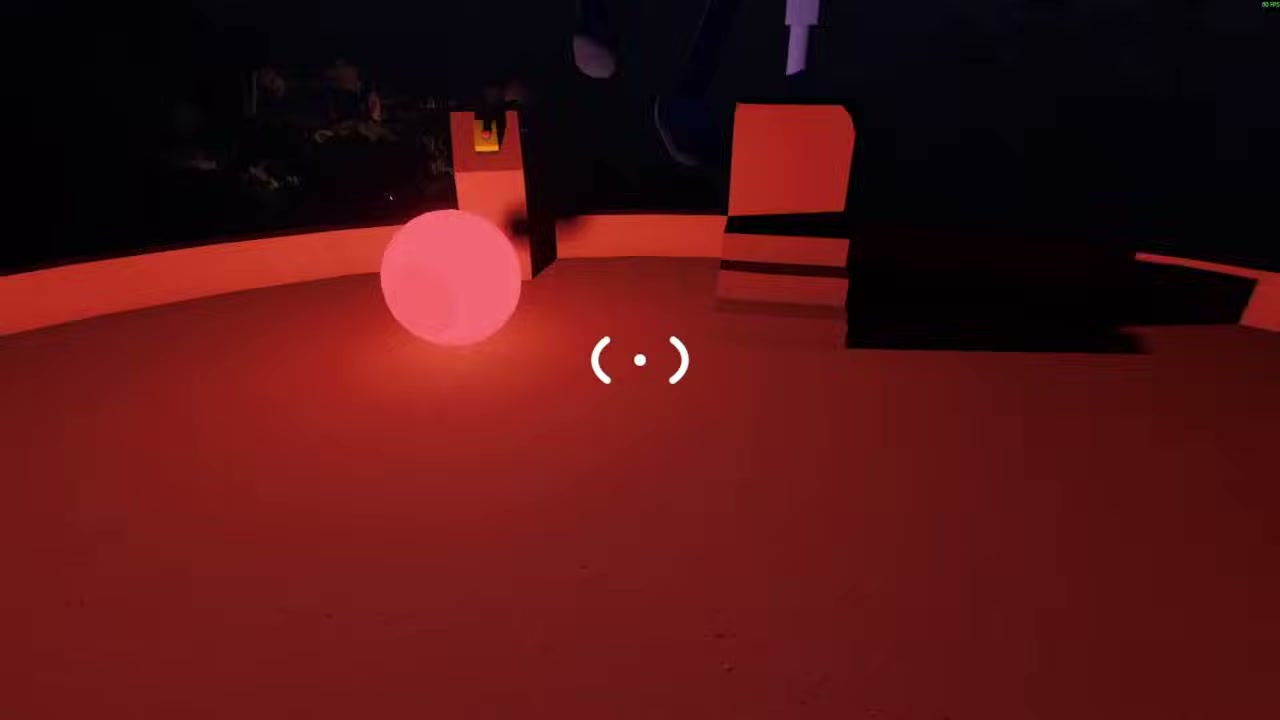
02:35 — the red light itself, seen at night; this is what the button holder is watching while the other player walks to it.
Success check: the item is out of its case and both players are back together.
Step 4 — Follow the lamps to the blue building
To find the fourth stop, "follow the line of these little lamps until you see a blue building". Once you are there the puzzle is a two-role check: the player inside is shut in with the answer and has to call whether each placement is right or wrong, while the player outside does the placing. In the recording the inside player simply answers "that is wrong" and then "middle" until the row is right.
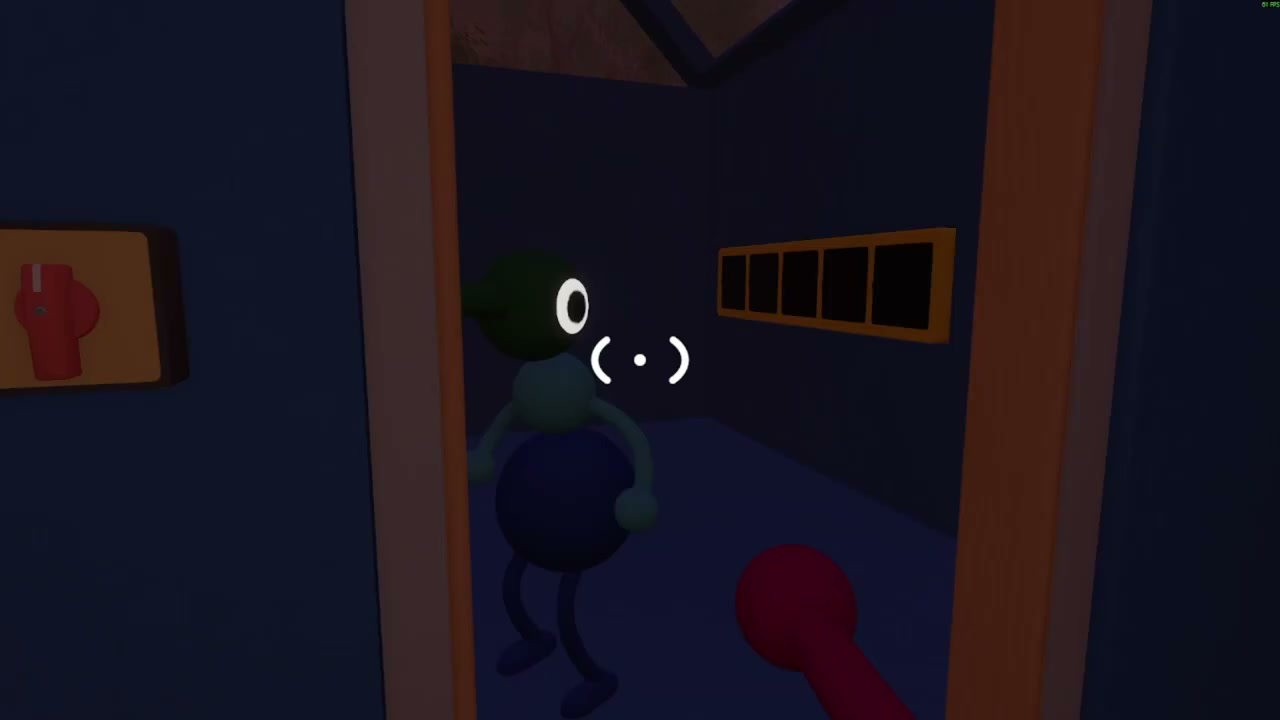
03:35 — the blue building's interior: the caller inside the doorway and the five-panel row the outside player is matching.
Success check: the caller confirms the row is correct and the reward is released.
Step 5 — Two switches, pressed at the same moment
Back out to the lamps: "follow the lamps again and this time head right" and you reach the switch puzzle. The rule is the whole puzzle — both switches have to be pressed at the same time. Press one early and the light on your side turns red; the source does exactly that, laughs about being "the worst guides ever", then resets and tries again. Success comes from counting in together, not from pressing harder.
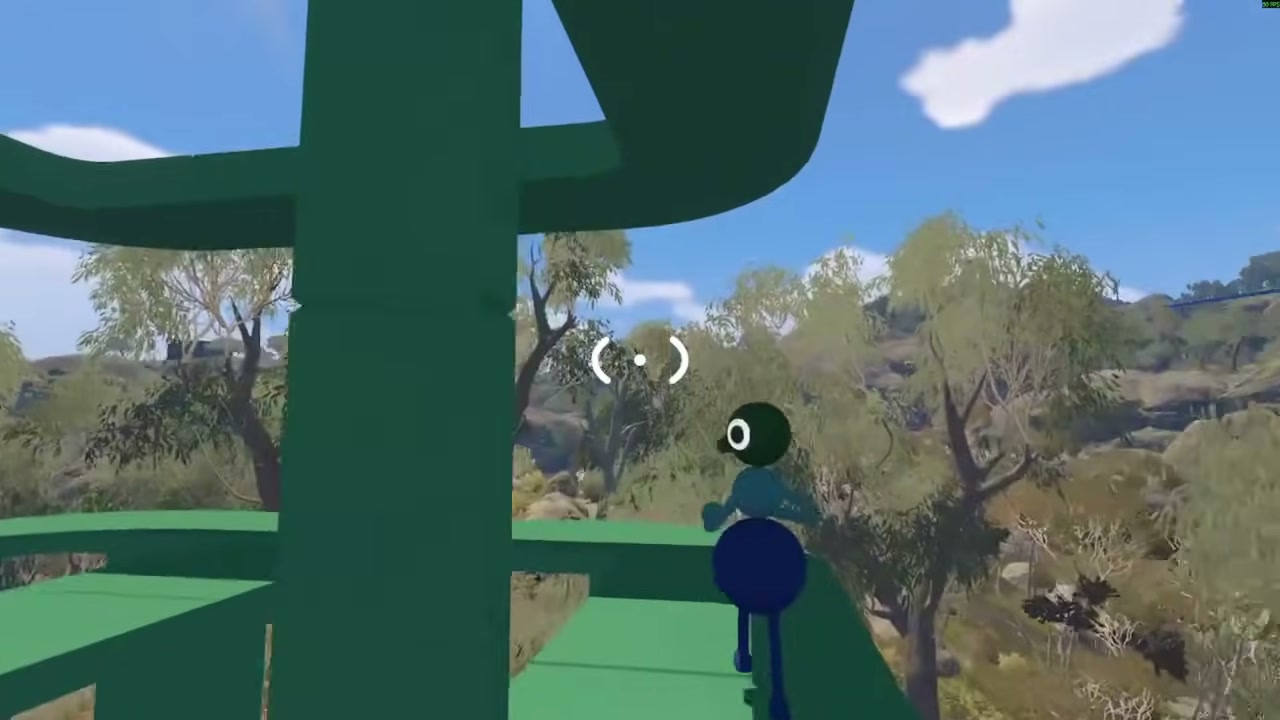
04:22 — the green scaffold structure at the switch puzzle, in daylight; the two controls sit on opposite sides of it.
Success check: both lights are on the correct colour at once and the last reward is out.
Step 6 — Deliver the four rewards and take the key
With all four rewards collected you finally find out what they were for. "Once you've got these four you go over here and one of your friends or yourself opens up this button" — the receiver sits by the gate — "and then you just put them in". Every reward goes into its own slot, and when the last one is in, you get a key.
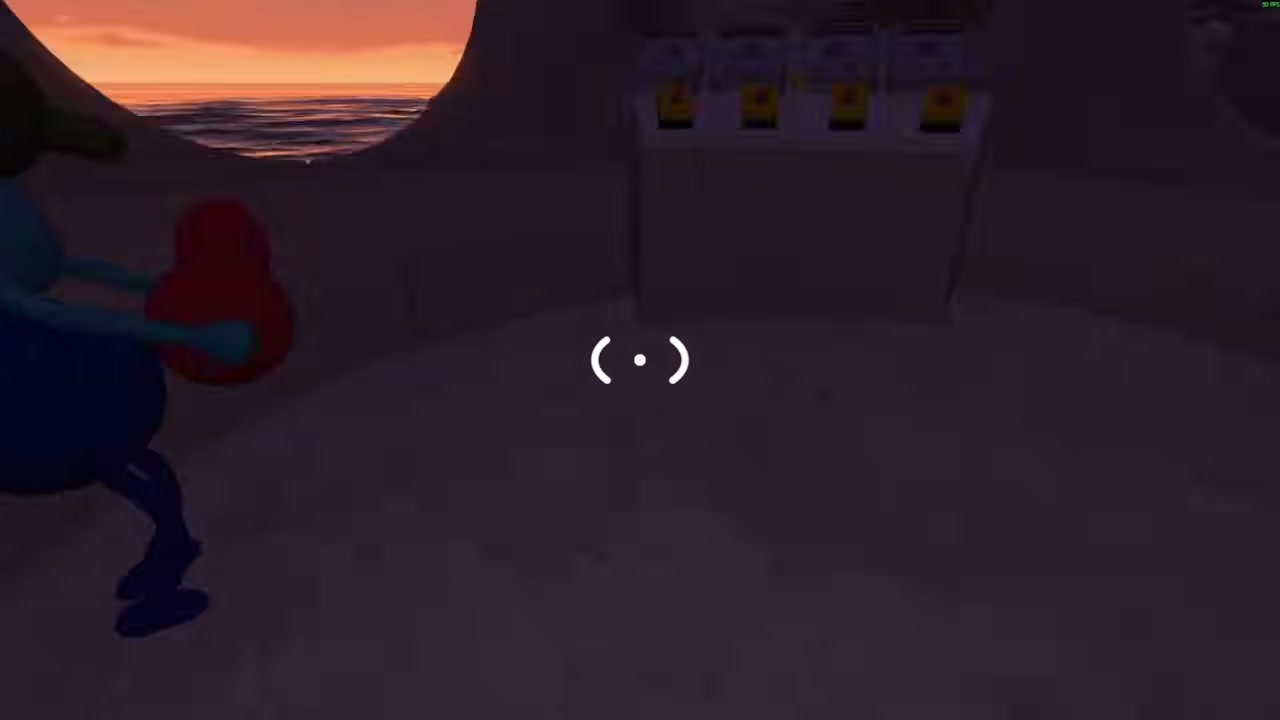
05:46 — the receiver by the gate: four glowing slots, with a player bringing one of the rewards to it.
Success check: all four slots are filled and the key is in your hands.
Step 7 — Cut the key before you try the gate
The obvious move — walk the key straight to the gate — does not work. "The key can just go straight to the gate. It can't. You need to actually put the key through these little things right here." Those "little things" are the cutters: pass the key through them one at a time, and keep going until it is fully cut. Only then will the gate accept it.
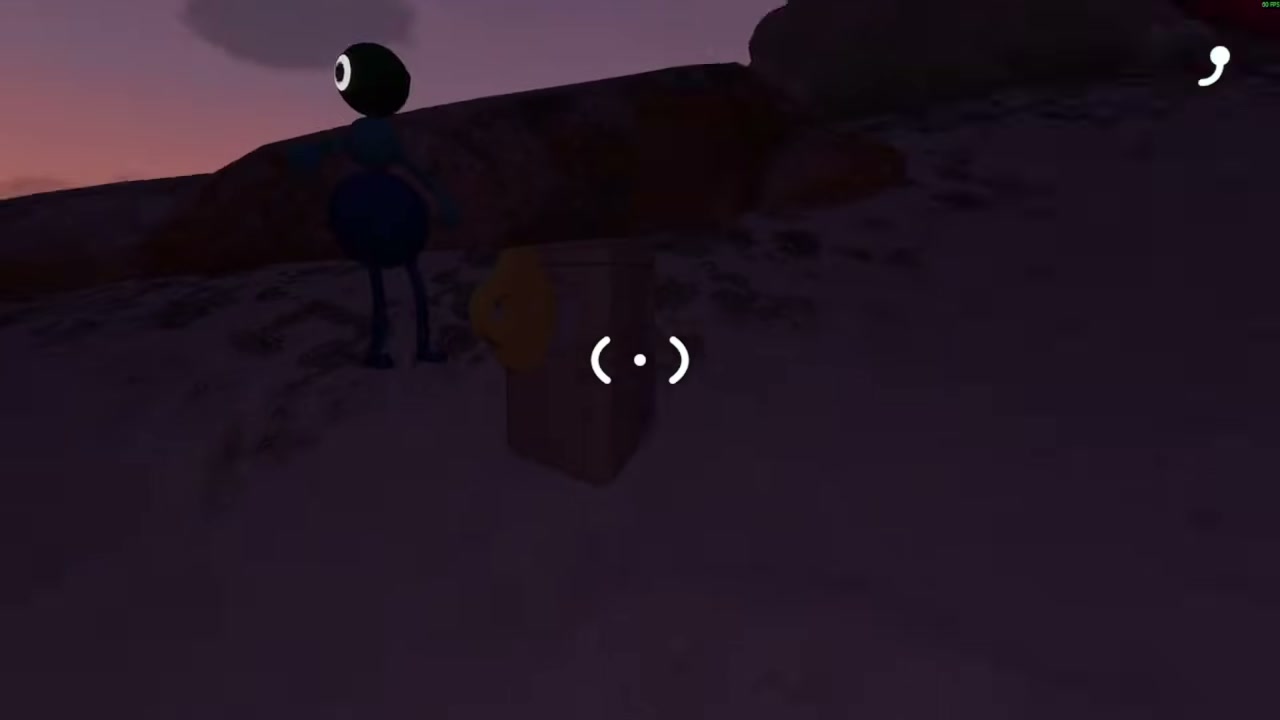
06:16 — the key on top of a cutter, after the delivery; this is the pass the gate will not accept until it is complete.
Success check: the key has been through every cutter and the gate responds.
Step 8 — Cross the lowered bridge
Using the cut key does not just open a door — "after you get your key, they'll lower the bridge". The bridge is the way out of the starting area and the route to the Red Tower, which is where the next section of the game begins. The source ends its first part here and picks the Red Tower up in the next episode.
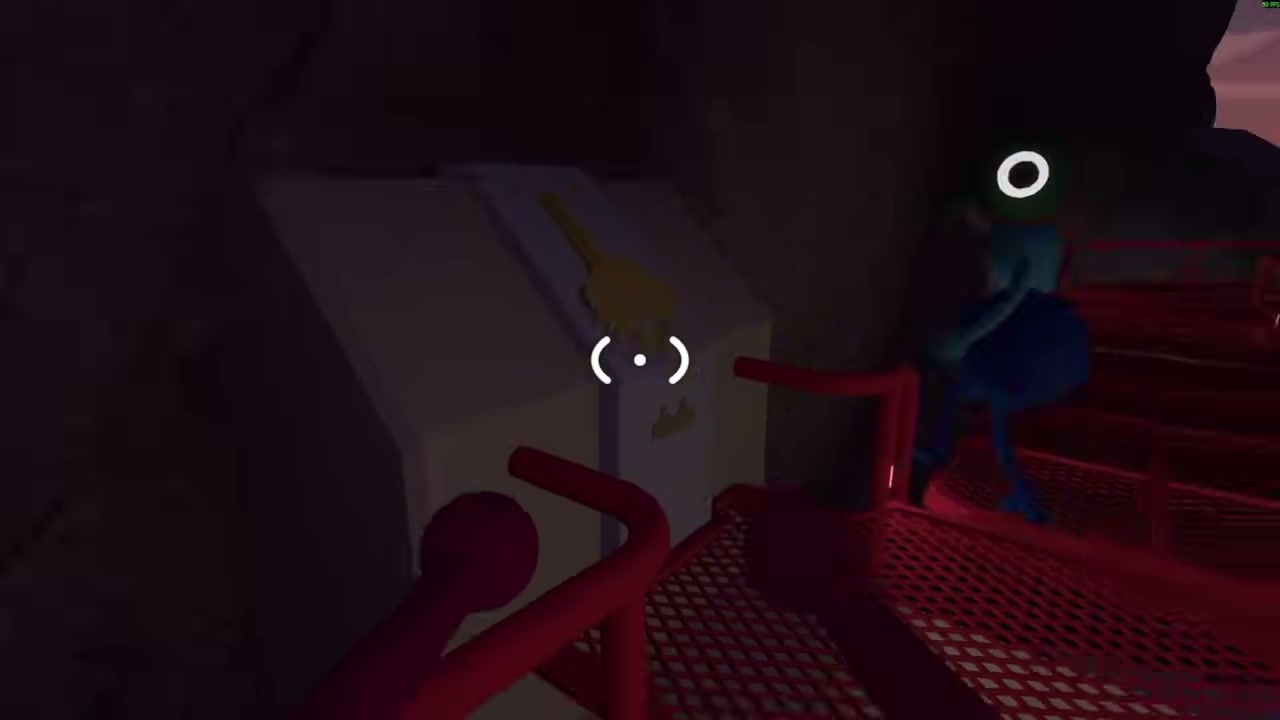
06:22 — the lowered bridge out of the starting area, with a player already standing on it.
Success check: you are across the bridge and the Red Tower is ahead of you.
Optional — switch on every radio station on the way
One thing worth doing before you leave the area: "along the way, you may find these radio stations. It's very important to activate every single last one that you see because there is a puzzle that does involve these." The source's instruction is blunt — "make sure you activate them" — because a later puzzle depends on the set, and walking the route again to hunt a missed station is the expensive version. This site's radio station guide lists all seven.
Success check
The starting area is finished when the chain is complete: four puzzles solved → four rewards delivered at the receiver → key → fully cut → gate open and bridge down. If you are standing on the far side of the bridge with the Red Tower visible, nothing in the opening area is left behind except the radio stations, which you should already have switched on.
Common mistakes and recovery
- Trying to solo a two-job puzzle. Every stop on this route separates the player who operates a control from the player who travels. Do the jobs in parallel, not one after the other.
- Letting go of a held button to "help". In the relay and telescope puzzles the holder has to stay on the button; the reward only becomes reachable while it is held.
- Pressing the two switches in sequence. The switch puzzle wants them at the same moment. Count down out loud and press on the same beat; a red light means you were early or late, not that the puzzle is broken.
- Walking the key straight to the gate. It will not open until it has been through every cutter. If the gate ignores you, you skipped one.
- Skipping the lamps. The blue building and the switch puzzle are both reached by following the lamp line; wandering by landmarks is what turns this area into an hour of walking.
- Leaving the radio stations off. They cost seconds now and a full return trip later.
Player-count and version notes
- The recording is a two-player session, and every puzzle on this route is shown with two people doing two different jobs.
- The source does not test this route solo, with three players, or with four or more. The article does not claim what changes on those versions — only that the two-role structure is what the recording demonstrates.
- The source does not name the puzzles, and it does not show which reward comes from which puzzle beyond the order it plays them in. This site's beach-area puzzle pages cover each of those puzzles in detail: the blue house symbols, the green scaffold levers, the crane stack and the spyglass remote switch. The Red Tower route after the bridge is covered in the map and compass guide.
- The recording arrives at the later puzzles at night, which is why several frames here are dark; the source itself notes the telescope step is easier in daylight.
- This is a single-source guide: every step comes from one public video's narration and footage, and no second source was used to cross-check it.
Source
This article is a single-source guide synthesized from one public video: Big Walk Guide. Part 1 by NeonStar (youtube.com/watch?v=RE0kOhqLgbw). Each section maps to a timestamped moment in that recording, and the frames are temporary extracts used only to illustrate the steps, not final artwork. Facts come from the video's own narration and footage; the article does not claim cross-verification against other sources.