Big Walk Solo: Can You Beat It Alone? What One Player Can and Cannot Do
The straight answer to whether Big Walk can be finished solo, plus the 45-puzzle audit behind it: which puzzles a single player can beat, which only fall to luck, the lantern-jump technique that replaces a teammate, and the exact room where a solo run stops.
 Big Walk Atlas
Big Walk is built around two people talking to each other, so the first question a lot of players ask before buying it — or before talking a friend into it — is whether one person can just do it alone. One player went and tested the whole game to answer that, puzzle by puzzle, and filmed the result.
The short version: no, you cannot finish Big Walk alone. One player can beat the large majority of the game's 45 puzzles by himself, including several that are meant to be two-player, using a repeatable trick: hold the lantern, jump on top of it, and keep doing that to gain height. But the run cannot be completed solo. The hard stops are puzzles whose controls sit at opposite ends of the map, puzzles that need two buttons pressed in two separate places, a blindfold/mask room you cannot equip by yourself, and — decisively — the moment the collected blobs have to be inserted into their sockets, which needed a second player to press a button. The final area adds its own two-person button and an invisible wall at the exit. The author's own verdict, after beating 30 of the 45 puzzles: "Nope."
If you are still deciding how to set the session up, the host and join guide covers that; this article is about what one player can and cannot do once inside.
Step 1 — Learn the board before you judge a room
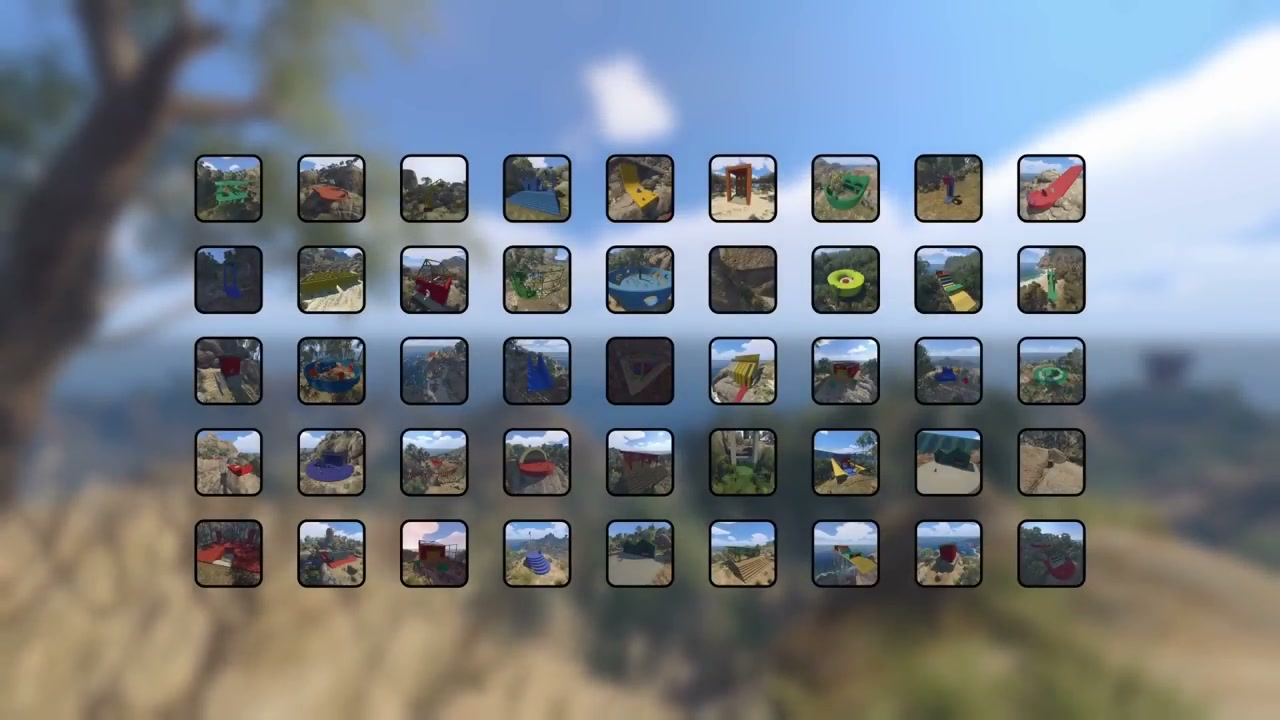
01:21 — the board the run is scored against: 45 puzzle thumbnails, one per room in the game.
The recording opens by fixing the scale: Big Walk has 45 puzzles, and the author sorts every one of them into three buckets as he meets it.
- Green blob — doable completely alone.
- Orange blob — doable, but it needs a lot of luck.
- Red blob — outright impossible without another player.
Use the same three buckets yourself. It is the only way to keep a solo attempt honest: a room you eventually guessed your way through is orange, not green, and calling it green is how people conclude the game is solo-friendly when it is not. Toward the end of the run the same board comes back with a green or red dot on every tile, which is the cleanest progress readout in the whole video — more on that in Step 8.
Step 2 — Learn the lantern jump; it replaces a teammate's head
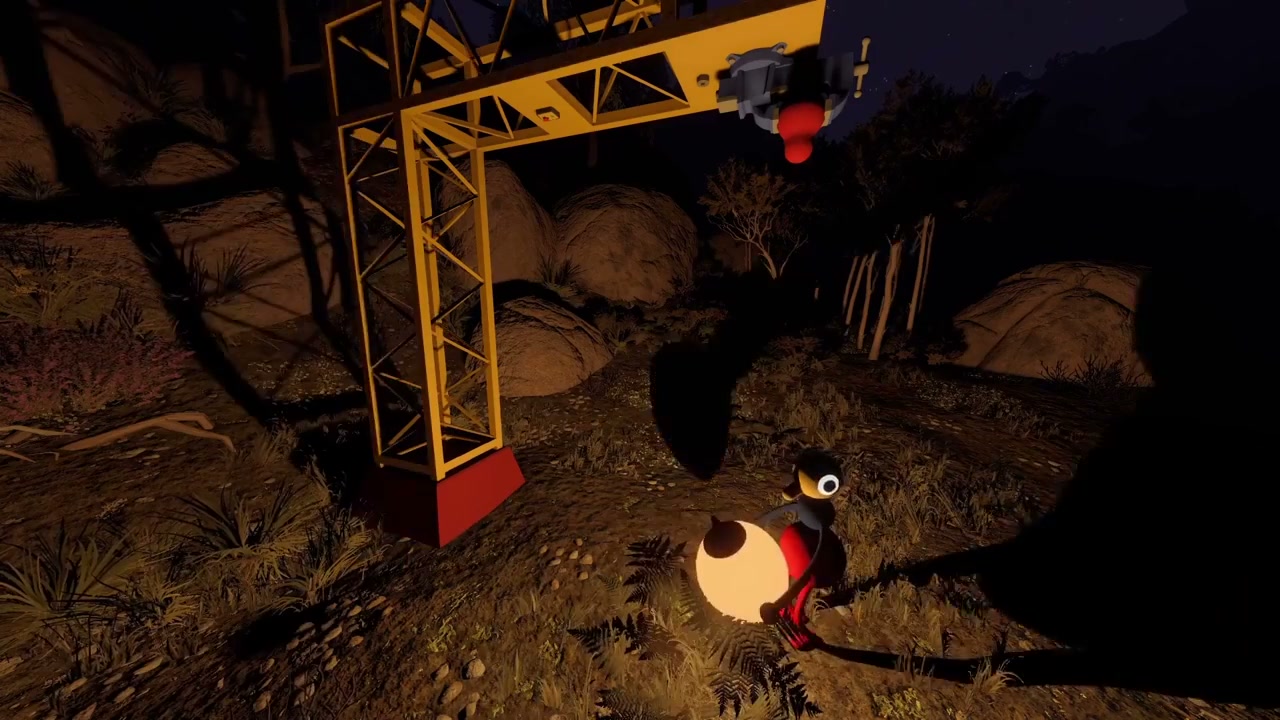
03:25 — a player holding the lantern next to the crane structure: the item does the job a teammate's head normally does.
The single most useful thing in this entire run is not a puzzle solution, it is a movement trick. Big Walk expects one player to stand on the other's head to reach a high button. Alone, you substitute the lantern: pick it up, jump on top of it while holding it, and drop it consistently so you keep gaining height. The author describes it as simple-sounding and then says plainly that it is not — he admits to spending around 30 minutes on one climb, and calls the mechanic inconsistent.
Practise it somewhere harmless before you need it. The three places it earns its keep are all in the first ten minutes: the jumping puzzle, the peg room's answer wall, and getting out of the tutorial area without a key.
Step 3 — Climb over an answer wall instead of asking your partner
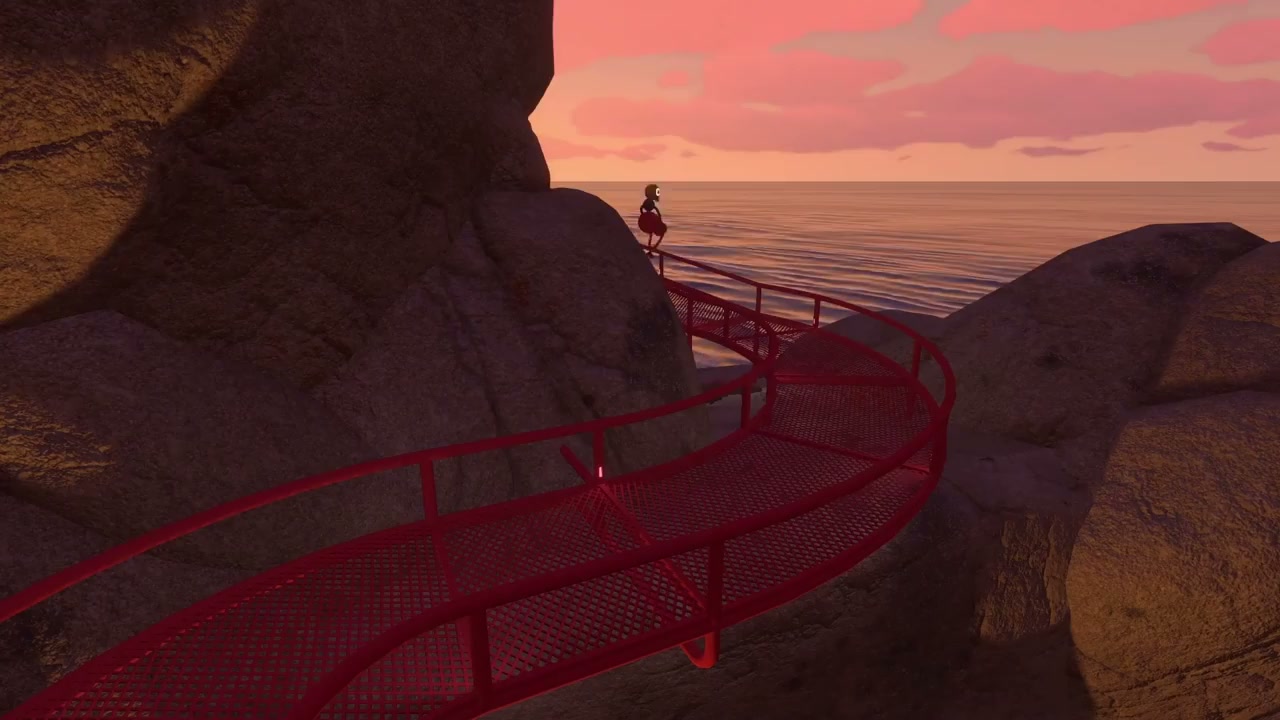
04:55 — up on the red walkway after lantern-jumping past the wall: from here the answer board is visible.
The peg puzzle is the archetype of a whole family: the answer board is on one side of a wall, the pegs and slots are on the other, and the design assumes a second player reads it out to you. The solo route is to break the geometry instead:
- Line up against the wall on the answer side.
- Lantern-jump repeatedly until you are above the wall line.
- Read the answer from up there and hold it in your head.
- Drop back to the solving side and place the pegs from memory.
This is also where the run introduces its most useful general habit: look for the way over, under or around a wall before you decide a room is impossible. The same instinct later pays off on the mask room (where a hole in the ground exists but the gap is too tall) and on the final area's first puzzle.
Step 4 — Clear the tutorial, and meet your first real wall
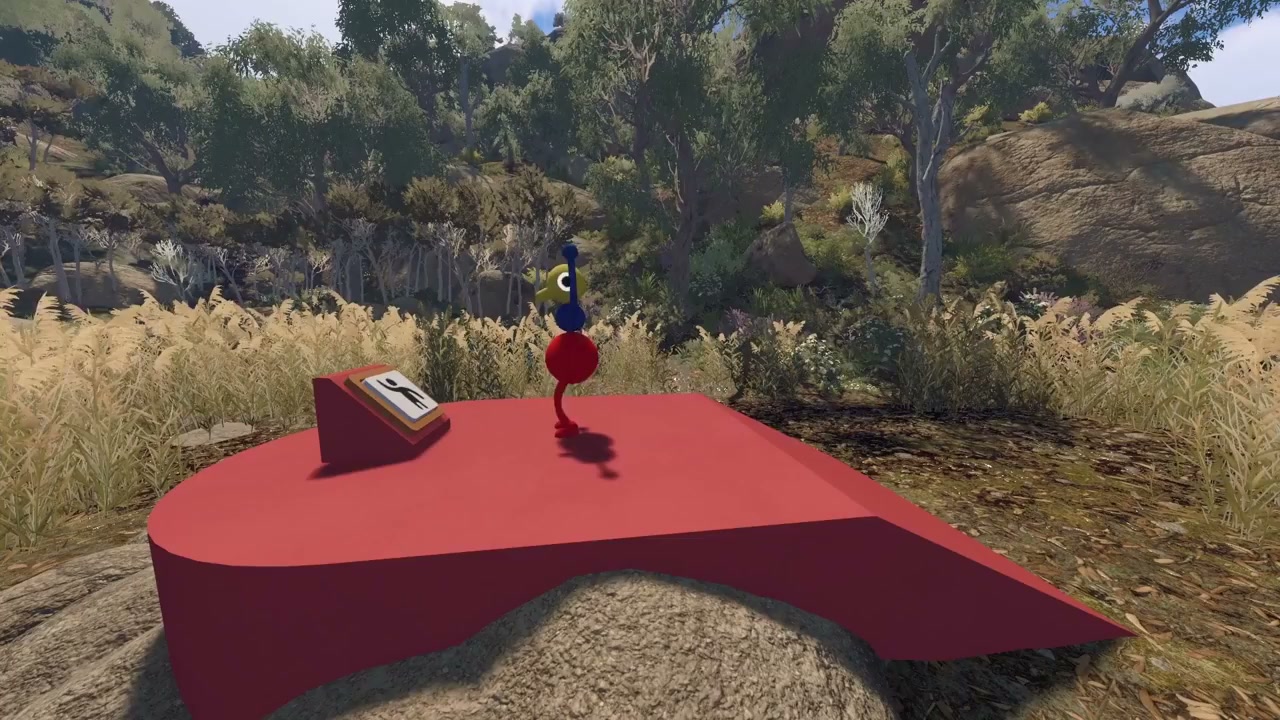
05:29 — the tutorial's long-distance button room: the button pedestal sits at one end, the pickup at the other.
The tutorial area holds four puzzles: a lever/button puzzle, a jumping puzzle, a peg puzzle, and a long-distance button. Three of them fall to the methods above.
- The two-lever puzzle is free. It wants two levers pressed at the same time, which sounds like an instant no — but the delay is long enough that you can walk from one lever to the other and press both before the first resets.
- The jumping puzzle is a lantern job (Step 2).
- The peg puzzle is a climb job (Step 3).
- The long-distance button is the first red. One player holds the button down while the other collects from the container. Asked how to solve it solo, the author's answer is: "You don't. You just don't."
Because the tutorial's blob cannot be banked without that room, the run leaves the tutorial without the key and lantern-jumps over the bridge instead. Expect the same shape everywhere else in the game: the rooms you can beat are not the problem, the one room that gates the reward is.
Step 5 — Take the timed and carry puzzles for free
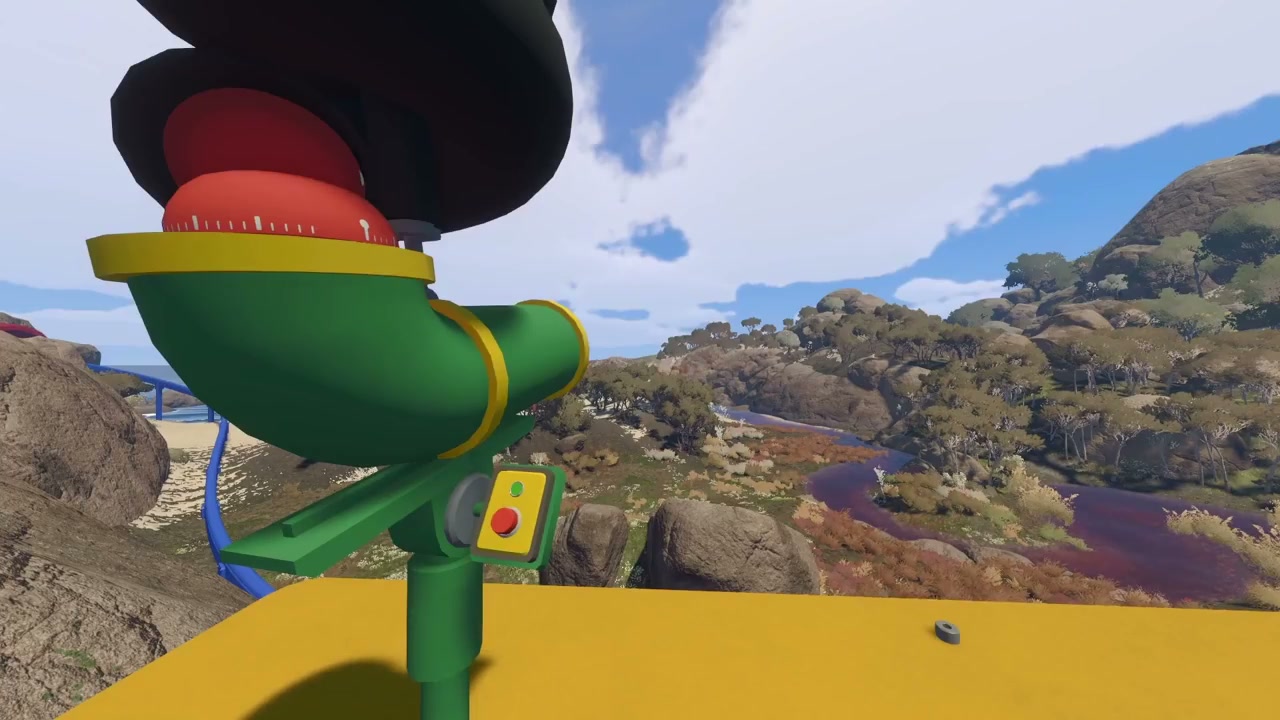
07:47 — the launcher: two red timer domes sit in the mouth, and standing in front of it stops the timer being fired.
Timer puzzles are the best news in a solo run, because they were never really about coordination:
- Cannon timer. Walk in front of the cannon and stand in the muzzle before it fires. You catch the timer on the way out instead of chasing it, then carry it to the slot.
- Maze tomato. Throw the timer through the hole, then take the other route and beat it to the far side.
- Persistent timer. Same idea with a running clock: keep an even pace and it is more forgiving than the previous one.
- Heavy ball carries. Slow and annoying, not impossible. One of them means dragging the ball across the map because a tower is locked; the author compares the pacing to golf and does not enjoy it.
Add the cannon, the spyglass panel memorisation, the card-throwing telescope room and the "don't press the red buttons" memory room to your green list. All of them cost time solo, none of them need a partner.
Step 6 — Accept which rooms need two isolated buttons
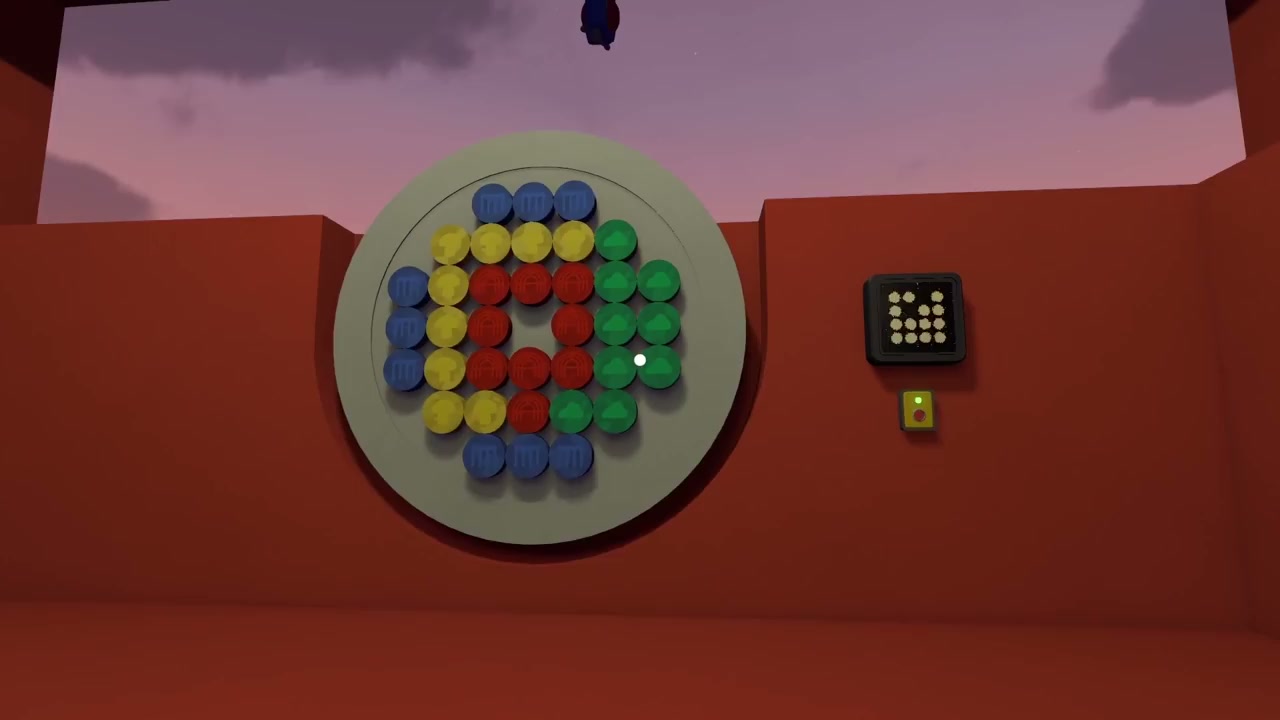
20:15 — a round plate of coloured buttons with its own control panel, in the family of rooms that need two separate inputs at once.
The clearest hard rule in the run is this: if a puzzle needs two buttons pressed in two places, it is red. The author is explicit that it does not help to press both with two hands — the buttons are isolated from each other, so one body cannot cover both. Several rooms in the game are built on that:
- Coordinate buttons at opposite ends of the map. He counts the tutorial's long-distance button plus "about three other levels" in this family.
- Card rooms where one side supplies the order and two isolated buttons must then be pressed.
- The answer-and-submit split, where the solution is entered on one side and submitted on the other.
- The blindfold/mask room. A player cannot put the mask on himself, and the author says he tried hard to get into the building without it and there is no way in.
Where the game is generous, take it: the audio room can be beaten solo by carrying a radio over and putting it in front of the microphone, and some worlds use fixed answer seeds, so you can simply walk in and read an answer that would otherwise be a guess.
Step 7 — Change your field of view and steal an answer
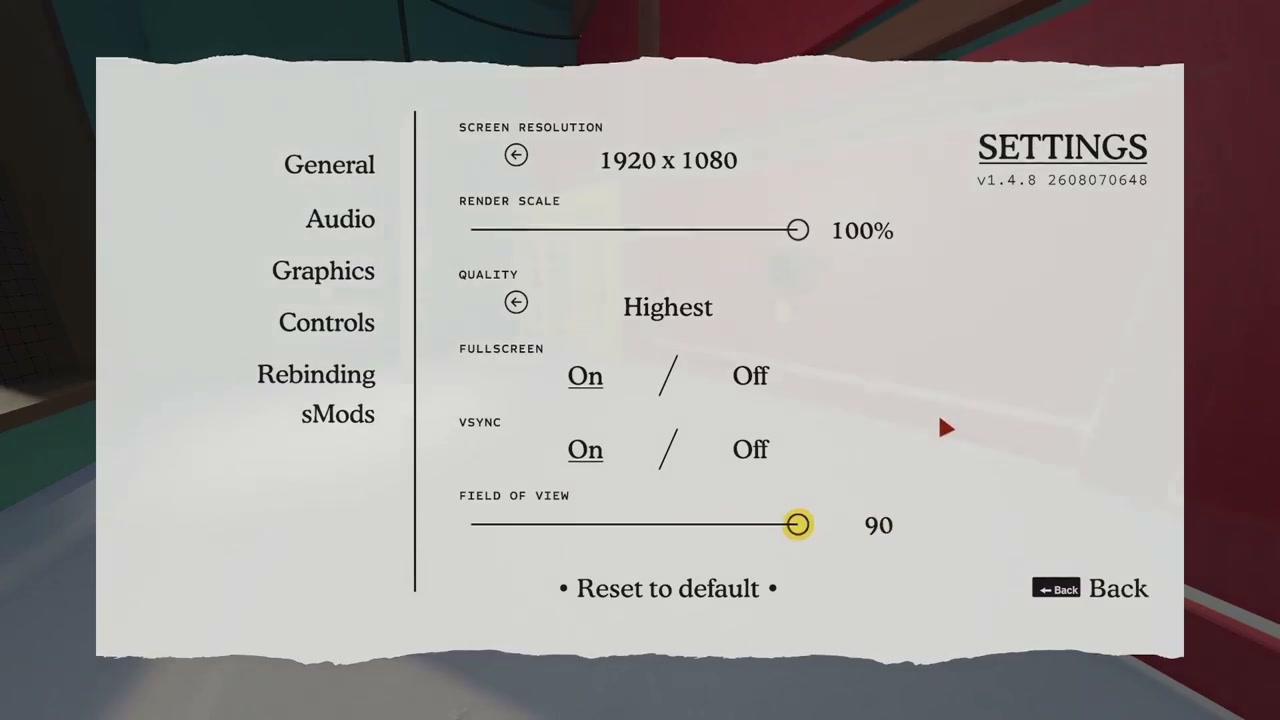
34:18 — the graphics settings page used mid-run: the field of view slider is the tool here, not a puzzle object.
One of the best moments in the recording turns an orange into a green with a settings change. A room normally communicates its answer through a window to a partner on the other side. Solo, the author raises his field of view, looks through the wall, reads the answer directly, and solves it — and because that room feeds a paired room, both become solvable.
The frame above shows exactly where the lever is: the game's own graphics settings, the Field of View slider. Nothing about this is a glitch in the puzzle's logic — it is the camera doing more than the puzzle assumed. If you are on a wide monitor or an unusual aspect ratio, try it before you write a window room off.
Step 8 — Read the tally board honestly
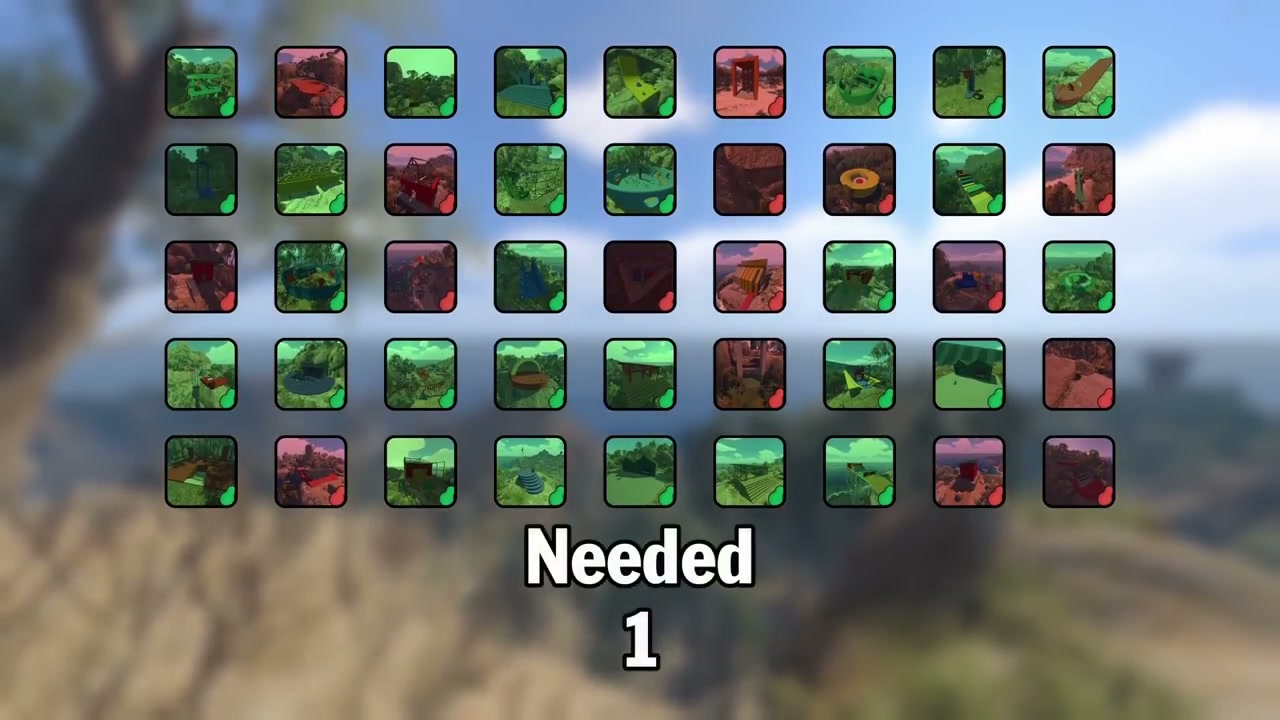
36:38 — the same 45-tile board late in the run, every tile now carrying a green or red status dot.
Halfway through, the run stops to count, and the count is the part most solo guides get wrong: the numbers move as he plays. At one point the tally is 14 failed, 18 passed, one maybe; later it is 16 failed, 25 passed, four maybes; the closing count is 15 impossible, 25 beaten, five maybes — which is 45 puzzles, or 30 played through, including the maybes.
Read your own attempt the same way and in the same three buckets. If you are tracking "how far can I get", count the greens as done, keep the oranges as open questions, and do not let a lucky guess promote an orange to green — the reason the final answer is "no" is not that he failed a lot, it is that five rooms never resolved and one of the resolved ones turned out to need a second person anyway.
Step 9 — Try the beach room's hole, then believe the measurement
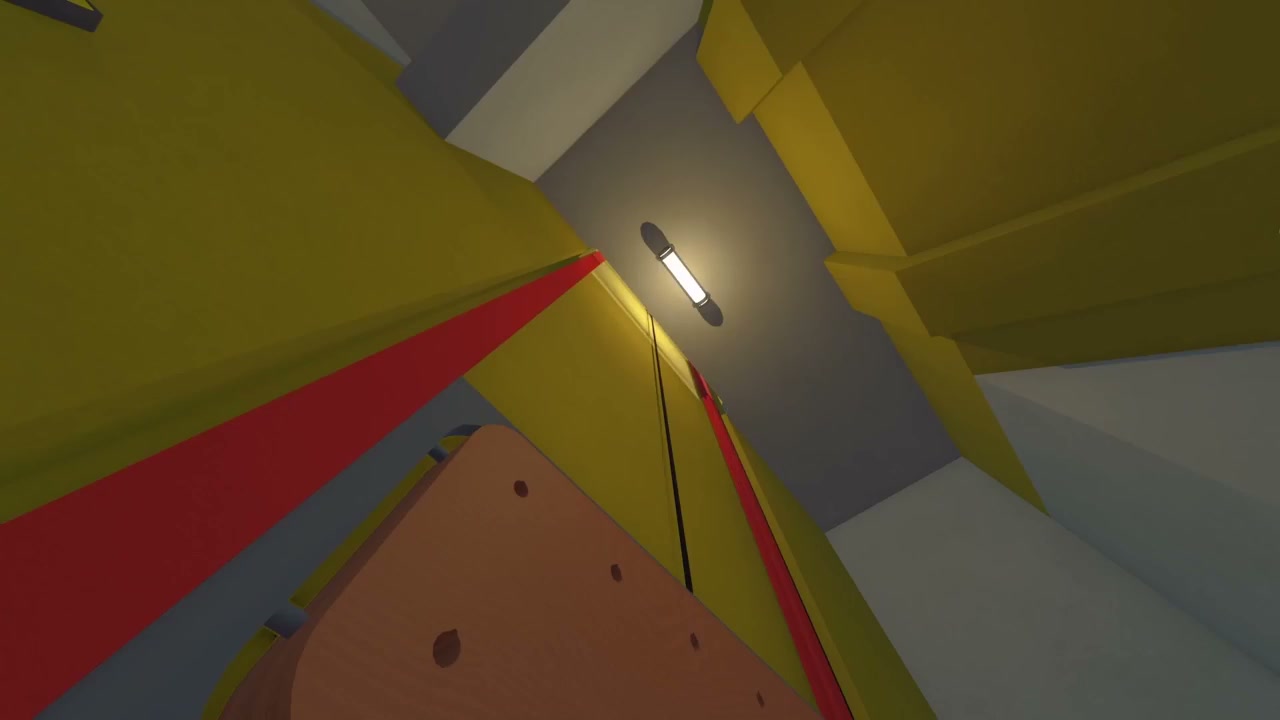
38:25 — the beach room from above: the lift board in the shaft, and the ceiling opening that is too narrow to drop through.
The beach room is the best example of an "almost". Two buttons have to be pressed, one on each side, and one of them is locked inside a room. The room has a hole in the ceiling, and inside it a board that lifts and drops depending on the cards placed on it — so there is an obvious plan: drop in from above, ride the board, press the button.
It does not work, and the reason is mundane: the hole is too small. "We're too chunky." When a room tells you the gap is too tight, stop budgeting attempts for it. This is the same lesson as the mask room, just with geometry instead of an item.
Step 10 — Watch where the run stops being solo
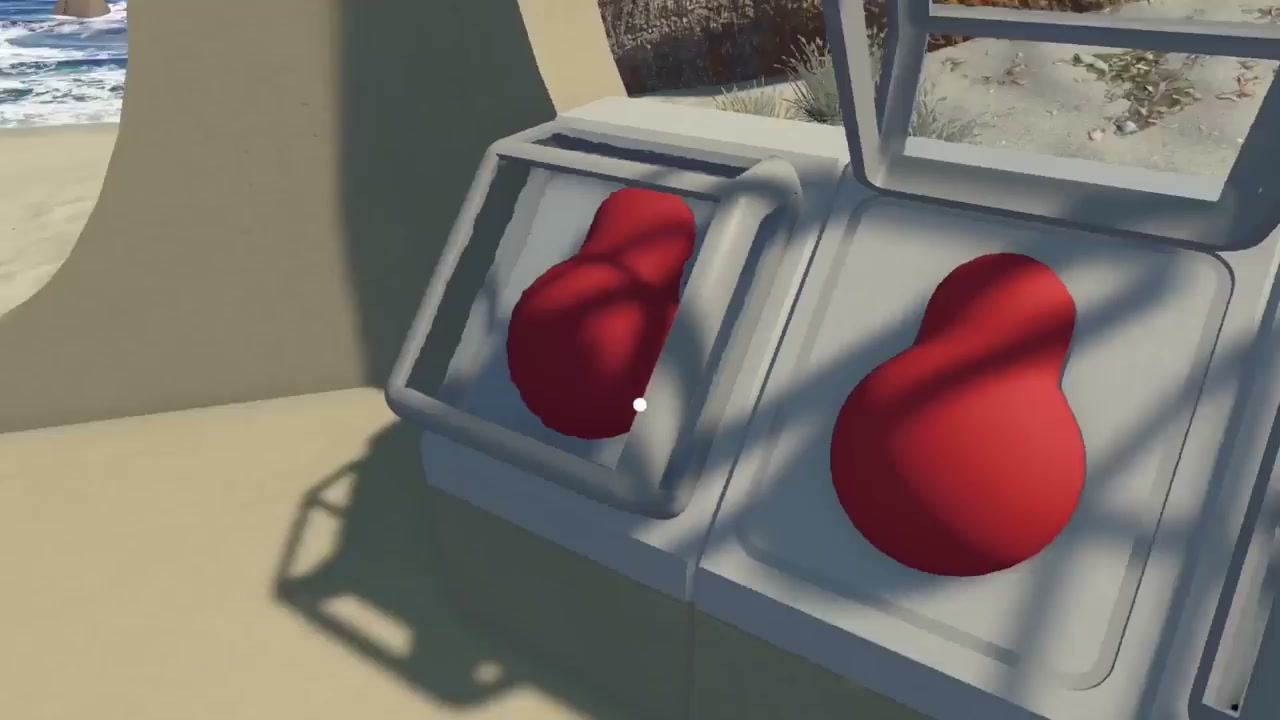
40:32 — the socket container: one blob per bay, and the run needed a second player to press the release before they could go in.
This is the moment the experiment ends, and it is not a puzzle failure — it is a logistics failure. With 30 levels played through, the author still cannot bank them: the blobs go into their sockets only if a button is pressed at the same time, and that takes another person. His own words are that he needed the second player to press a button, and that without them he could not put the blobs in the sockets at all.
That distinction matters if you are planning a solo attempt:
- Puzzle count is not the wall. Beating 30 of 45 is genuinely achievable.
- The bank step is the wall. Even a perfect solo puzzle record does not convert into progress if the insertion needs a second pair of hands.
- One helper is enough to continue. With the second person pressing the button, the fifth tower completes, the key to the end area is awarded, and the run moves on.
Step 11 — Expect the final area to be built for two
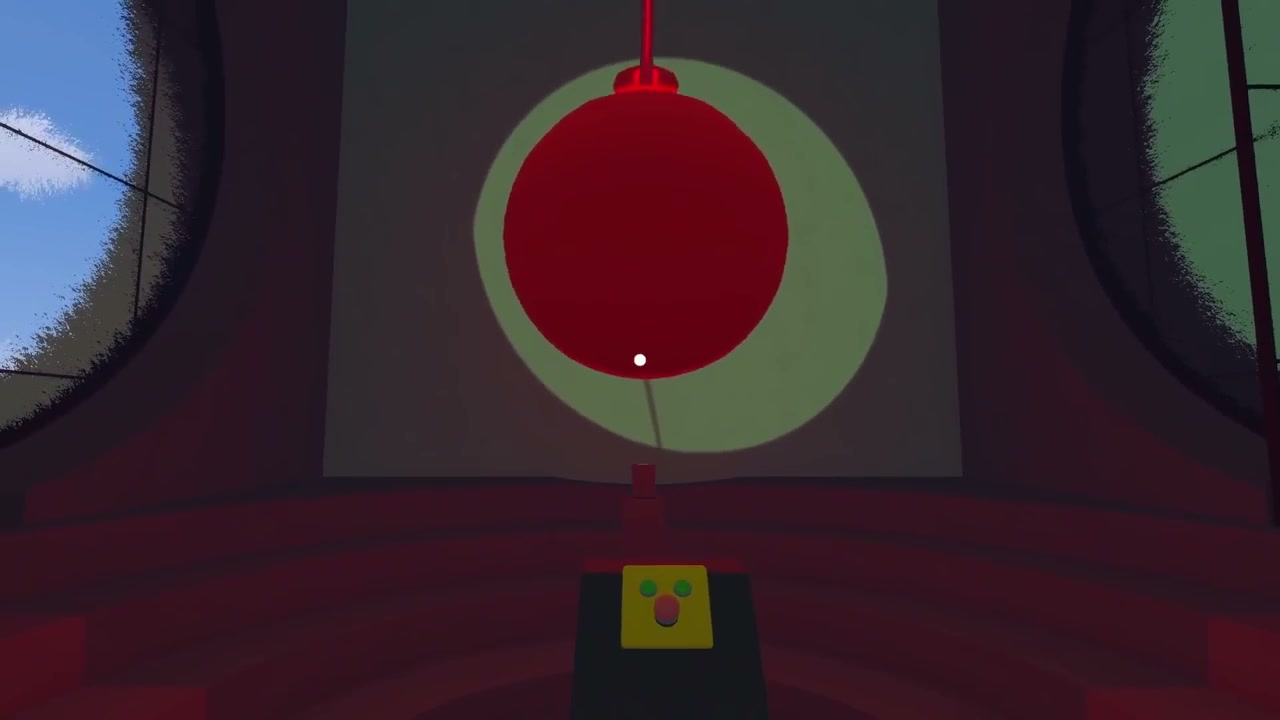
41:59 — inside the final area: the round red-lit room where the last two-person button waits.
The end area does not soften. Three things happen in the last few minutes:
- Another two-person button greets you inside — the author calls it "one last screw you from the game."
- Lantern jumps are needed again to climb the wall and make the walk itself.
- The first puzzle inside has a fatal flaw worth knowing: closing the door briefly shows the answer, which is enough to brute-force it. Cards cannot be lantern-jumped on, so do not waste time trying that.
Then, upstairs, there is one more two-person button and — the actual ending of the experiment — an invisible wall that stops a single player from reaching the end. That is where the answer lands: "Nope."
Success check
You have your answer when one of these is true:
- You are playing alone and want to know how far you can get: count your green rooms against the 30-of-45 benchmark, and check whether your world's socket step lets one player insert a blob. If it does not, you already know where the run ends.
- You want to finish the game: plan for at least two players. One extra person is enough for the button-gated steps the recording hits; the rest of the game can be done by one of you.
Common mistakes and recovery
- Rating a lucky room as "doable solo". Guessing through a light or sound room is orange, not green. Keep the buckets separate or your estimate of the game will be wrong.
- Giving up on a wall too early. The peg room, the tutorial's bridge exit and the final area's climb are all lantern-jump problems, not locked doors.
- Giving up on the lantern jump too early. It is genuinely inconsistent. The author needed roughly half an hour for one climb; budget for that rather than assuming you are doing it wrong.
- Trying to hold two buttons with two hands. Isolated buttons do not work that way, and the author tests it.
- Waiting for the cannon to fire. Stand in the muzzle first; the timer comes to you.
- Forgetting the settings menu. Field of view can turn a window room from a guess into a read.
- Assuming a small hole is a route. The beach room's ceiling gap is narrower than the player; check the size before spending attempts.
- Assuming 30 beaten levels is a finish. The blobs still need the button press. Sort the bank step out before you invest hours in the last few rooms.
Player-count and version notes
- The recording is a single-player attempt that becomes a two-player session at 40:22. Until then, every action shown is one player; the helper appears only for the button press.
- It does not test three or four players. Nothing here says how the two-button rooms behave with a larger group, and nothing says a room is easier or harder with more people.
- The 45-puzzle count and the tallies are the author's own, and the tallies are revised during the run. They are a useful benchmark, not an official list.
- The recording gives no coordinates and never assigns puzzles to named map areas. Where this article quotes "middle of the map" or "upper corner", that is the author's phrasing for one puzzle, not a map reading.
- The settings page in Step 7 shows the game's build string, so treat field-of-view behaviour as version-specific: if the wall-read does not work for you, your build may differ.
- Room layouts differ between worlds — the author notes that some worlds use fixed answer seeds and others do not, so a solved answer from this recording is not portable.
Source
This article is a single-source guide synthesized from one public video: Is It Possible To Beat Big Walk ALONE? by ChaotixOP (youtube.com/watch?v=afpemTyjZB8). Every step maps to a timestamped moment in that recording, and the frames are temporary extracts used only to illustrate the steps, not final artwork. Facts come from the video's own narration and footage; the article does not claim cross-verification against other sources. Room-by-room solutions for the individual puzzles, including the ones this article rates impossible solo, are collected in the puzzle catalog.