Big Walk Spare Puzzles and the Metallic Paints: The Hub Key Route
What the spare puzzles in Big Walk feed into: the McGuffin slots inside the green building near the hub, the key that appears when the last reward is delivered, the door at spawn it opens, and the route to the metallic paints that follows.
 Big Walk Atlas
After the towers are finished, Big Walk still keeps a second layer of puzzles that the tower walkthroughs skip — the ones the community calls the spare or extra puzzles. They do not unlock a tower and they are not optional decoration: each one ends with a McGuffin you have to carry to a green building near the hub, and that building only does one thing. It collects those rewards, and when the last one is in, a key appears and goes into a door at spawn. The metallic paints sit at the end of the same chain.
The short version: finish the black tower (the recording also says the "silent gauntlet" has to be done, or the key has nowhere to go), then walk from the red platform to the green-and-sand building beside the hub. Its room holds a row of empty delivery panels — one per spare puzzle. Go back out, work through the spare puzzles scattered around the map (they are randomised, so no layout in any video is a code you can copy), carry each McGuffin back and drop it in. When the last panel is filled, a key appears at the pedestal in that green room; carry it to the door at spawn and use it. The metallic paints are reached from that same area: up the stairs, through the oddly coloured section, across the green bridge in the purple-looking part of the tunnels (the recording enters from the red tunnel), then keep going down.
Step 1 — Know what the chain pays out
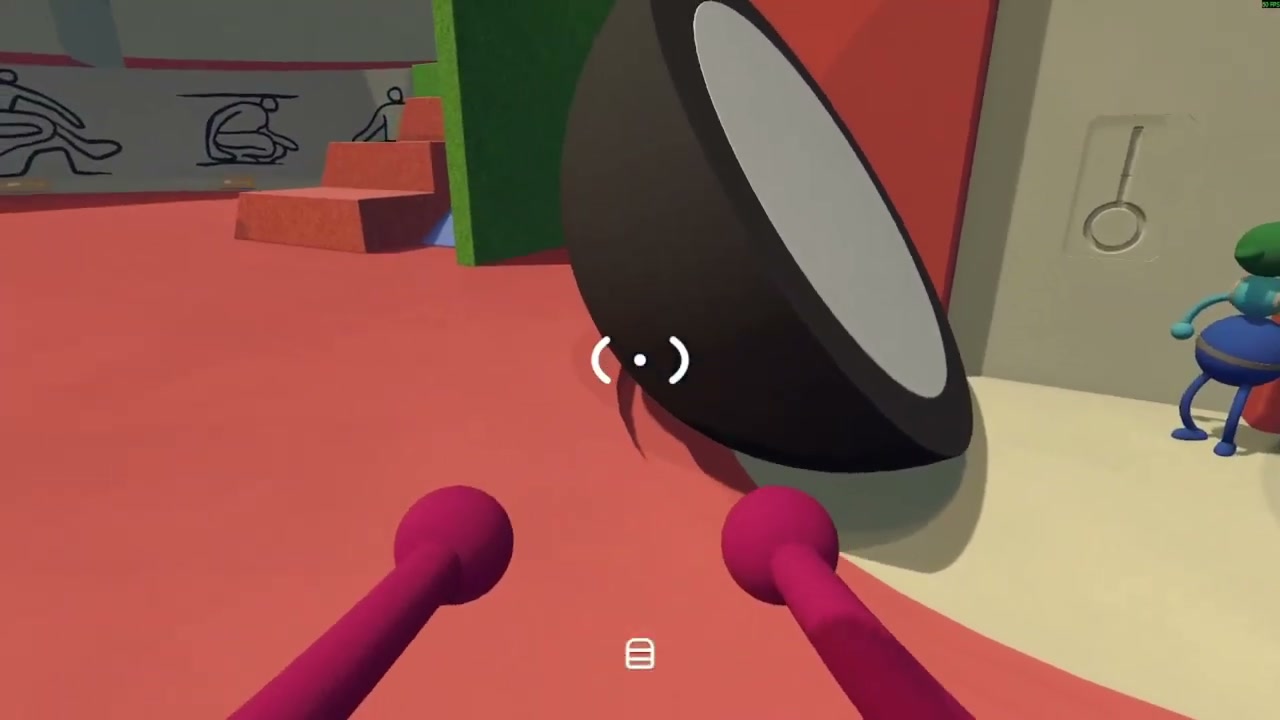
00:16 — the giant sphere in the hub that the recording opens on. The source says it now holds a key, and the rest of the video is about what releases it.
The recording starts at the hub, at the big dark sphere it calls a bowling ball, and says the key is in it now. That is the reward at the end of this chain, and it is deliberately not in any tower: the spare puzzles are the second set that the author says he left out of his tower guides because they are not part of any tower's five-puzzle run. Expect to work for it.
Step 2 — Clear the black tower, then find the hand-in building
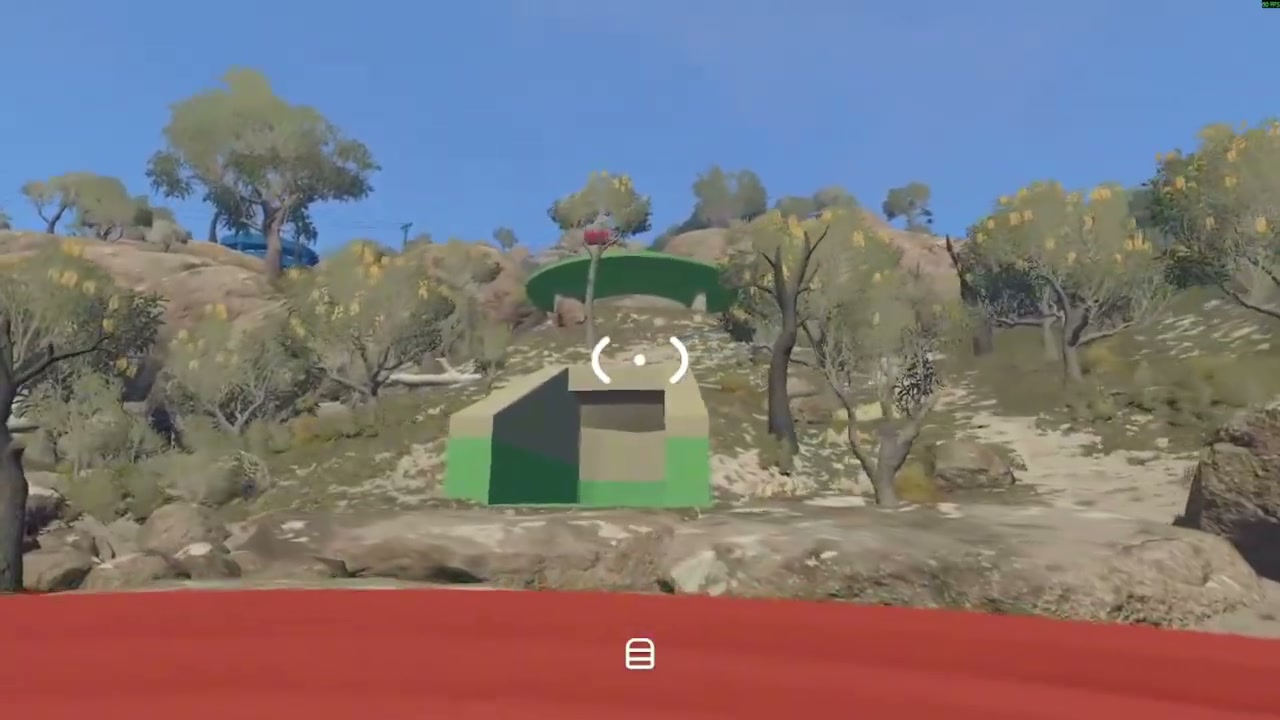
00:56 — the hand-in building, approached from the direction of the red platform: a green-and-sand box with one open doorway and a recessed slot beside it.
Two conditions come first, and both are stated plainly in the recording:
- The black tower has to be finished. The author says you need it done before this chain works.
- The "silent gauntlet" has to be done as well. The source's own wording is that even if you get the key out, it has nowhere to go otherwise. The video does not film that sequence, so treat it as the author's requirement rather than a step this article can show you.
Then walk to the hand-in building: from the red platform in the hub, head out and around to the green building with the sand-coloured trim. It sits beside the hub itself, not out in the towers, which is exactly why groups finish the game without ever noticing it.
Step 3 — Look at the panels before you go hunting
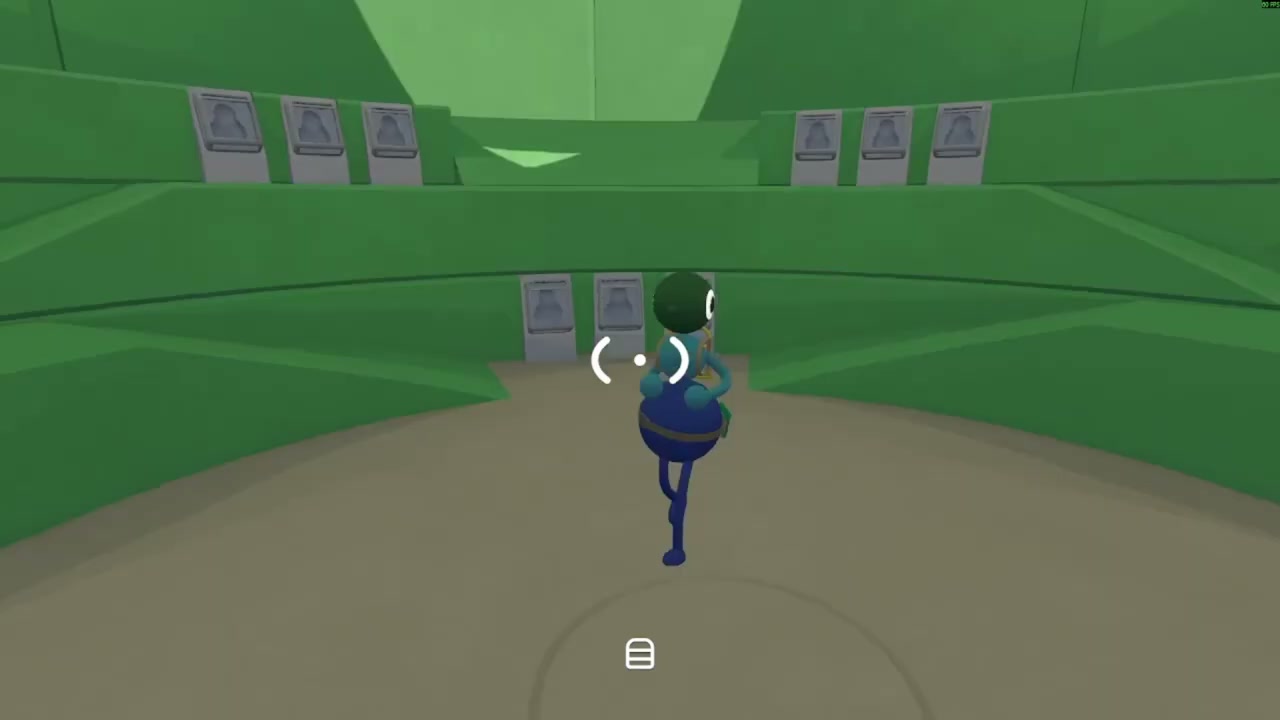
01:10 — inside the green room: the delivery panels around the walls, all still empty in a fresh run.
Go inside and count the empty panels on the walls. Each spare puzzle you finish hands you one McGuffin, and each of those McGuffins occupies one panel here. The room is the whole reason to bother: it is a visible checklist of what you have already delivered, so come back after every couple of puzzles instead of carrying a pile around the map. The recording points out that the number of spare puzzles is high — it says there are quite a lot of them — and that this is where all of them end up.
Step 4 — What a spare puzzle actually looks like
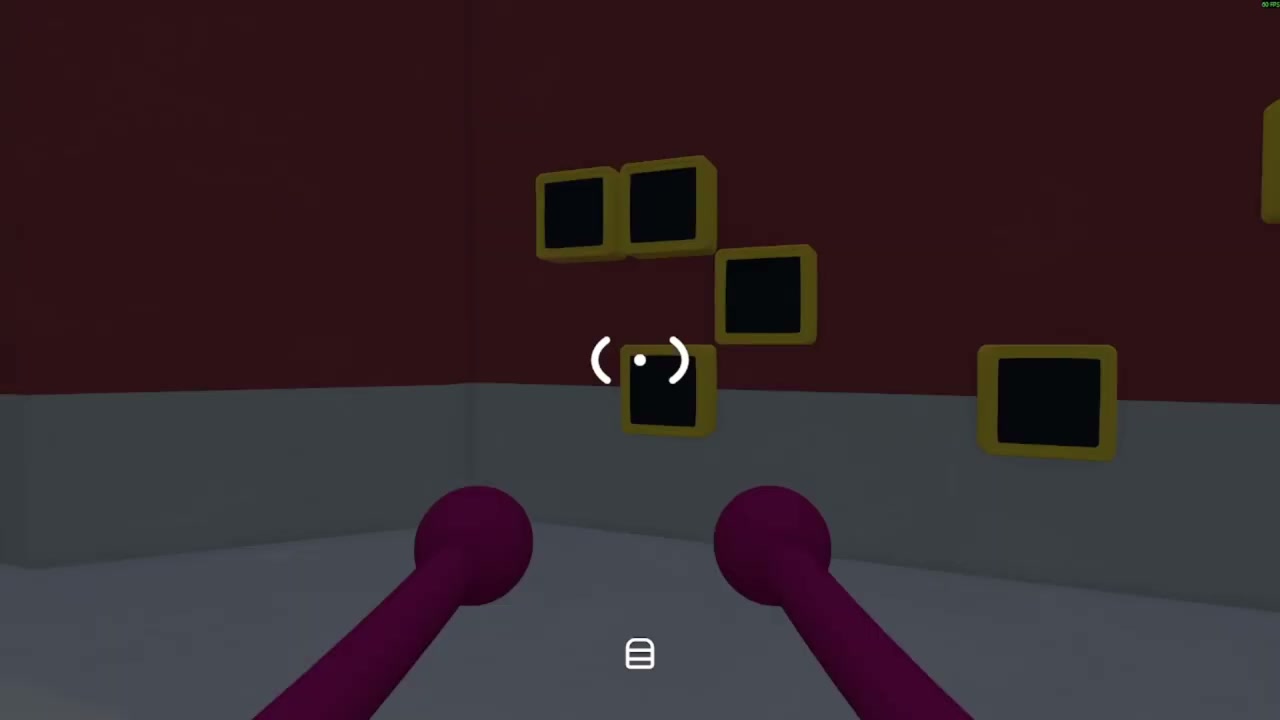
02:25 — a room of the symbol family: the framed answer panels you have to fill, seen from the side that does the placing.
The spare puzzles reuse the four communication ideas from the towers, turned harder:
- Symbol walls. One room shows the answer; the other holds objects or panels you arrange so your partner can describe them. The recording's first two examples are exactly this: one player sets up the props in one room, the other reads the placement and copies it onto the wall.
- Call-and-check. Two players who cannot see each other talk through a microphone, a light, or nothing at all, and confirm one symbol at a time.
- Carry relays. Something has to be physically walked from A to B, sometimes against a timer.
- Invisible material. Symbols you cannot read with your eyes until you put them behind the lens, and "invisible" copies of a symbol that still count once delivered.
Two rules apply across all of them, and the recording states both:
- The layouts are randomised. The author says directly that his solved arrangement will not be yours.
- You can scavenge. If a room wants symbols you already have elsewhere, you can take them from earlier puzzles or pick them up near the current area. Invisible versions work too.
Step 5 — Take the backpack by the moon before you start hauling
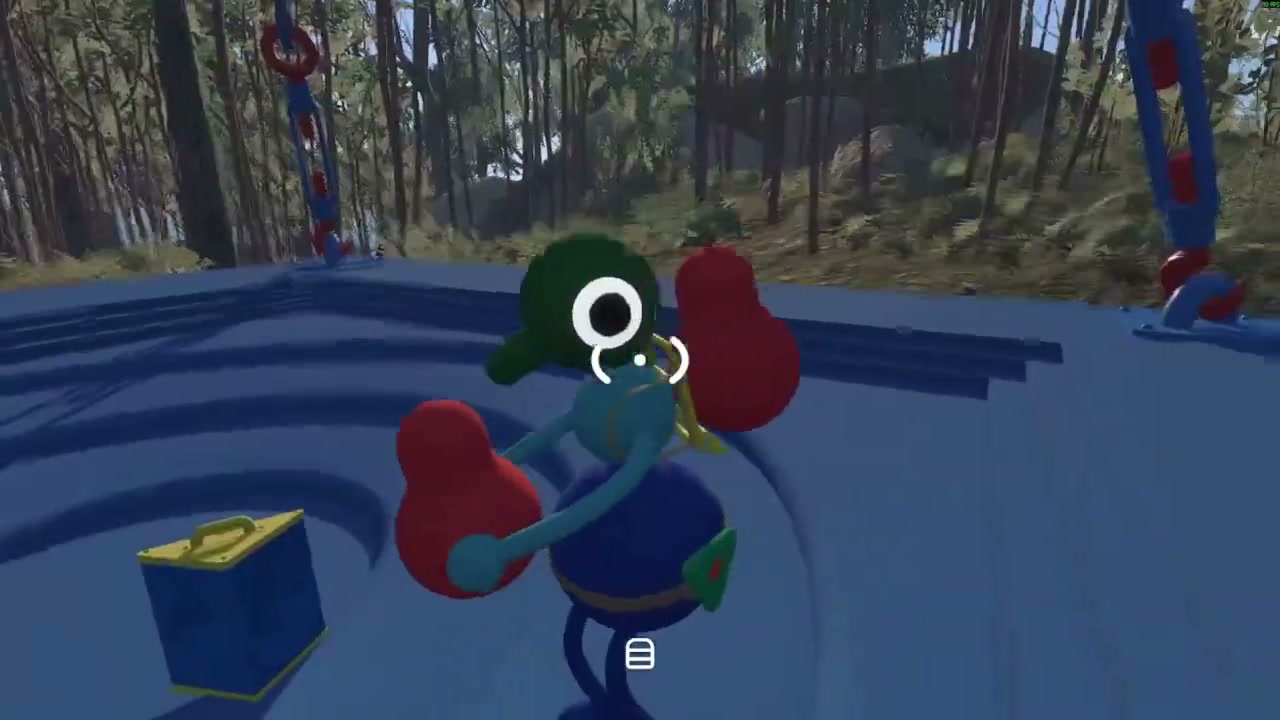
05:04 — the backpack pickup on the moon-like sphere: the item is on the sphere surface with the player standing next to it.
Half of this chain is logistics, and the recording stops in the middle of the run to recommend a detour: go to where the moon is and pick up the extra backpack, because it lets you carry far more of these McGuffins at once. The backpack guide covers what the item does and how it attaches; here it is purely a labour-saving step, and the author says he highly recommends taking it before the long trips.
For the heaviest objects, the recording adds a second logistics tip: a heavy object can be taken on the ski lift. When a puzzle needs a big ball dragged up a slope, ride rather than walk.
Step 6 — The rooms that take your voice away
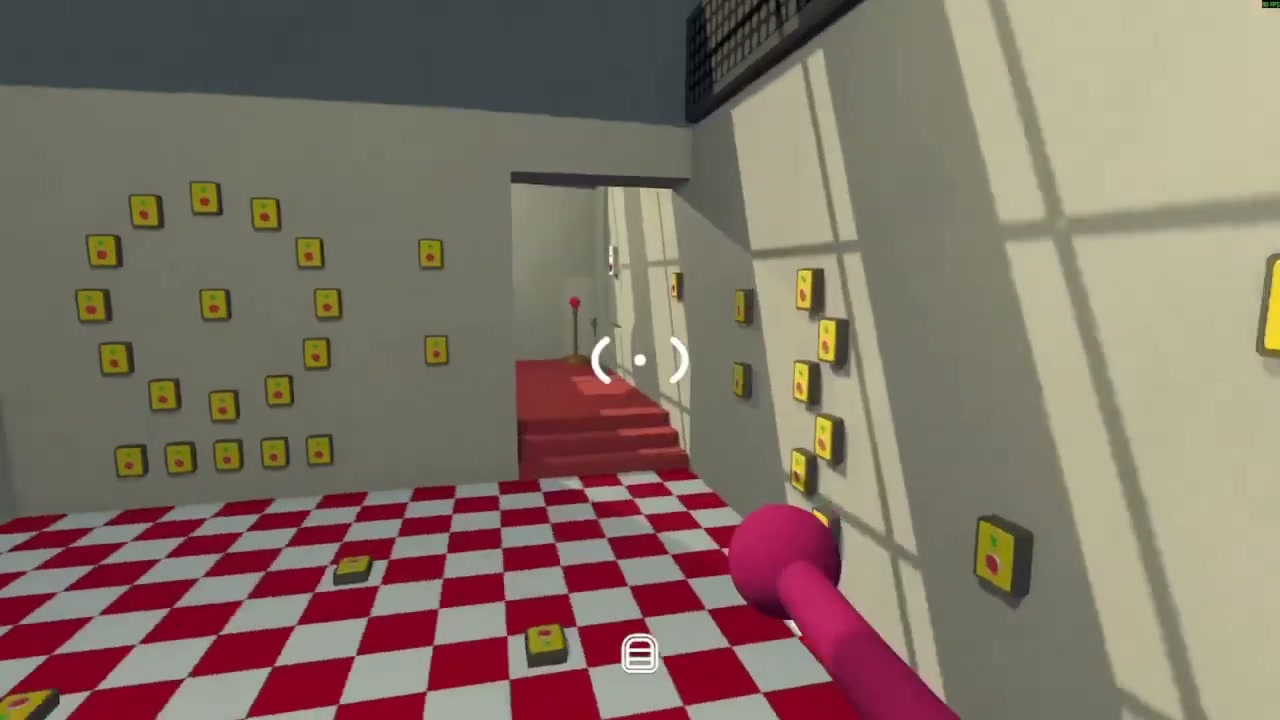
12:30 — the switch-wall room: rows of yellow button panels with red and green indicators, in the room solved by yes/no questions.
The hardest spare rooms are the ones that strip a communication channel:
- Nothing but a yes/no light. One player sees a symbol and holds it up; the other answers with the light. The recording's switch-wall version is a twenty-questions game: agree the order out loud ("left wall, middle wall, right wall, back, floor"), then walk the buttons one at a time until the light says yes.
- No walkie-talkie in the sound room. The same room exists in a version with the radio removed, so you demonstrate the rhythm with your arms instead of describing it.
- No voice through glass. A glass-walled version swaps the gesture symbols for printed ones and expects you to invent a code on the spot — the recording's own examples are tracing the shape of a snake and tapping three times for a triangle.
Decide your code before you start the room. The recording's advice is the same every time: develop whatever system works for your group, then commit to it.
Step 7 — One player has to sit still for half an hour
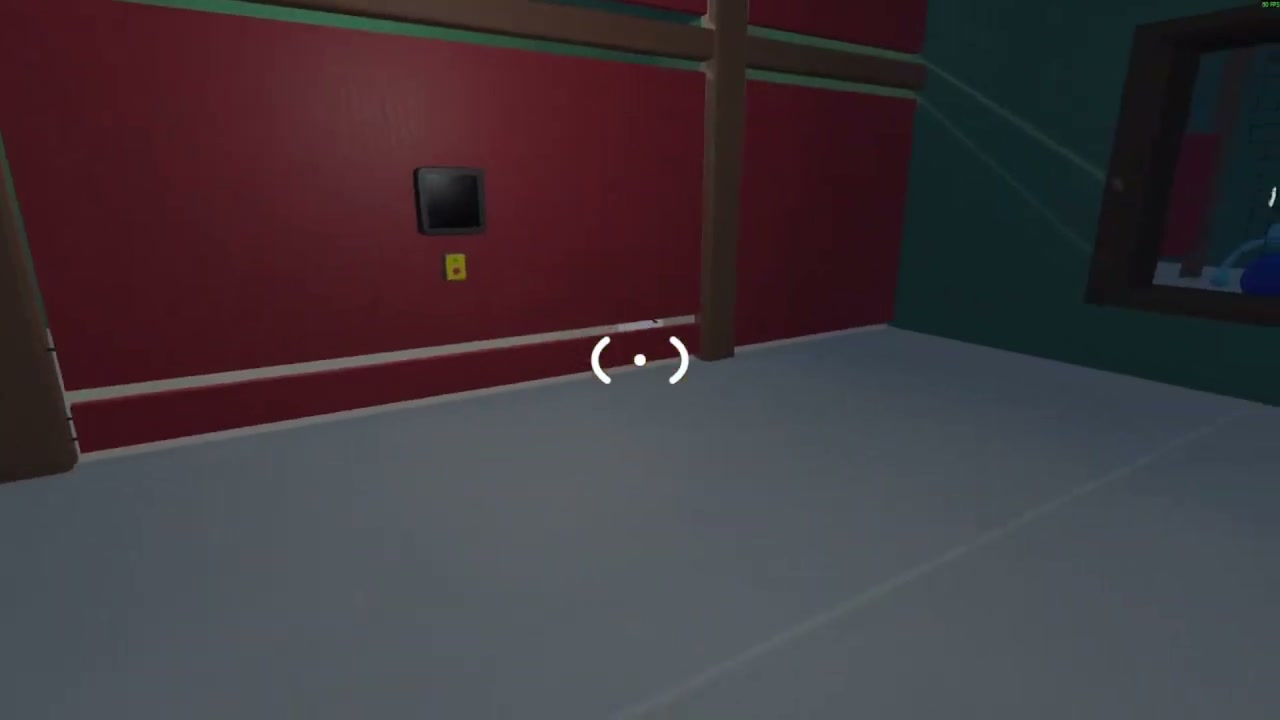
15:40 — the waiting room: the view into the sealed chamber where one player has to stay for the full wait.
One spare puzzle is not a puzzle. Somebody has to be inside a sealed room for 30 minutes doing nothing, and the recording says plainly that this is the one you will hate. Plan it as a background task: park the least patient player in there, send everyone else off to do other spare puzzles, and come back when the timer is done. Do not start it last — it is the longest single wait in the chain.
Step 8 — Deliver the last McGuffin and take the key
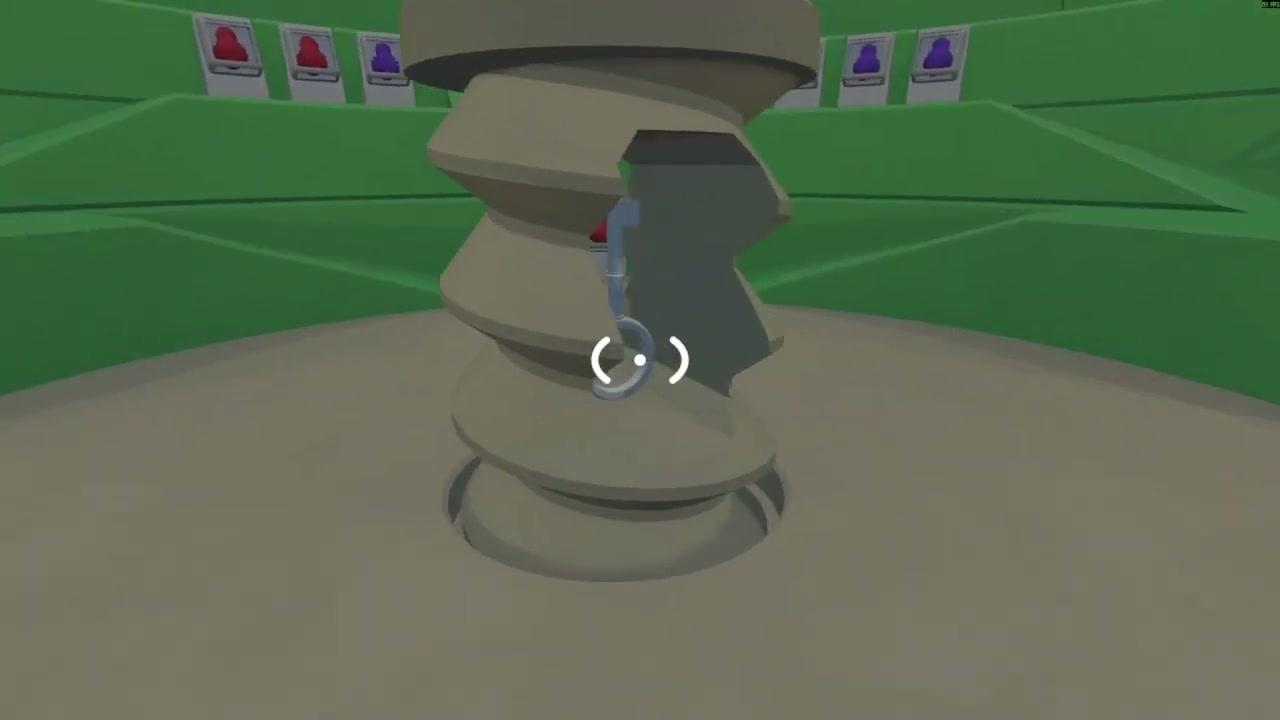
16:32 — the payoff: once the final panel is filled, the key appears at the pedestal in the green room.
Carry the last McGuffin back to the green room and put it in its panel. The recording's own payoff shot is the key appearing there at the pedestal — that is your confirmation that every delivery has been accepted. If the key does not appear, the chain is not finished: check the panels for a gap, not the door.
Step 9 — Use the key at the door back at spawn
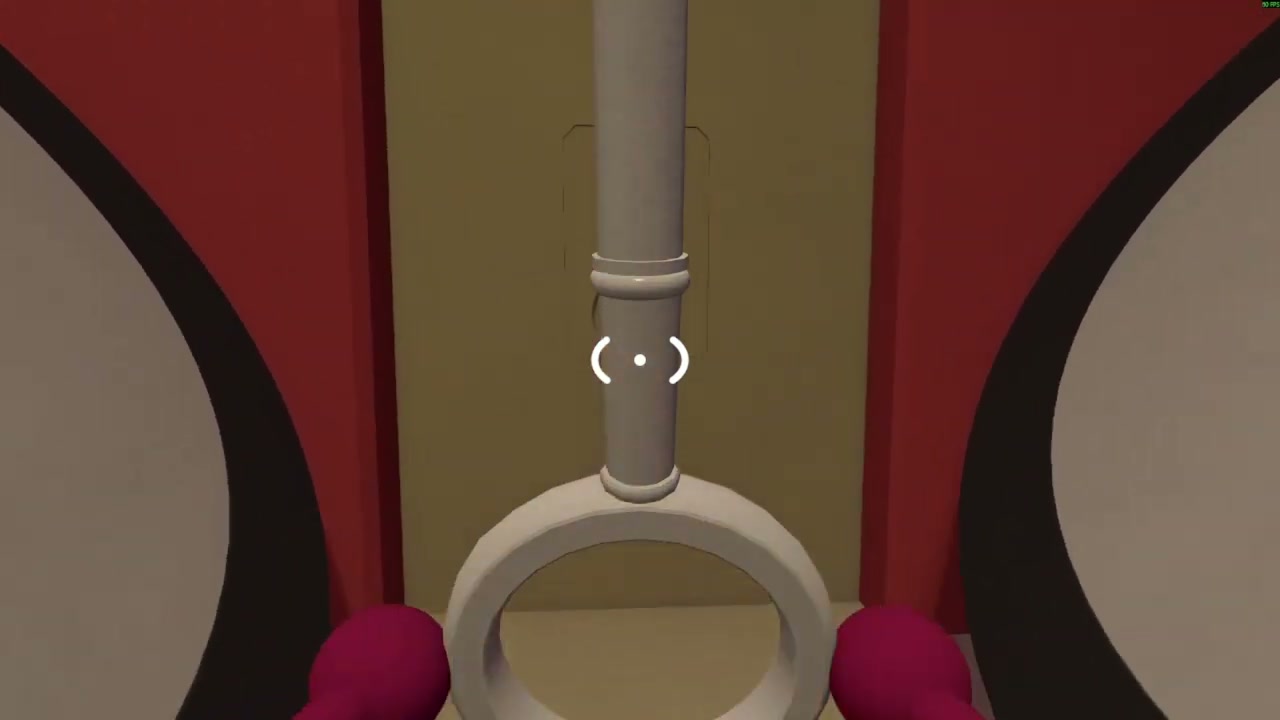
17:32 — the key held at the recessed panel between the two door leaves at spawn.
The key belongs "right back at spawn", as the author puts it. Walk it to the big double door in the hub and use it on the recessed panel between the two leaves. The recording unlocks the door and then deliberately stops: the author says he will not show what is on the other side. This article will not invent it either — the video proves the unlock, not the room behind it.
Step 10 — Reach the metallic paints
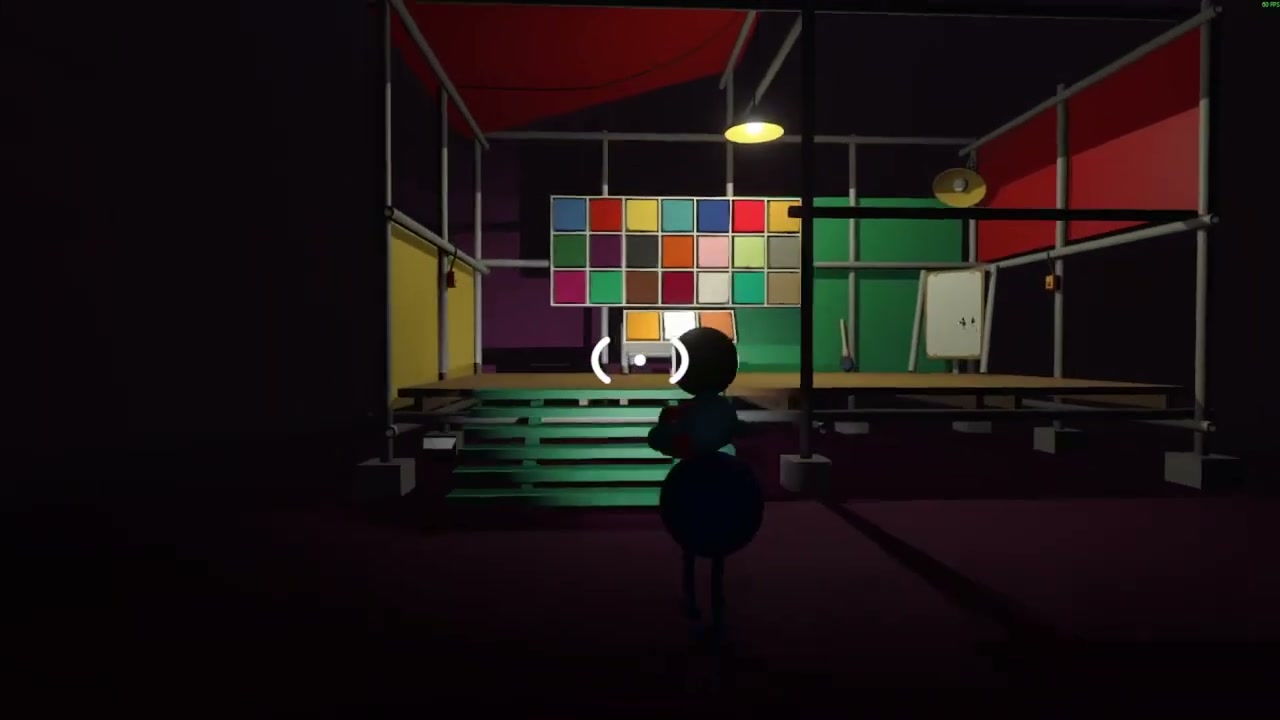
19:04 — the paint room at the end of the route: the swatch wall of colour panels on its lit stage.
The last thing the recording shows is where the metallic paints are, and it is a route, not a single door:
- Get into the tunnel system — the recording says it typically enters from the red tunnel.
- Go up the stairs in the room you arrive in, then head into the direction the author points at until you reach the oddly coloured section.
- From there you reach the green bridge in what the author calls the purple-looking area — it is the bridge you have almost certainly seen from below and wondered how to get onto.
- Keep going down past the bridge, follow the passage, and the paint room is at the end.
The tunnel guide covers how the tunnel system is unlocked and how its colour-coded corridors are laid out; if you have not opened it yet, that is the prerequisite for this last leg. The paints themselves are the metallic finish, so expect them where the recording finds them: in the same family as the shiny colours from the Get Shiny route, but reached through the spare-puzzle chain rather than the tower route.
Success check
You are done with the chain when three things are true, in order: the green room's panels are all filled, the key appears at the pedestal, and the hub door opens when you use that key at the panel between its leaves. The metallic paints are a separate, later confirmation: you are standing in the paint room with the swatch wall in front of you.
Common mistakes and recovery
- Hunting the key before the black tower. The chain does not produce it earlier. Finish the tower (and the silent gauntlet the source mentions) first.
- Copying a layout from a video. The spare puzzles are randomised. Any specific arrangement you see — including the one in this recording — is one worked run, not an answer key.
- Carrying one McGuffin at a time. Take the backpack near the moon first; the recording recommends it explicitly, and the trips between the door and the far corners of the map are long.
- Walking a heavy ball up a slope. Heavy objects can ride the ski lift.
- Trying to talk through the glass. Some rooms remove the microphone, the walkie-talkie, or both. Agree a light-tempo or shape-tracing code before you go in.
- Saving the waiting room for last. Thirty minutes of sitting is the longest single block in the chain; start it early and do other spare puzzles while it runs.
- Assuming a missing key means the door is broken. Check the panels in the green room first; a single undelivered McGuffin keeps the key from appearing.
Player-count and version notes
- The recording is narrated for a pair — "you" and "your friend" — and the rooms it shows are built around two jobs: one player reads or holds, the other acts.
- The source does not test these rooms solo, with three players, or with a full lobby, and it gives no count of how many spare puzzles exist beyond saying there are a lot. This article does not claim what changes with other group sizes.
- The source gives no coordinates for any of these rooms, and it does not assign them to towers or map areas. Locations here are described only as the recording describes them.
- Because the layouts are randomised, the floor plans in the recording are not portable between runs or versions. What is portable is the system: panels in, key out, key at spawn, paints at the end of the tunnel route.
Source
This article is a single-source guide synthesized from one public video: Big Walk Guide. Extra puzzles and metallic paints by NeonStar (youtube.com/watch?v=VkMDsQw_vKY). Every step maps to a timestamped moment in that recording, and the frames are temporary extracts used only to illustrate the steps, not final artwork. Facts come from the video's own narration and footage; the article does not claim cross-verification against other sources. Room-by-room solutions for the individual spare puzzles are collected in the puzzle catalog.