Big Walk Green Flare Puzzle: Open the Camo Box (Hidden Red Blob)
How to solve the green flare puzzle in Big Walk: find the green structure on the coast, press the left-hand button to fire a green flare onto the mountain, follow it up the trail to the lantern, drop down to the camouflaged box under the rock, and have your partner press the second button on the right to open it and take the red blob.
 Big Walk Atlas
The green flare puzzle in Big Walk hides a red blob inside a camouflaged box that will not open for the person standing next to it. The short version: on the coast find the green structure carrying a yellow panel with a red tower symbol, press the green flare button on its left-hand side, and watch the flare arc over onto the mountain. Follow that flare up the mountain trail, and at the top you meet a lantern. Pass the lantern on its right-hand side, keep going, then follow the trail down until you are under the rock where the camo box sits. Your partner — who stayed at the green structure — now presses the second button on the right-hand side, the box opens, and you pick up the red blob (the same item the community also calls a gourd or a bean). This is the sequence shown in the source recording; it does not test timer behavior, permanent failure, or alternate game versions.
The solution at a glance
- Get to the green structure. It is on the coast, about 3660, 2040 on the map, on the same stretch of shore as the red coastal crane.
- Press the left-hand button. That is the green flare. It flies over and lands on the mountain — that is your next objective, not a decoration.
- Climb to the lantern. Walk the mountain trail up to the top, where an amber lantern sits.
- Pass the lantern on the right/north side, then go down. The box is not at the summit; it is lower down, under a rock.
- Call it in and take the blob. Your partner presses the second (right-hand) button at the green structure, the camo box opens, and you lift out the red blob.
Before you start
Follow the source with two players: one stays by the controls while the other climbs to the box. The flare and box controls are separate buttons on the same structure; the box is up on the mountain. The source runs it as a pair: one player presses the flare and follows it, the other stays at the structure and presses the second button when the first player calls in.
Take a walkie-talkie or megaphone if you have one. The source explicitly tells the player at the box to "tell your friend on walkie-talkie" to press the button, and proximity chat will not reach across a mountain — the site's beginner tips cover why radio gear matters the moment a group splits up.
The source uses the map to locate the structure. It does not establish which tower unlocks or other progression requirements are needed to reach this area.
One thing to keep straight before you start: this is not the coastal crane switch puzzle. The site's green coastal crane switches guide covers the red lattice crane and its staffed switches, and it notes in its own warnings that the nearby green flare and hidden-box challenge is a separate puzzle. The green flare structure is close to that crane, but the two tasks share nothing.
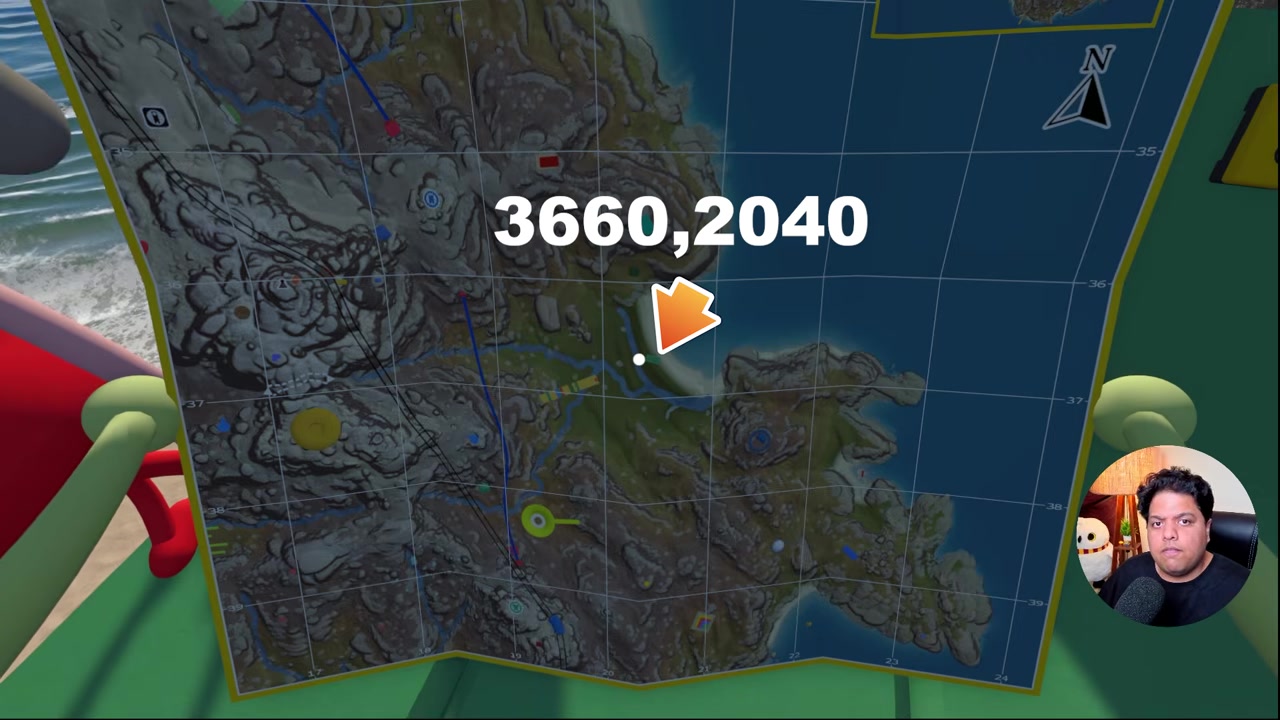
00:30 — the source zooms the map twice to the displayed map section and marks the green structure's position, shown as 3660,2040.
Success check: you know the green flare structure is on the coast, and you have somewhere on that coast to start walking from.
Step 1 — Find the green structure on the coast
The green flare is fired from a green structure on the beach, the one the source is standing on at the very start of the video (a second player is standing on it too). To find it, open the map: the source presses the map two more times to zoom in, which lands on the top-left corner of the map, and marks the spot where the group is standing. The on-screen readout there reads about 3660, 2040.
What you are looking for is a green blocky structure on the sand with a yellow panel on its face — the panel carries a red tower/antenna symbol in a white circle, and a black control rod sits on top of the structure. If you have already found the red lattice crane on this coast, you are in the right area: this site's crane guide places that crane at roughly 3790, 2250, which is the same stretch of shore.
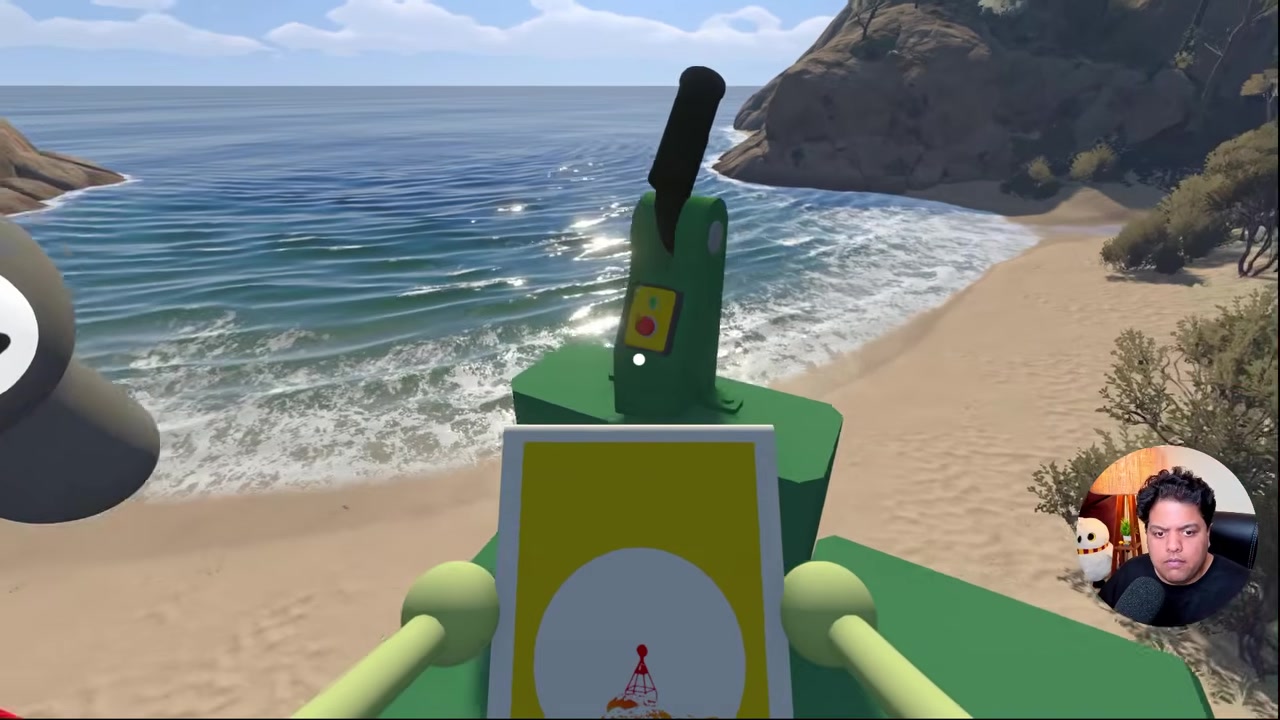
00:37 — the green structure on the sand: a yellow panel with a red tower symbol in a white circle, and a black control rod on top.
Success check: you are standing at a green sign structure on the coast, with the ocean behind you and a yellow panel showing a red tower symbol in front of you.
Step 2 — Understand the two buttons before you touch anything
The structure carries two controls, and getting them the wrong way round is the main reason groups stand here pressing things and watching nothing happen:
- the left-hand side holds the green flare button — this is the one that fires the flare;
- the second button on the right-hand side is the one that opens the camouflaged box on the mountain.
The source's own wording is exactly this pairing: "there is a green flare on the left-hand side", then later "your friend needs to press the second button that is on the right-hand side". So agree now, out loud, on who is doing what: one player fires the flare and climbs, the other stays put and waits for the call.
Success check: both players can point at the left-hand button (flare) and the right-hand button (box) and say which is which.
Step 3 — Press the left-hand button and watch where the flare lands
Press the green flare button on the left. The flare is thrown over onto the mountain in front of you — that is the source's description: "when you press it, it will throw that green flare over there on top of that mountain." Watch it travel rather than looking for a prompt or a counter; the flare's landing point is the information you need, and it is the same mountain every time.
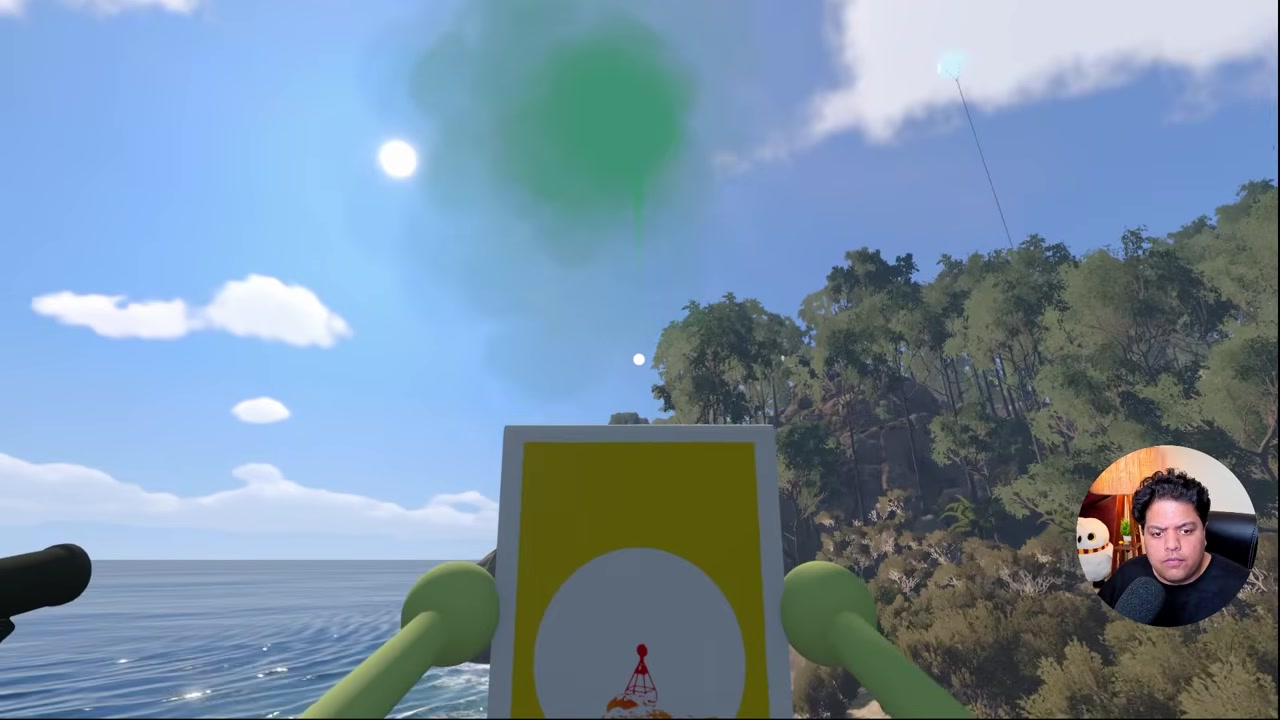
00:45 — straight after the left-hand button is pressed: the green flare hangs over the beach, with the yellow sign panel still in the foreground.
Success check: you saw the flare arc away and land on the mountain, and both players know which mountain that is.
Step 4 — Follow the flare up the mountain trail
Now walk the way the flare went. The source drops the map and moves north, takes the mountain trail and goes "all the way up", then calls a left turn as the slope steepens and repeats "keep going up". There is nothing to pick up on this stretch — the trail itself is the task, and the flare is your landmark if you lose the line of the path.
If you are playing with a group, this is the leg where the person left at the structure should be told what you are doing, because they are waiting for a call and not for a flare.
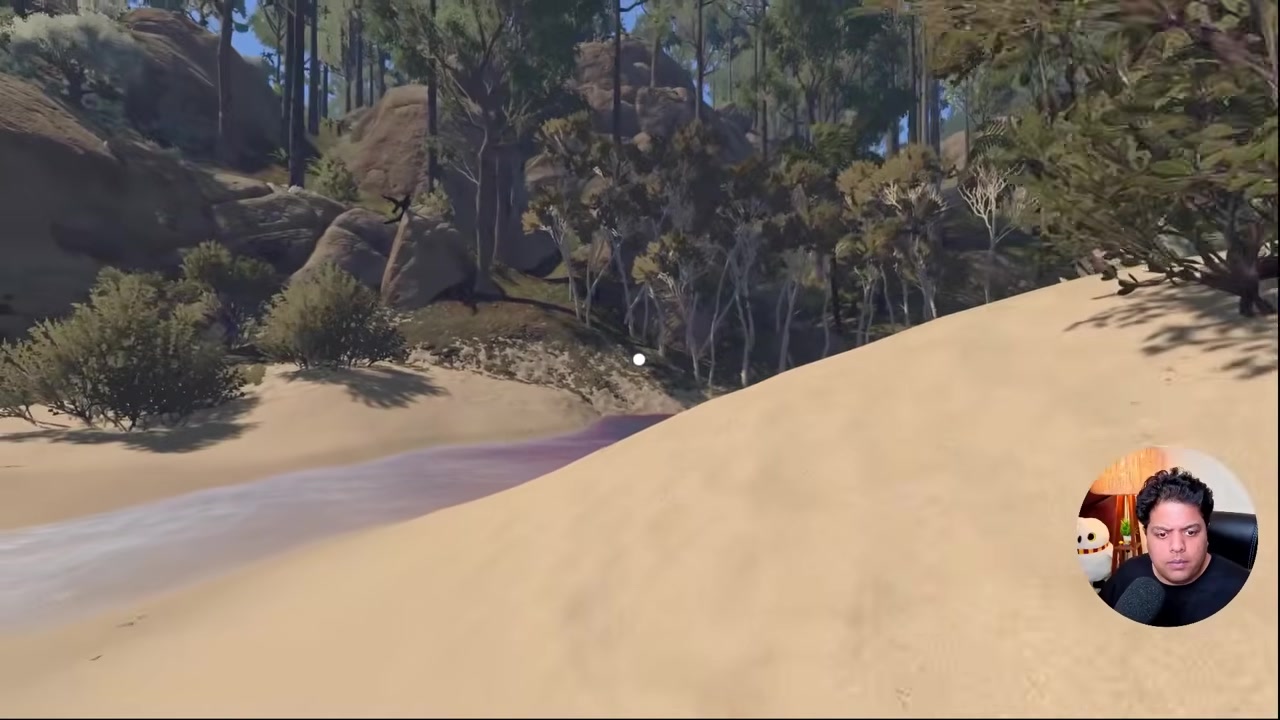
01:20 — following the flare's direction up the mountain trail, the leg the source describes as going "all the way up".
Success check: you have climbed the trail to high ground and the beach is below you.
Step 5 — At the top, find the lantern and pass it on the right
At the top of the climb you meet the puzzle's checkpoint: a lantern — the source's next line is simply "you'll find this lantern right here". This is where a lot of groups stop looking, because the lantern reads like the reward. It is not; it is a signpost.
From the lantern, the source turns to its right-hand side (the narration also frames it as the north side), then keeps following the trail as it starts going downhill. So the rule to remember is: do not stop at the lantern — pass it on its right and keep walking.
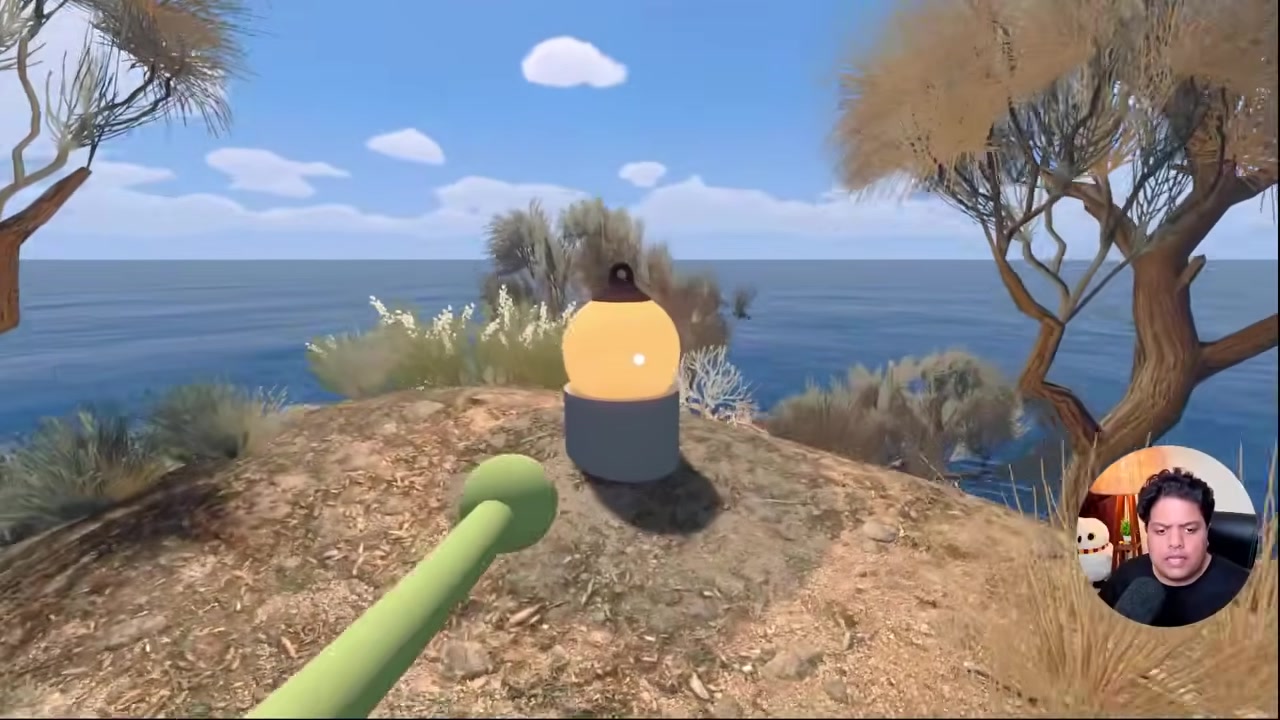
01:40 — the lantern at the top of the climb: pass it on its right-hand side and keep following the trail down.
Success check: you have passed the lantern on its right-hand side and the trail has started to descend.
Step 6 — Drop down to the camouflaged box under the rock
Past the lantern the trail drops back down, and right under a rock you will find the camouflaged box — the source's wording is "right under this rock, you will find this". It is a cube-shaped box in woodland camo with a small white lock light on its top face, sitting on the ground in a shallow, rocky pocket rather than out in the open.
It will not open for you. That is expected — the person who can open it is still standing on the beach.
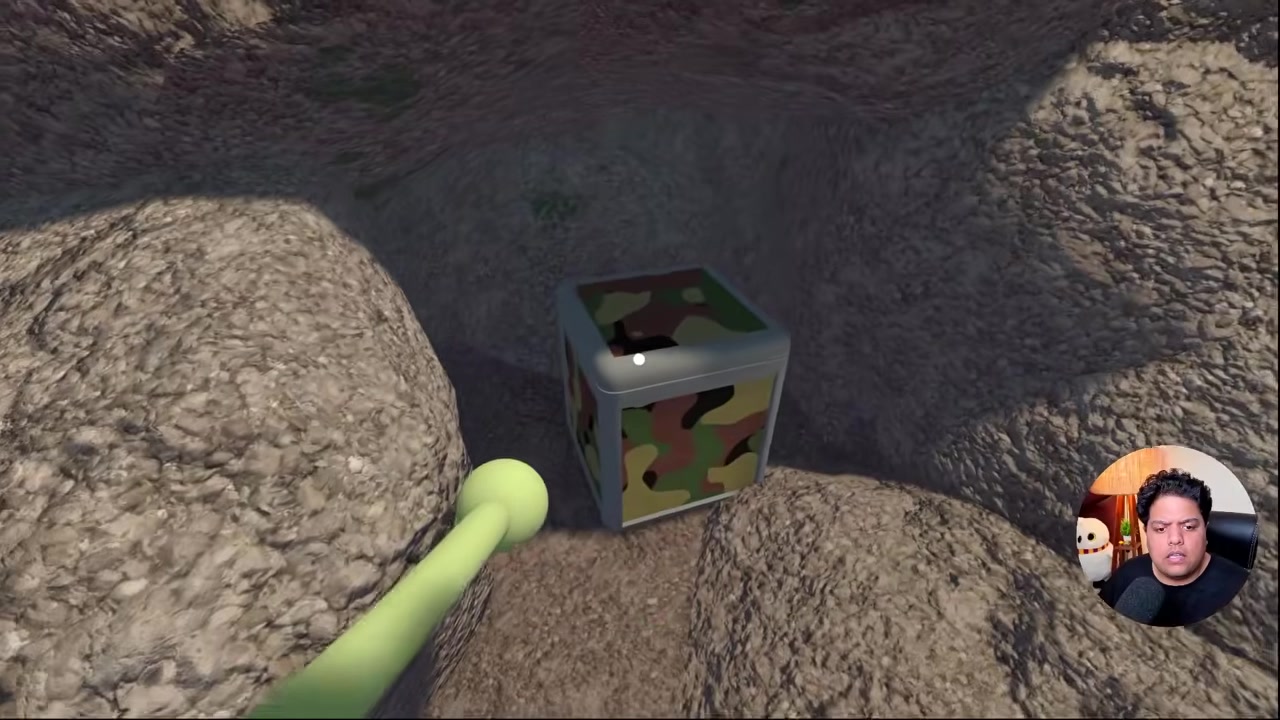
02:00 — the camouflaged box under the rock, still shut: the white light on its lid is the only bright part.
Success check: you are standing at the closed camo box under the rock, and your partner is still back at the green structure.
Step 7 — Call your partner to press the second button
Now use the radio: tell your partner at the green structure to press the second button on the right-hand side. As soon as it is pressed, the box opens up in front of you — the source says it plainly: "when he presses it, you'll see this camo box open up." This is how the two players coordinate in the source. The recording does not test how long the box stays open after the button is released.
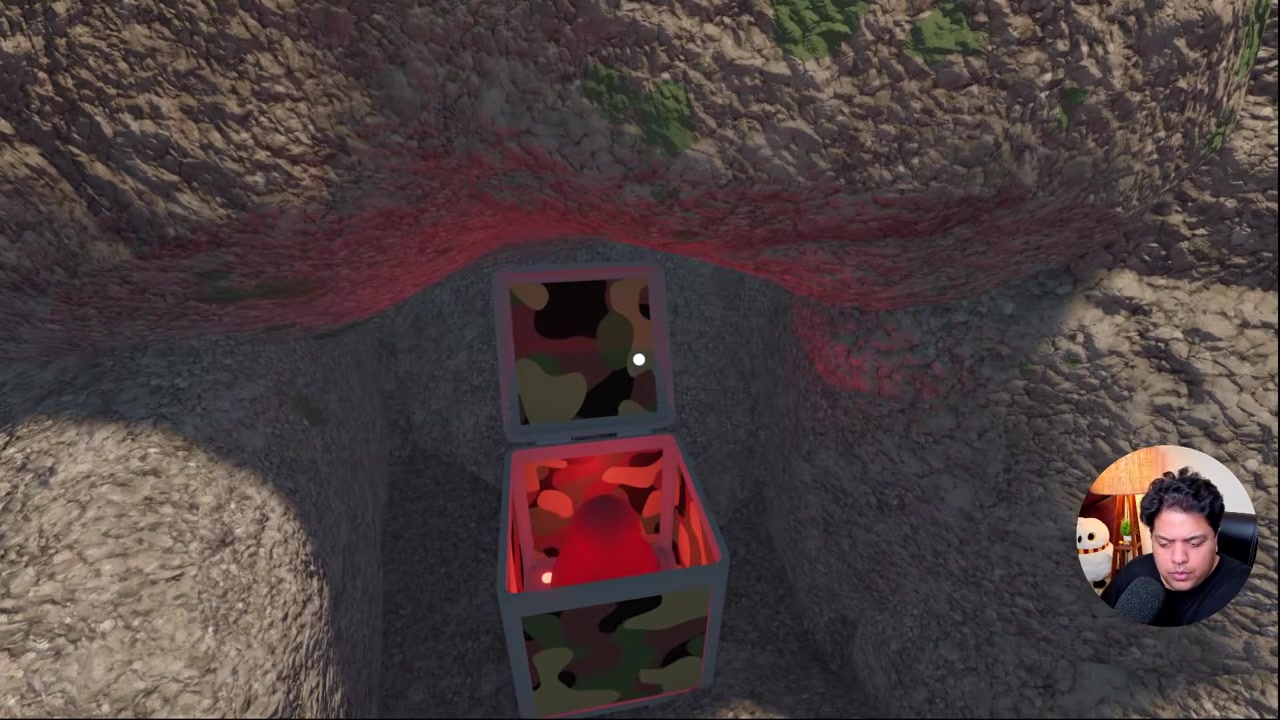
02:10 — the box the moment the second button is pressed at the structure: the lid is open and the red reward is glowing inside.
Success check: the box is open and the red blob is visible inside it.
Step 8 — Take the red blob out of the box
Move to the open box and pick the red blob up — "pick the red bean, gourd or blob up from this camo box, and that is it". That is the full puzzle: no second stage, no follow-up switch, and the source ends the video right there.
The blob is the ordinary tower-key currency used everywhere else in the game, so carry it home rather than leaving it in the box. If you do drop it or log out while holding it, the site's red blob tracking guide covers where a misplaced blob respawns.
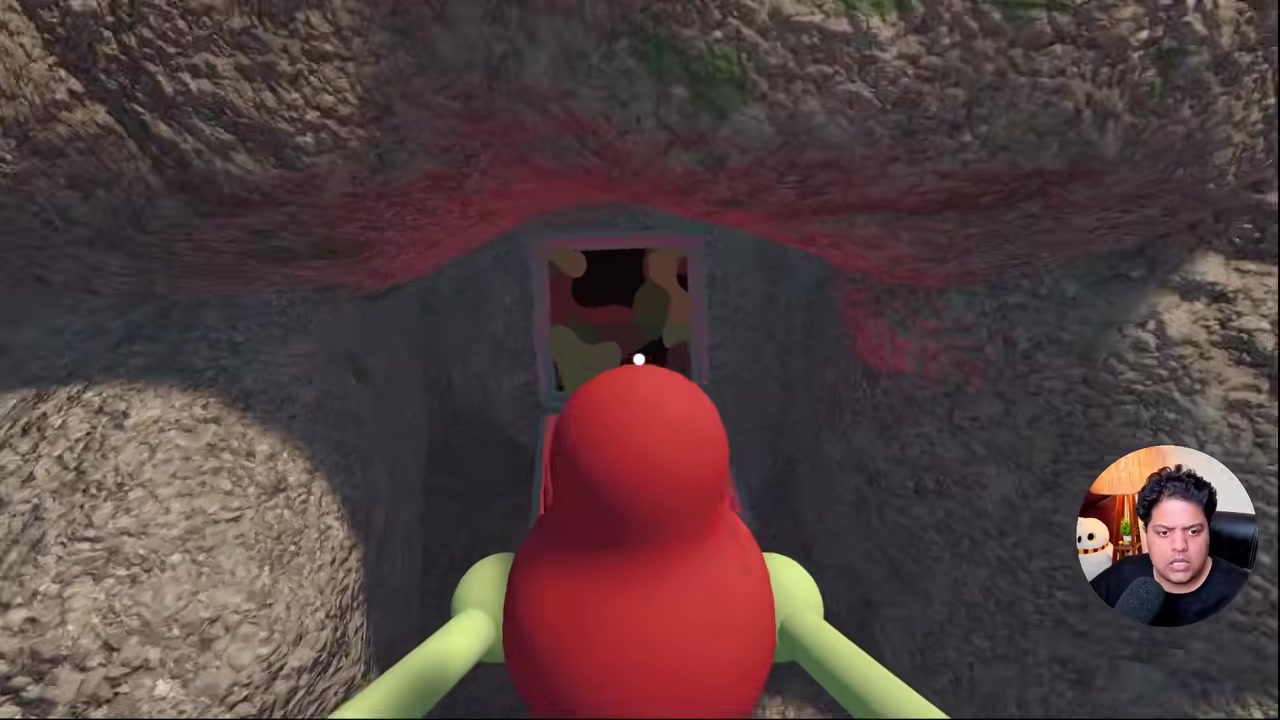
02:15 — lifting the red blob out of the open box: the reward, held between both hands, with the box still glowing behind it.
Success check: the red blob is in your hands (or on your back) and the box behind you is empty.
Success check
The source demonstrates success by taking the red blob out of the camouflaged box. Its recorded sequence is: fire the flare, climb to the lantern, pass it on the right, descend to the box, ask the partner to press the right-hand button, then collect the reward. The video ends after collection; it does not verify achievements, counters, or additional progression.
Common mistakes and recovery
- Pressing the flare button and then looking for something near the structure. The flare is not a signal to someone else; it is a map pin. Note where it lands and go there.
- Hunting for the box at the top of the mountain. The lantern sits at the top; the box is below it, after you pass the lantern on the right and start descending. If you are walking uphill, you are going the wrong way.
- Standing at the closed box waiting for it to unlock. It cannot be opened from the box side. Call the player at the structure and have them press the second (right-hand) button.
- Nobody left at the structure. If both players climbed, nobody can open the box. Someone has to walk back down to the green structure — the box stays put and stays closed until the button is pressed.
- Trying it alone. This guide demonstrates the source's two-player method. The video does not test whether the box stays open long enough for a solo route.
- Mixing it up with the coastal crane switches. They are on the same coast but they are different puzzles; the site's crane guide says so explicitly. If you are counting switches and looking for staffed pedestals, you are on the crane puzzle, not this one.
- Losing the trail after the lantern. Return to the lantern and start again from there — it is the one landmark that always reconnects you to the descending trail.
Player-count and version notes
- The source is a two-player run: one player walks to the box, while the other operates the controls. Solo play and other player counts were not tested.
- The structure, lantern, and box are the landmarks visible in this recording. The video does not compare different worlds or game versions.
- The source's own session showed the marker at about 3660, 2040 on the map. Use the green sign structure with the red tower symbol to confirm the location; coordinate differences between sessions were not tested.
- The reward wording in the source is "red bean, gourd or blob" — these are three community names for the same item, which is the currency for the tower keys, not a unique puzzle token.
- This guide is single-source: every step is taken from one public video's narration and footage, and no second source was used to cross-verify it.
Source
This article is a single-source guide synthesized from one public video: How To Solve The Green Flare Puzzle in Big Walk By House House by SolveBase (youtube.com/watch?v=sAONb16vYZU). Every section maps to a timestamped moment in that video, and the frames are temporary extracts used only to illustrate the steps, not final artwork. Facts were taken from the video's own captions and footage; this article does not claim cross-verification against other sources.